
এই পৃষ্ঠায় নিকটবর্তী আল্ট্রাসাউন্ড (পূর্বে হাইফাই আল্ট্রাসাউন্ড নামে পরিচিত) মাইক্রোফোন এবং স্পিকার পরীক্ষা পরিচালনার ধাপগুলি রয়েছে। সাধারণ অডিও বাস্তবায়ন নির্দেশাবলীর জন্য অডিও বিভাগটি দেখুন।
কাছাকাছি আল্ট্রাসাউন্ড মাইক্রোফোন পরীক্ষা
পূর্বশর্ত: দুটি ডিভাইস প্রস্তুত করুন, একটি পরীক্ষার ডিভাইস হিসেবে, অন্যটি রেফারেন্স ডিভাইস হিসেবে। রেফারেন্সটি এমন যেকোনো ডিভাইস হতে পারে যা কাছাকাছি আল্ট্রাসাউন্ড শব্দ উৎপন্ন করে।
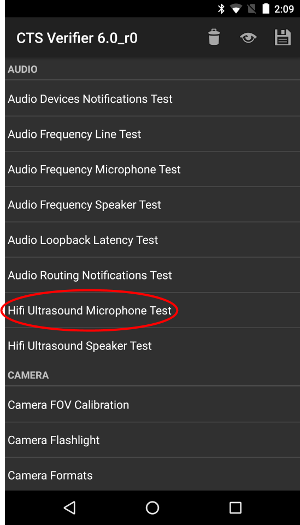
- উভয় ডিভাইসেই Hifi আল্ট্রাসাউন্ড মাইক্রোফোন পরীক্ষা খুলুন:
চিত্র ১. পরীক্ষা ডিভাইসে হাইফাই আল্ট্রাসাউন্ড মাইক্রোফোন পরীক্ষা।
চিত্র ২। রেফারেন্স ডিভাইসে হাইফাই আল্ট্রাসাউন্ড মাইক্রোফোন পরীক্ষা। - পরীক্ষামূলক ডিভাইসে RECORD টিপুন, তারপর রেফারেন্স ডিভাইসে PLAY টিপুন:
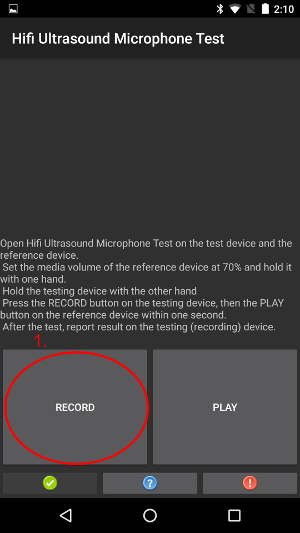
চিত্র ৩. পরীক্ষা ডিভাইসে RECORD টিপুন।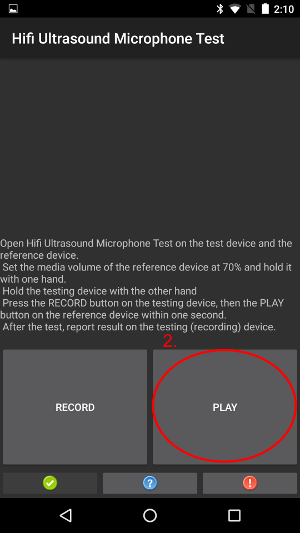
চিত্র ৪. রেফারেন্স ডিভাইসে প্লে টিপুন। - পরীক্ষা শেষ হওয়ার জন্য অপেক্ষা করুন। অপেক্ষা করার সময়, ডিভাইসগুলি নিম্নলিখিত চিত্রগুলির মতো দেখা উচিত। ধাপ ৪-এ দেখানো স্ক্রিনগুলি না দেখা পর্যন্ত কিছুই করবেন না।
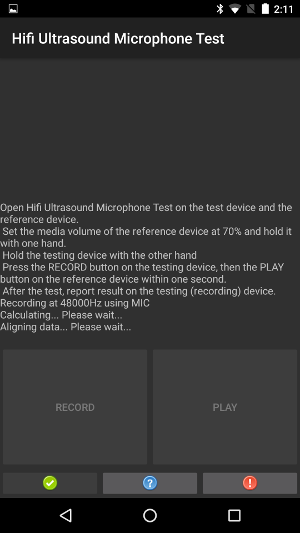
চিত্র ৫। পরীক্ষামূলক ডিভাইসে পরীক্ষা চলছে।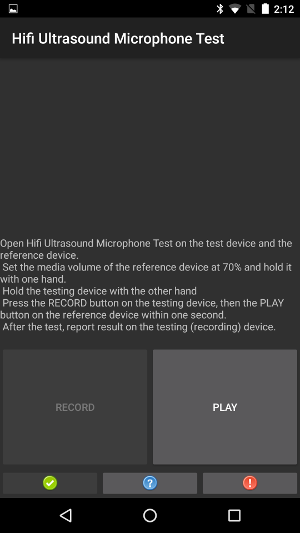
চিত্র ৬। রেফারেন্স ডিভাইসে পরীক্ষা চলছে। - পরীক্ষামূলক ডিভাইসে, যদি "PASS" লেখাটি দেখানো হয়, তাহলে সবুজ বোতাম টিপুন।
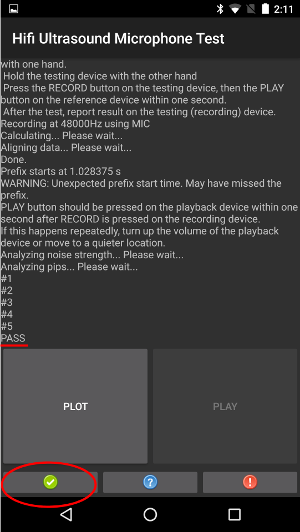
চিত্র ৭। PASS দেখানো পরীক্ষামূলক ডিভাইস।
চিত্র ৮। পরীক্ষার যন্ত্রটি PASS দেখানোর সময় রেফারেন্স ডিভাইস। - পরীক্ষা ডিভাইসে, যদি "FAIL" লেখাটি দেখানো হয়, তাহলে লাল বোতামটি টিপুন। তারপর আপনি যদি চান, তাহলে ধাপ ১ থেকে এই ক্রমটি পুনরাবৃত্তি করে পরীক্ষাটি পুনরাবৃত্তি করতে পারেন।
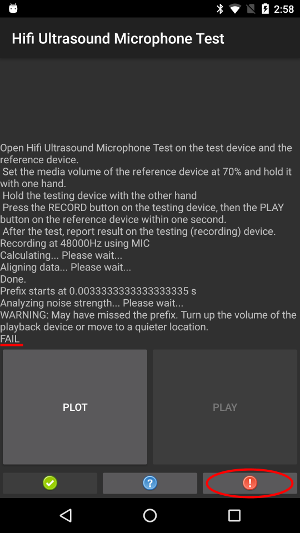
চিত্র ৯। পরীক্ষামূলক ডিভাইসে ব্যর্থতা দেখানো হয়েছে।
চিত্র ১০। পরীক্ষার ডিভাইসটি FAIL দেখানোর সময় রেফারেন্স ডিভাইস। - ঐচ্ছিক: পরীক্ষা ডিভাইসে PLOT ট্যাপ করে গণনা করা প্রতিক্রিয়াটি প্লট করুন।
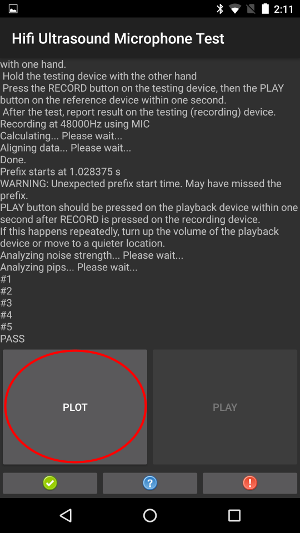
চিত্র ১১। পরীক্ষামূলক ডিভাইসে প্লট।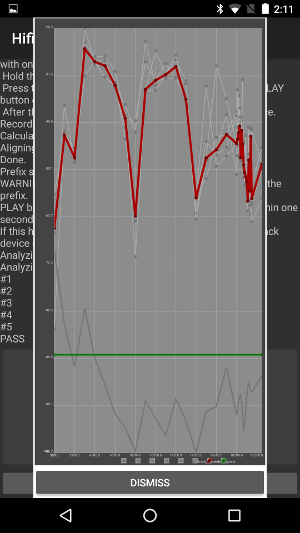
চিত্র ১২। প্লটের সময় রেফারেন্স ডিভাইস।
আল্ট্রাসাউন্ড স্পিকার পরীক্ষার কাছাকাছি
পূর্বশর্ত: দুটি ডিভাইস প্রস্তুত করুন, একটি পরীক্ষার ডিভাইস হিসেবে, অন্যটি রেফারেন্স ডিভাইস হিসেবে। রেফারেন্সটি এমন যেকোনো ডিভাইস হতে পারে যা আল্ট্রাসাউন্ডের কাছাকাছি শব্দ রেকর্ড করার জন্য পরিচিত।
- উভয় ডিভাইসেই Hifi আল্ট্রাসাউন্ড স্পিকার পরীক্ষা খুলুন:

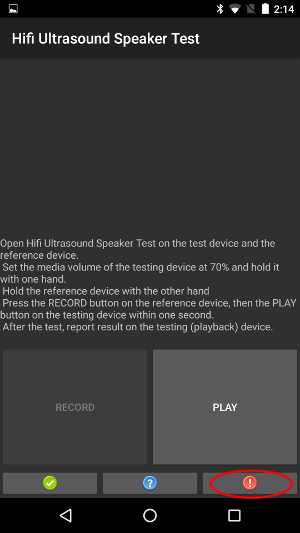
চিত্র ১৩। পরীক্ষা ডিভাইসে হাইফাই আল্ট্রাসাউন্ড স্পিকার পরীক্ষা।
চিত্র ১৪। রেফারেন্স ডিভাইসে হাইফাই আল্ট্রাসাউন্ড স্পিকার পরীক্ষা। - রেফারেন্স ডিভাইসে RECORD টিপুন, তারপর পরীক্ষা ডিভাইসে PLAY টিপুন:
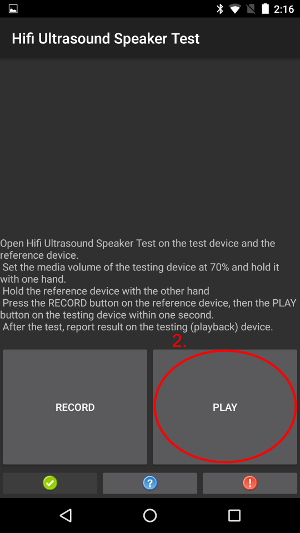
চিত্র ১৫। পরীক্ষামূলক ডিভাইসে খেলুন।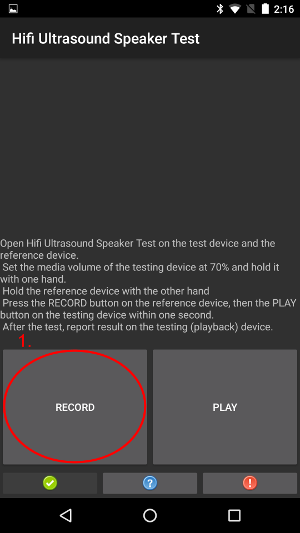
চিত্র ১৬। রেফারেন্স ডিভাইসে রেকর্ড। - পরীক্ষা শেষ হওয়ার জন্য অপেক্ষা করুন। অপেক্ষা করার সময়, ডিভাইসগুলি নিম্নলিখিত চিত্রগুলির মতো দেখা উচিত। ধাপ ৪-এ দেখানো স্ক্রিনগুলি না দেখা পর্যন্ত কিছুই করবেন না।
চিত্র ১৭। পরীক্ষামূলক ডিভাইসে পরীক্ষা চলছে।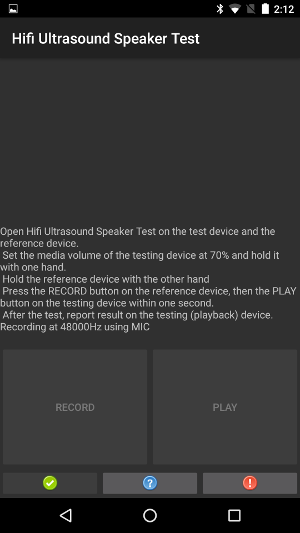
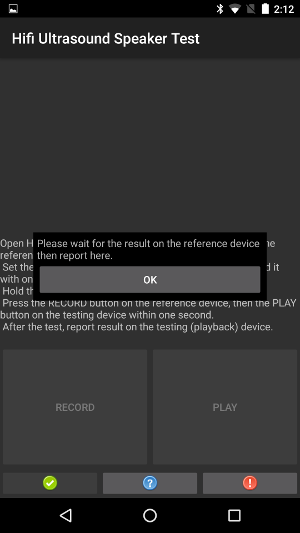
চিত্র ১৮। রেফারেন্স ডিভাইসে পরীক্ষা চলছে। - যখন আপনি রেফারেন্স ডিভাইসে ডায়ালগটি দেখতে পাবেন, তখন পরীক্ষা ডিভাইসে ঠিক আছে টিপুন।
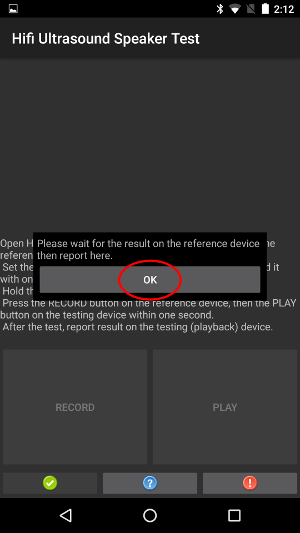
চিত্র ১৯। ডায়ালগের সাহায্যে ডিভাইস পরীক্ষা করুন।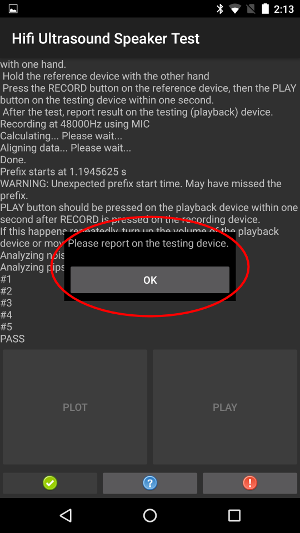
চিত্র ২০। ডায়ালগ সহ রেফারেন্স ডিভাইস। - রেফারেন্স ডিভাইসে, যদি PASS লেখাটি দেখানো হয়, তাহলে পরীক্ষা ডিভাইসের সবুজ বোতাম টিপুন।
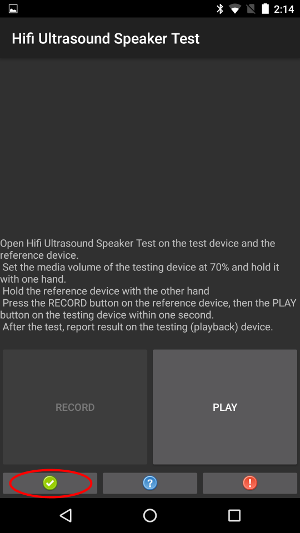
চিত্র ২১। পরীক্ষামূলক ডিভাইসে সবুজ বোতাম।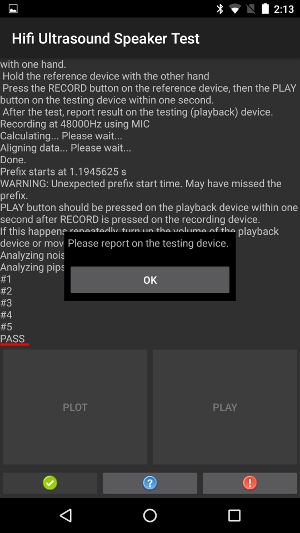
চিত্র ২২। রেফারেন্স ডিভাইসটি PASS দেখায়। - রেফারেন্স ডিভাইসে, যদি "FAIL" লেখাটি দেখানো হয়, তাহলে পরীক্ষা ডিভাইসে লাল বোতাম টিপুন। তারপর আপনি যদি চান, তাহলে ধাপ ১ থেকে এই ক্রমটি পুনরাবৃত্তি করে পরীক্ষাটি পুনরাবৃত্তি করতে পারেন।
চিত্র ২৩। পরীক্ষামূলক ডিভাইসে লাল বোতাম।
চিত্র ২৪। ডায়ালগ সহ রেফারেন্স ডিভাইস। - ঐচ্ছিক: রেফারেন্স ডিভাইসে PLOT ট্যাপ করে গণনা করা প্রতিক্রিয়াটি প্লট করুন। নিয়ার আল্ট্রাসাউন্ড মাইক্রোফোন টেস্টের নির্দেশাবলী দেখুন।