2025 年 3 月 27 日より、AOSP のビルドとコントリビューションには aosp-main
ではなく android-latest-release
を使用することをおすすめします。詳細については、AOSP の変更をご覧ください。
近超音波のテスト
コレクションでコンテンツを整理
必要に応じて、コンテンツの保存と分類を行います。
このページのコンテンツやコードサンプルは、コンテンツ ライセンスに記載のライセンスに従います。Java および OpenJDK は Oracle および関連会社の商標または登録商標です。
最終更新日 2025-07-26 UTC。
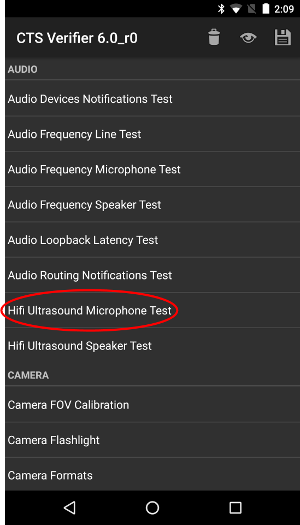
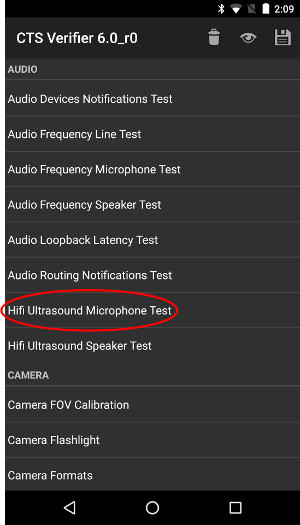
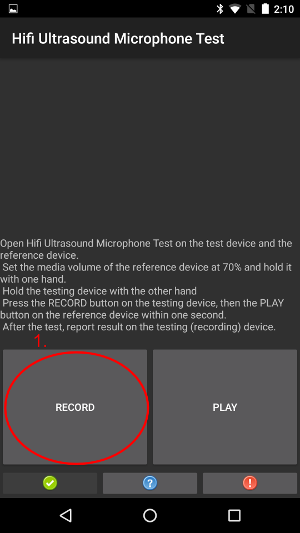
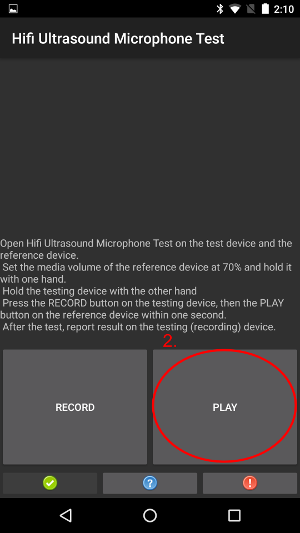
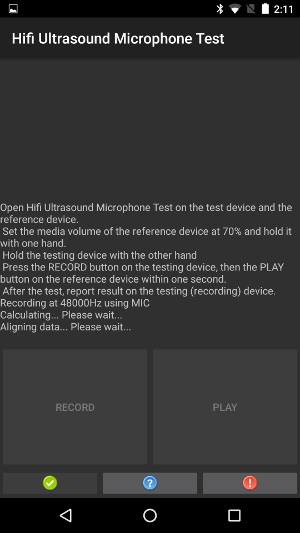
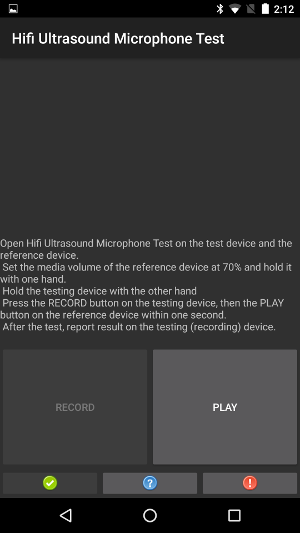
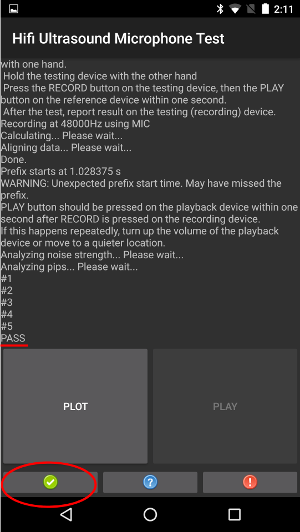
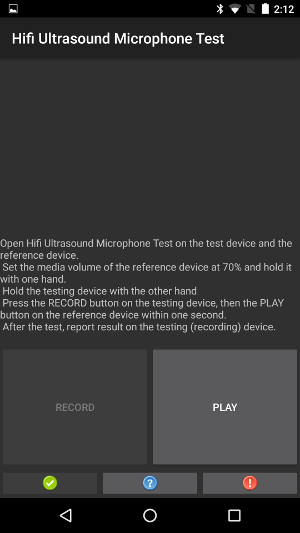
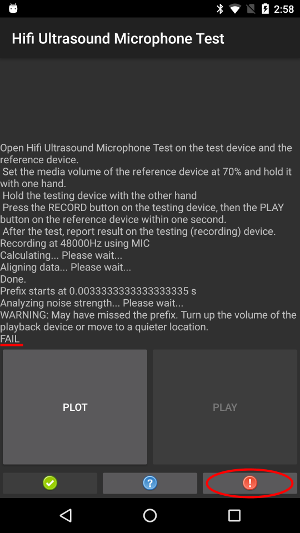
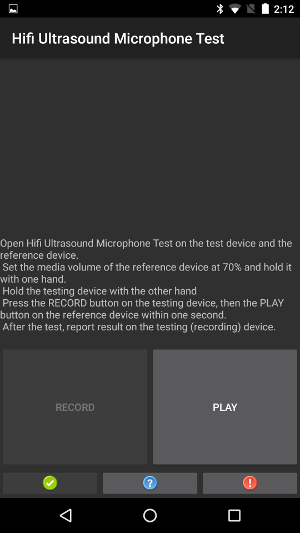
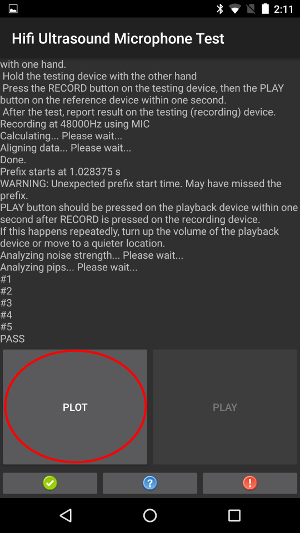
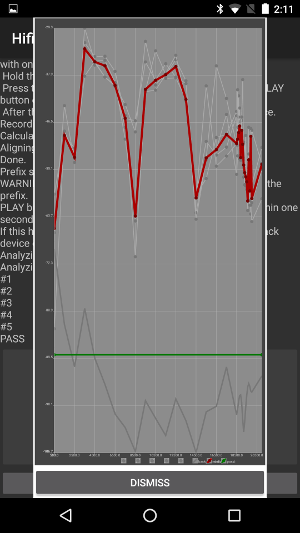
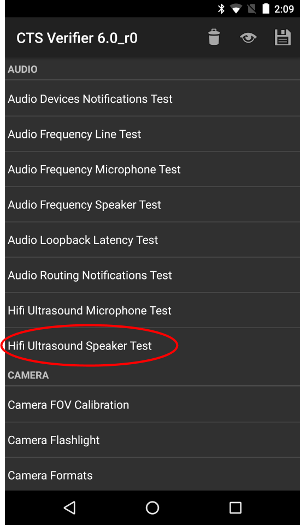
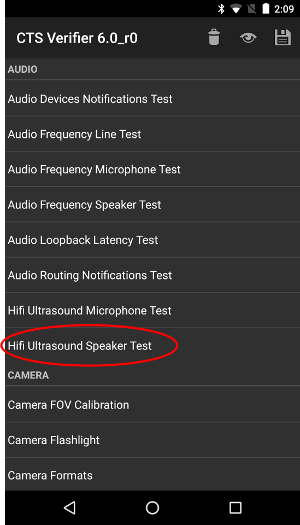
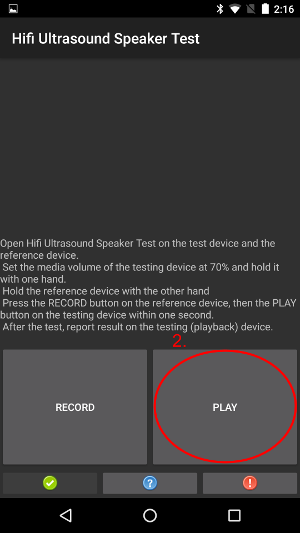
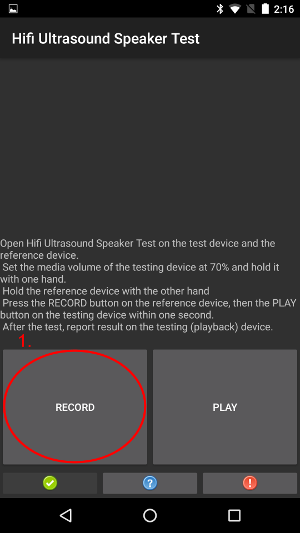
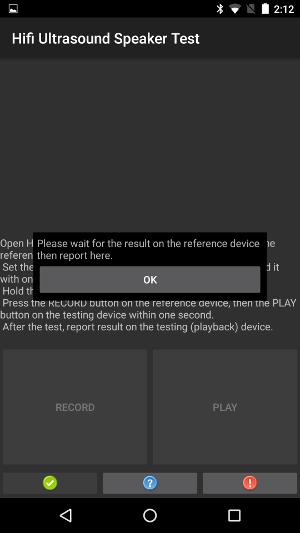
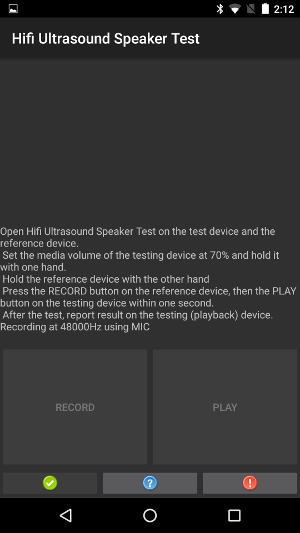
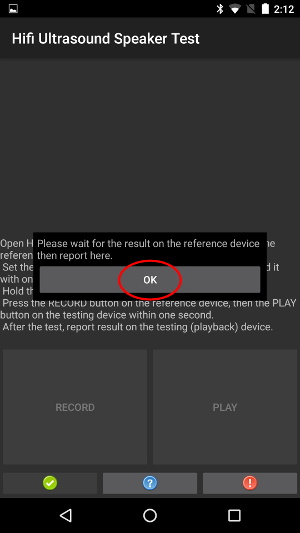
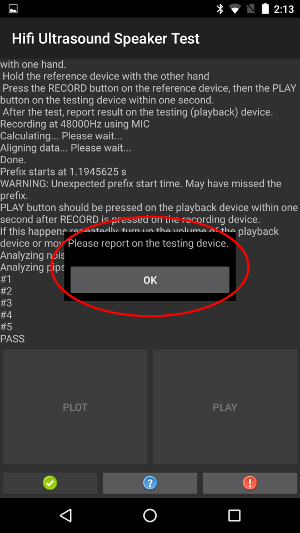
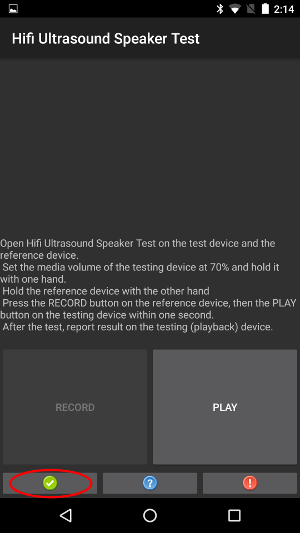
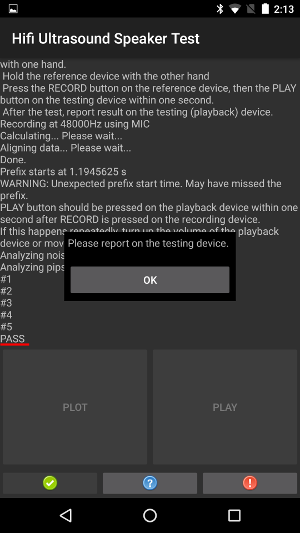
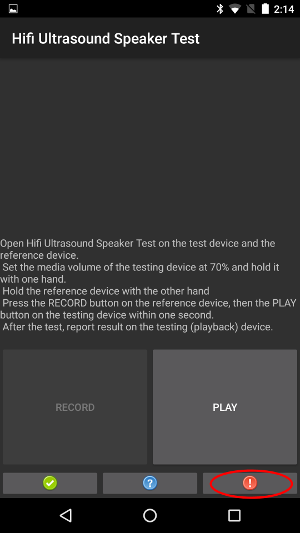
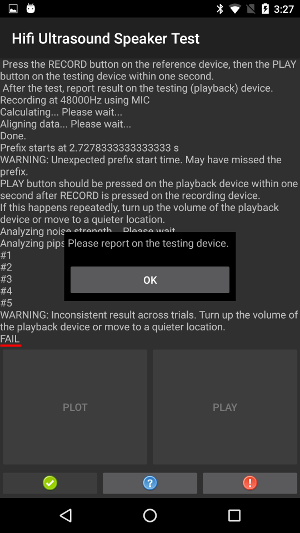
[[["わかりやすい","easyToUnderstand","thumb-up"],["問題の解決に役立った","solvedMyProblem","thumb-up"],["その他","otherUp","thumb-up"]],[["必要な情報がない","missingTheInformationINeed","thumb-down"],["複雑すぎる / 手順が多すぎる","tooComplicatedTooManySteps","thumb-down"],["最新ではない","outOfDate","thumb-down"],["翻訳に関する問題","translationIssue","thumb-down"],["サンプル / コードに問題がある","samplesCodeIssue","thumb-down"],["その他","otherDown","thumb-down"]],["最終更新日 2025-07-26 UTC。"],[],[],null,["# Near ultrasound tests\n\nThis page contains steps for conducting near ultrasound (formerly known\nas hifi ultrasound) microphone and speaker tests. See the [Audio](/docs/core/audio) section for general audio\nimplementation instructions.\n\nNear ultrasound microphone tests\n--------------------------------\n\nPrerequisites: Prepare two devices, one as the test device, one as the reference\ndevice. The reference can be any device that is known to produce near ultrasound sound.\n\n|-------------------------------------------------------------------------------------------------------------------------------------------------------------------|----------------------|\n| Step 1: Open Near Ultrasound Microphone Tests on both devices | |\n| Test device | Reference device |\n| Step 2: After opening the test, press RECORD on the test device, then quickly press PLAY on the reference device. | |\n| Test device | Reference device |\n| Step 3: Wait for the test to finish. While waiting, the devices should look like the following screenshots. Do nothing until you see the screens shown in Step 4. | |\n| Test device | Reference device |\n| Step 4a: On the test device, if text PASS is shown, report passed by pressing the green button. | |\n| Test device | Reference device |\n| Step 4b: On the test device, if text FAIL is shown, report failed by pressing the red button. Afterward you can repeat from step 1 to repeat the test if desired. | |\n| Test device | Reference device |\n| Extra step: This step isn't required. You can plot the calculated response using the PLOT button on the test device. | |\n| Test device | Reference device N/A |\n\nNear ultrasound speaker tests\n-----------------------------\n\nPrerequisites: Prepare two devices, one as the test device, one as the reference\ndevice. The reference can be any device that is known to record near ultrasound sound.\n\n|--------------------------------------------------------------------------------------------------------------------------------------------------------------------------------------------------------------------|------------------|\n| Step 1: Open Near Ultrasound Speaker Tests on both devices | |\n| Test device | Reference device |\n| Step 2: After opening the test, press RECORD on the reference device, then quickly press PLAY on the test device. | |\n| Test device | Reference device |\n| Step 3: Wait for the test to finish. While waiting, the devices should look like the following screenshots. Do nothing until you see the screens shown in Step 4. | |\n| Test device | Reference device |\n| Step 4: When you see the popup on the reference device, press OK on the test device. | |\n| Test device | Reference device |\n| Step 5a: On the reference device, if text PASS is shown, report passed by pressing the green button on the test device. | |\n| Test device | Reference device |\n| Step 5b: On the reference device, if text FAIL is shown, report failed by pressing the red button on the test device. Afterward you can repeat from step 1 to repeat the test if desired. | |\n| Test device | Reference device |\n| Extra step: This step isn't required. You can plot the calculated response using the PLOT button on the reference device. See the instructions in [Near Ultrasound Microphone Test](#ultrasound_microphone_tests). | |"]]