
इस पेज पर, नियर अल्ट्रासाउंड (इसे पहले हाईफ़ाई अल्ट्रासाउंड कहा जाता था) माइक्रोफ़ोन और स्पीकर की जांच करने का तरीका बताया गया है. ऑडियो लागू करने के सामान्य निर्देशों के लिए, ऑडियो सेक्शन देखें.
अल्ट्रासाउंड माइक्रोफ़ोन की जांच
पूर्वापेक्षाएँ: दो उपकरण तैयार करें, एक परीक्षण उपकरण के रूप में, दूसरा संदर्भ उपकरण के रूप में. रेफ़रंस के तौर पर, ऐसे किसी भी डिवाइस का इस्तेमाल किया जा सकता है जो अल्ट्रासाउंड के आस-पास की फ़्रीक्वेंसी वाली आवाज़ें जनरेट करता हो.
- दोनों डिवाइसों पर Hifi Ultrasound Microphone Test खोलें:

पहली इमेज. टेस्ट डिवाइस पर, हाई-फ़्रीक्वेंसी अल्ट्रासाउंड माइक्रोफ़ोन की जांच.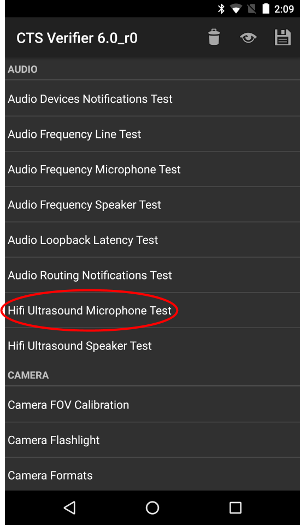
दूसरी इमेज. रेफ़रंस डिवाइस पर, हाई-फ़्रीक्वेंसी अल्ट्रासाउंड माइक्रोफ़ोन टेस्ट. - टेस्ट डिवाइस पर RECORD दबाएं. इसके बाद, रेफ़रंस डिवाइस पर PLAY दबाएं:
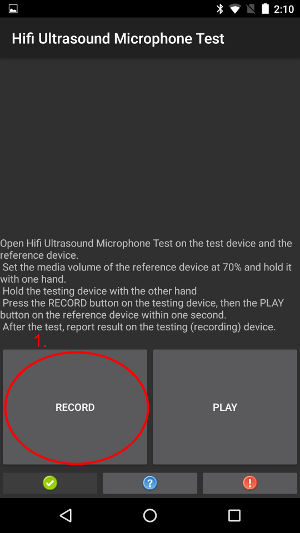
तीसरी इमेज. टेस्ट डिवाइस पर RECORD दबाएं.
चौथी इमेज. रेफ़रंस डिवाइस पर, 'चलाएं' बटन दबाएं. - टेस्ट पूरा होने तक इंतज़ार करें. इंतज़ार करते समय, डिवाइसों की स्क्रीन पर ये इमेज दिखनी चाहिए. जब तक आपको चरण 4 में दिखाई गई स्क्रीन न दिखाई दे, तब तक कुछ न करें.
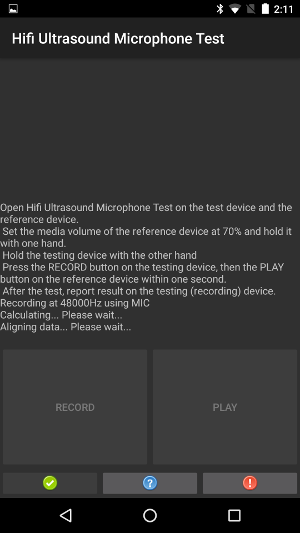
पांचवीं इमेज. परीक्षण डिवाइस पर परीक्षण प्रगति पर है.
छठी इमेज. रेफ़रंस डिवाइस पर टेस्ट चल रहा है. - अगर टेस्ट डिवाइस पर PASS लिखा हुआ दिखता है, तो हरे रंग का बटन दबाएं.
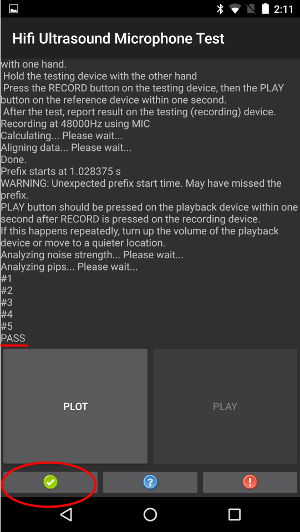
सातवीं इमेज. टेस्ट डिवाइस पर 'पास' दिख रहा है.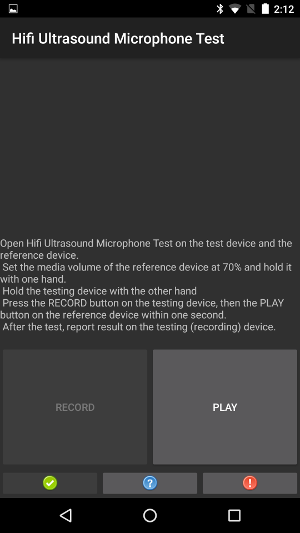
आठवीं इमेज. टेस्ट डिवाइस पर PASS दिखने के दौरान रेफ़रंस डिवाइस. - अगर टेस्ट डिवाइस पर FAIL टेक्स्ट दिखता है, तो लाल बटन दबाएं. इसके बाद, अगर आपको टेस्ट फिर से करना है, तो पहले चरण से लेकर इस चरण तक की प्रोसेस को दोहराएं.
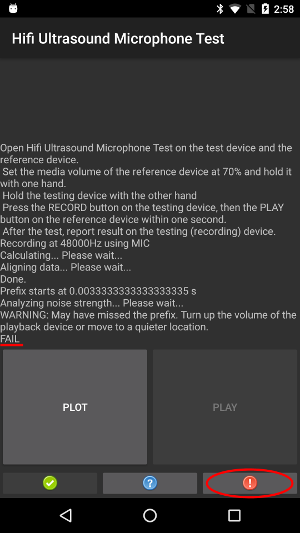
नौवीं इमेज. टेस्ट डिवाइस पर FAIL दिखाया गया है.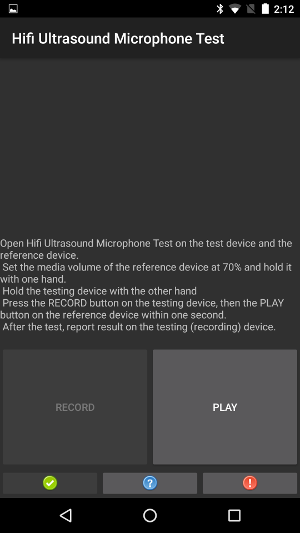
चित्र 10. संदर्भ उपकरण जबकि परीक्षण उपकरण विफल दर्शाता है. - वैकल्पिक: परीक्षण डिवाइस पर PLOT पर टैप करके गणना की गई प्रतिक्रिया को प्लॉट करें.
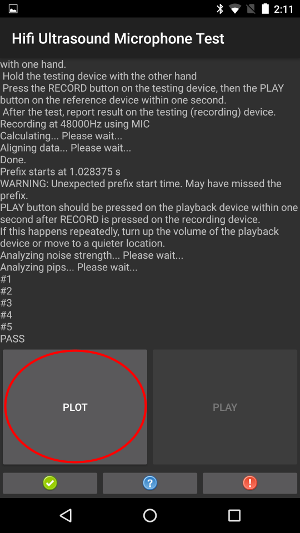
ग्यारहवीं इमेज. परीक्षण डिवाइस पर PLOT बनाएं.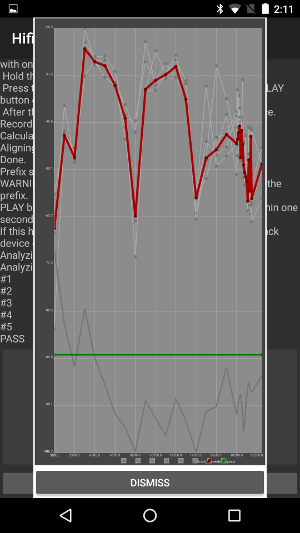
बारहवीं इमेज. PLOT के दौरान संदर्भ डिवाइस.
निकट अल्ट्रासाउंड स्पीकर परीक्षण
पूर्वापेक्षाएँ: दो उपकरण तैयार करें, एक परीक्षण उपकरण के रूप में, दूसरा संदर्भ उपकरण के रूप में. संदर्भ कोई भी उपकरण हो सकता है जो अल्ट्रासाउंड ध्वनि को रिकॉर्ड करने के लिए जाना जाता है.
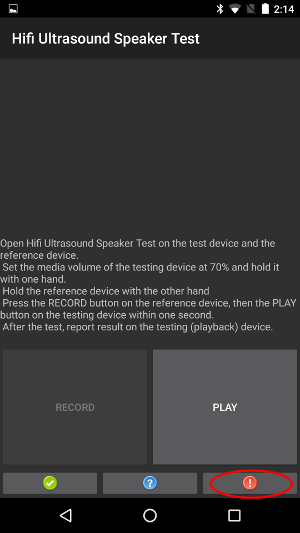
- दोनों डिवाइसों पर Hifi Ultrasound Speaker Test खोलें:

चित्र 13. परीक्षण डिवाइस पर Hifi अल्ट्रासाउंड स्पीकर परीक्षण.
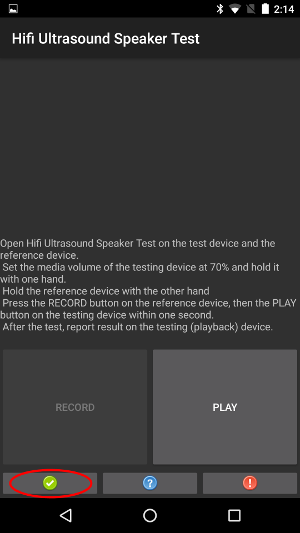
चौदहवीं इमेज. रेफ़रंस डिवाइस पर, हाई-फ़्रीक्वेंसी वाले अल्ट्रासाउंड स्पीकर की जांच. - संदर्भ डिवाइस पर रिकॉर्ड दबाएँ, फिर परीक्षण डिवाइस पर चलाएँ दबाएँ:

15वीं इमेज. टेस्ट डिवाइस पर PLAY करें.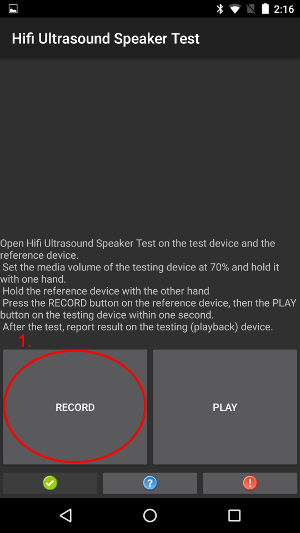
16वीं इमेज. संदर्भ डिवाइस पर RECORD करें. - टेस्ट पूरा होने तक इंतज़ार करें. इंतज़ार करते समय, डिवाइसों की स्क्रीन पर ये इमेज दिखनी चाहिए. जब तक आपको चौथे चरण में दिखाई गई स्क्रीन न दिखें, तब तक कुछ न करें.
17वीं इमेज. टेस्ट डिवाइस पर टेस्ट चल रहा है.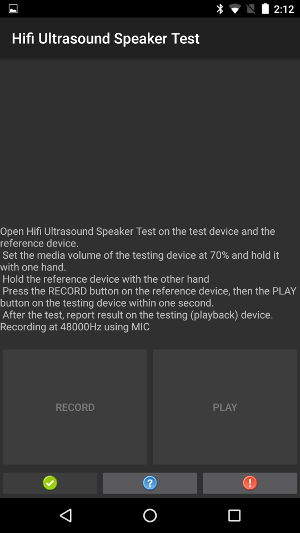
18वीं इमेज. रेफ़रंस डिवाइस पर टेस्ट चल रहा है. - जब आपको रेफ़रंस डिवाइस पर डायलॉग बॉक्स दिखे, तब टेस्ट डिवाइस पर ठीक है दबाएं.
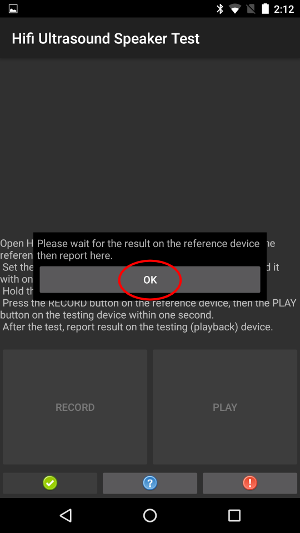
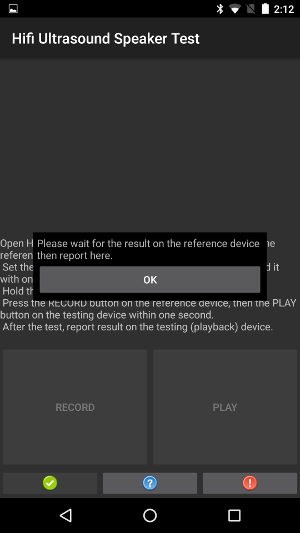
19वीं इमेज. डायलॉग बॉक्स के साथ डिवाइस की जांच करें.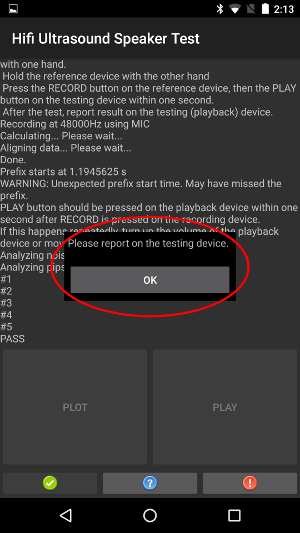
20वीं इमेज. डायलॉग के साथ रेफ़रंस डिवाइस. - अगर रेफ़रंस डिवाइस पर PASS टेक्स्ट दिखता है, तो टेस्ट डिवाइस पर मौजूद हरे बटन को दबाएं.
21वीं इमेज. टेस्ट के लिए उपलब्ध डिवाइस पर मौजूद हरा बटन.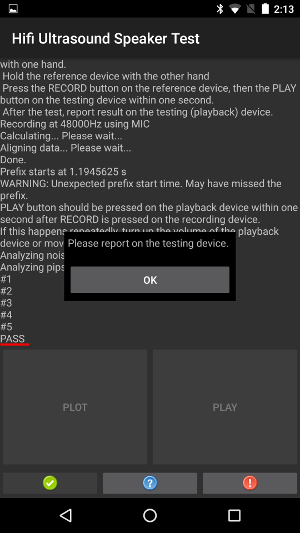
22वीं इमेज. रेफ़रंस डिवाइस पर PASS दिखता है. - अगर रेफ़रंस डिवाइस पर FAIL टेक्स्ट दिखता है, तो टेस्ट डिवाइस पर मौजूद लाल बटन दबाएं.
इसके बाद, अगर आपको टेस्ट दोहराना है, तो पहले चरण से इस क्रम को दोहराया जा सकता है.
चित्र 23. टेस्ट डिवाइस पर मौजूद लाल बटन.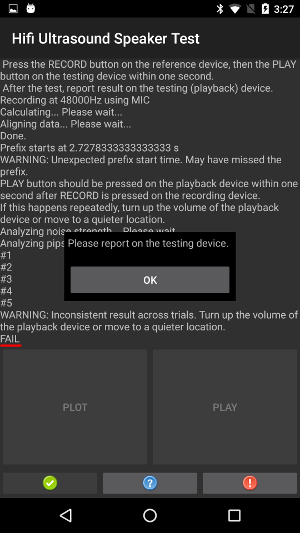
24वीं इमेज. डायलॉग के साथ रेफ़रंस डिवाइस. - ज़रूरी नहीं: रेफ़रंस डिवाइस पर, PLOT पर टैप करके, कैलकुलेट किए गए जवाब को प्लॉट करें. अल्ट्रासाउंड के आस-पास माइक्रोफ़ोन टेस्ट में दिए गए निर्देश देखें.