自 2025 年 3 月 27 日起,我們建議您使用 android-latest-release
而非 aosp-main
建構及貢獻 AOSP。詳情請參閱「Android 開放原始碼計畫變更」。
近場超音波檢測
透過集合功能整理內容
你可以依據偏好儲存及分類內容。
這個頁面中的內容和程式碼範例均受《內容授權》中的授權所規範。Java 與 OpenJDK 是 Oracle 和/或其關係企業的商標或註冊商標。
上次更新時間:2025-07-27 (世界標準時間)。
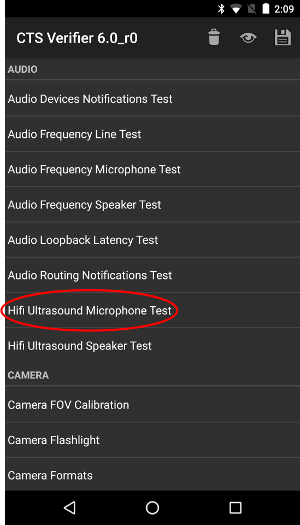
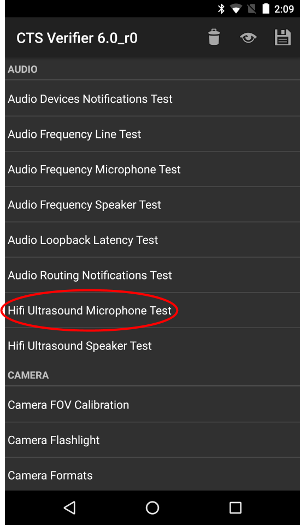
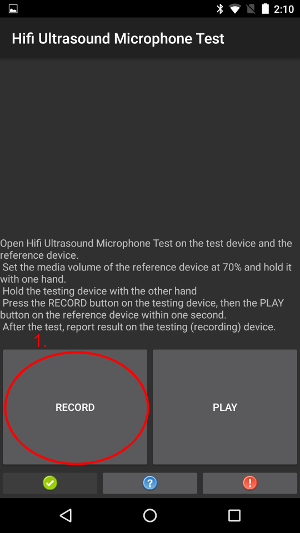
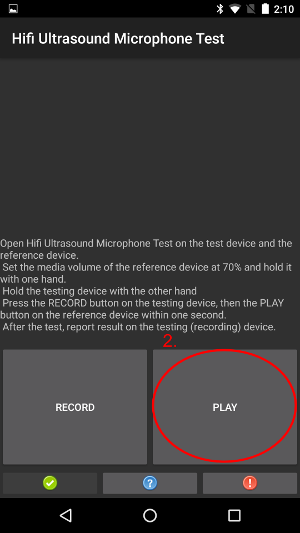
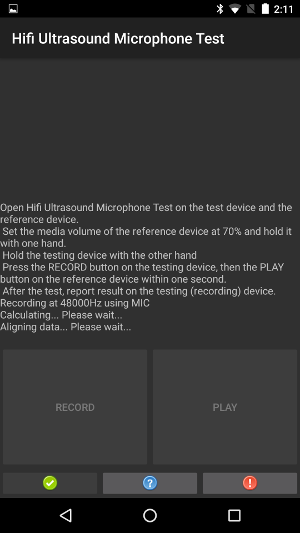
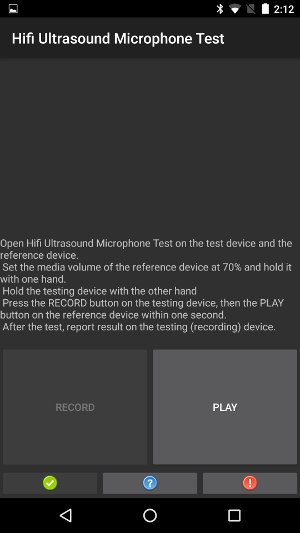
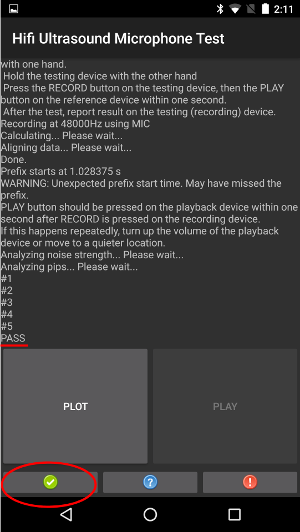
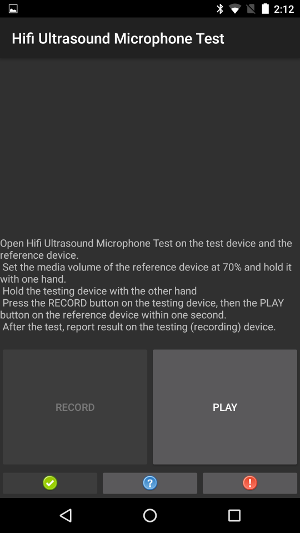
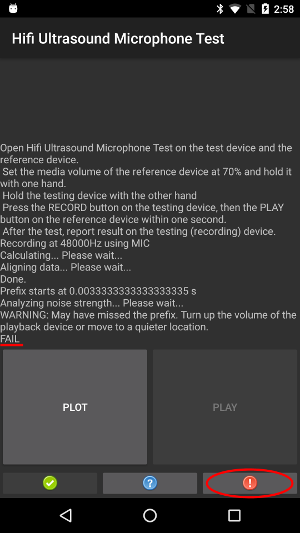
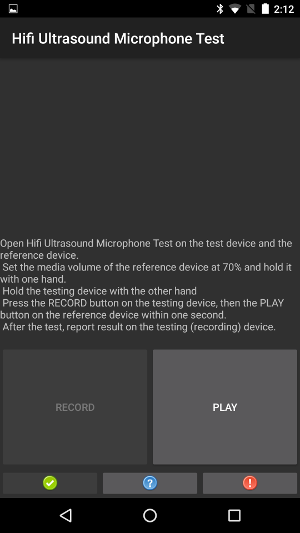
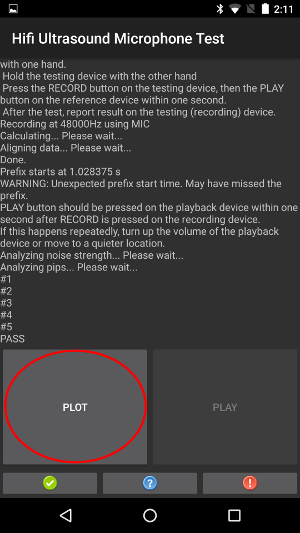
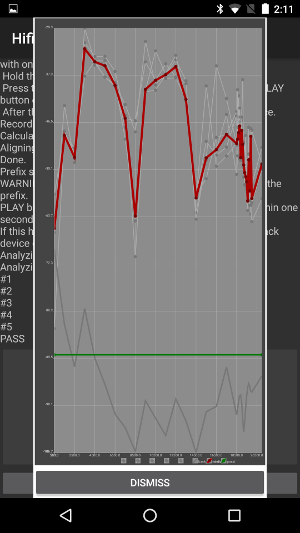
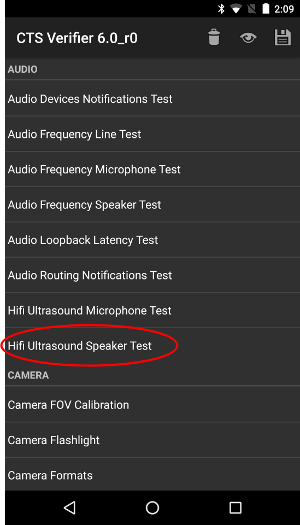
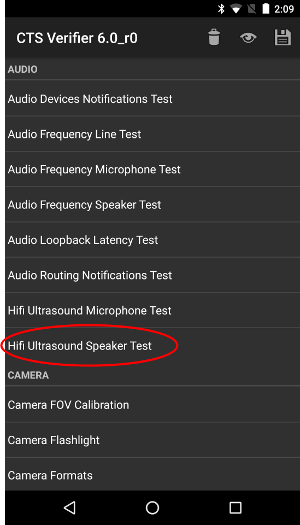
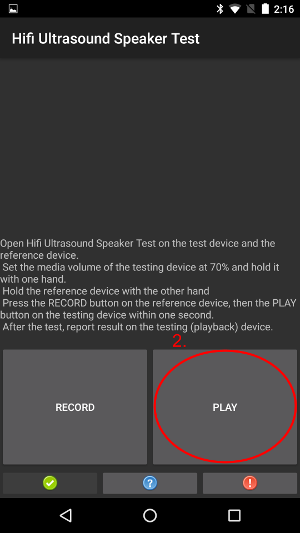
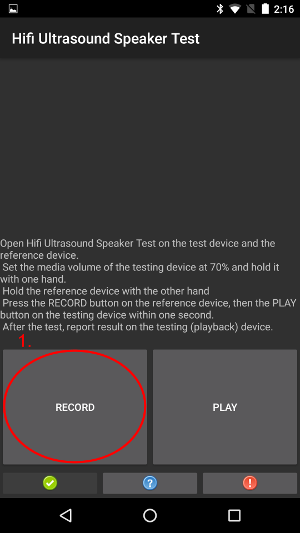
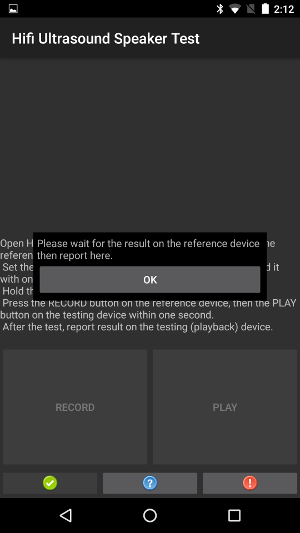
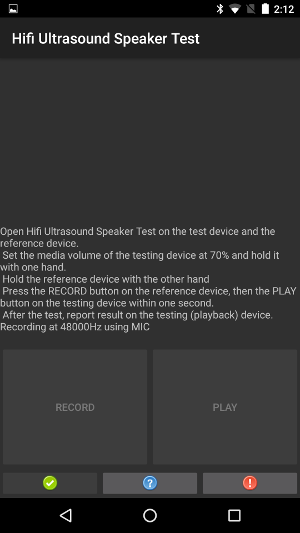
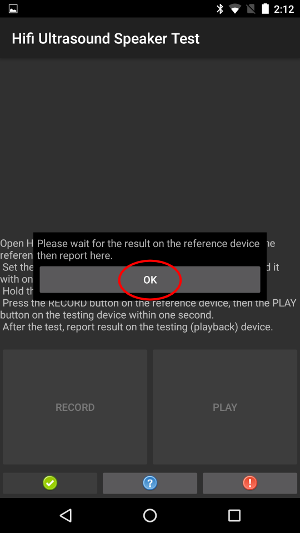
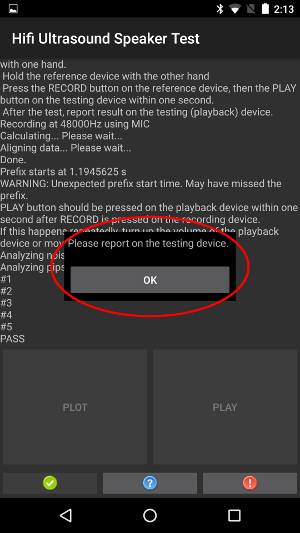
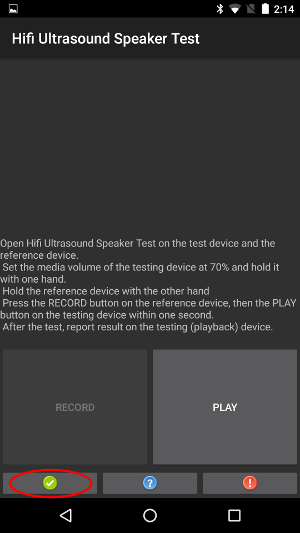
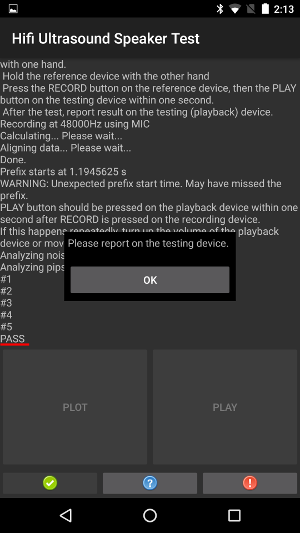
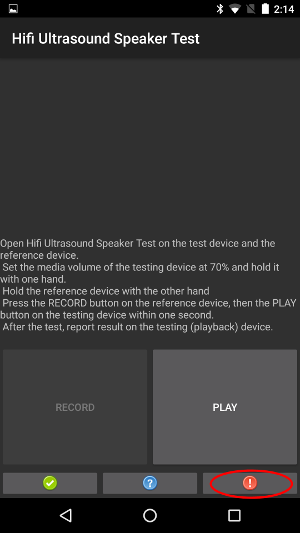
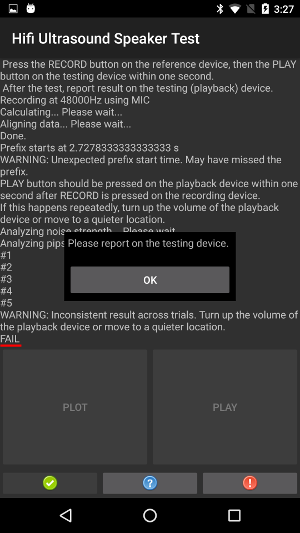
[[["容易理解","easyToUnderstand","thumb-up"],["確實解決了我的問題","solvedMyProblem","thumb-up"],["其他","otherUp","thumb-up"]],[["缺少我需要的資訊","missingTheInformationINeed","thumb-down"],["過於複雜/步驟過多","tooComplicatedTooManySteps","thumb-down"],["過時","outOfDate","thumb-down"],["翻譯問題","translationIssue","thumb-down"],["示例/程式碼問題","samplesCodeIssue","thumb-down"],["其他","otherDown","thumb-down"]],["上次更新時間:2025-07-27 (世界標準時間)。"],[],[],null,["# Near ultrasound tests\n\nThis page contains steps for conducting near ultrasound (formerly known\nas hifi ultrasound) microphone and speaker tests. See the [Audio](/docs/core/audio) section for general audio\nimplementation instructions.\n\nNear ultrasound microphone tests\n--------------------------------\n\nPrerequisites: Prepare two devices, one as the test device, one as the reference\ndevice. The reference can be any device that is known to produce near ultrasound sound.\n\n|-------------------------------------------------------------------------------------------------------------------------------------------------------------------|----------------------|\n| Step 1: Open Near Ultrasound Microphone Tests on both devices | |\n| Test device | Reference device |\n| Step 2: After opening the test, press RECORD on the test device, then quickly press PLAY on the reference device. | |\n| Test device | Reference device |\n| Step 3: Wait for the test to finish. While waiting, the devices should look like the following screenshots. Do nothing until you see the screens shown in Step 4. | |\n| Test device | Reference device |\n| Step 4a: On the test device, if text PASS is shown, report passed by pressing the green button. | |\n| Test device | Reference device |\n| Step 4b: On the test device, if text FAIL is shown, report failed by pressing the red button. Afterward you can repeat from step 1 to repeat the test if desired. | |\n| Test device | Reference device |\n| Extra step: This step isn't required. You can plot the calculated response using the PLOT button on the test device. | |\n| Test device | Reference device N/A |\n\nNear ultrasound speaker tests\n-----------------------------\n\nPrerequisites: Prepare two devices, one as the test device, one as the reference\ndevice. The reference can be any device that is known to record near ultrasound sound.\n\n|--------------------------------------------------------------------------------------------------------------------------------------------------------------------------------------------------------------------|------------------|\n| Step 1: Open Near Ultrasound Speaker Tests on both devices | |\n| Test device | Reference device |\n| Step 2: After opening the test, press RECORD on the reference device, then quickly press PLAY on the test device. | |\n| Test device | Reference device |\n| Step 3: Wait for the test to finish. While waiting, the devices should look like the following screenshots. Do nothing until you see the screens shown in Step 4. | |\n| Test device | Reference device |\n| Step 4: When you see the popup on the reference device, press OK on the test device. | |\n| Test device | Reference device |\n| Step 5a: On the reference device, if text PASS is shown, report passed by pressing the green button on the test device. | |\n| Test device | Reference device |\n| Step 5b: On the reference device, if text FAIL is shown, report failed by pressing the red button on the test device. Afterward you can repeat from step 1 to repeat the test if desired. | |\n| Test device | Reference device |\n| Extra step: This step isn't required. You can plot the calculated response using the PLOT button on the reference device. See the instructions in [Near Ultrasound Microphone Test](#ultrasound_microphone_tests). | |"]]