
The audio frequency CTS-V tests require human intervention and some external hardware, including an audio loopback dongle, a USB reference microphone, and external speakers.
To access the tests on this page, see General instructions.
Run the audio frequency line test
This test uses an audio loopback dongle to characterize the left and right line audio output from the 3.5 mm analog jack. The test uses the mic feedback from the plug to capture audio and compute a frequency response for each channel.
A criterion for minimum energy expected in each band (out of four) is applied for each channel.
To run this test:
- Follow the General instructions to access the test.
Tap Yes or No to report whether the device has a physical headset port. If it doesn't have a physical port, mark the test as passed by tapping the green checkmark at the bottom of the screen.
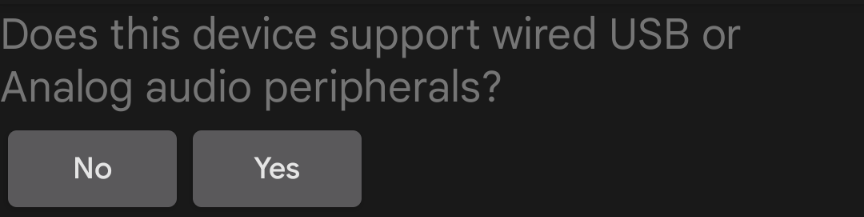
Figure 1. Audio frequency line.
Connect a loopback plug to the headset connector (see Audio loopback plug).
Tap Loopback Plug Ready.
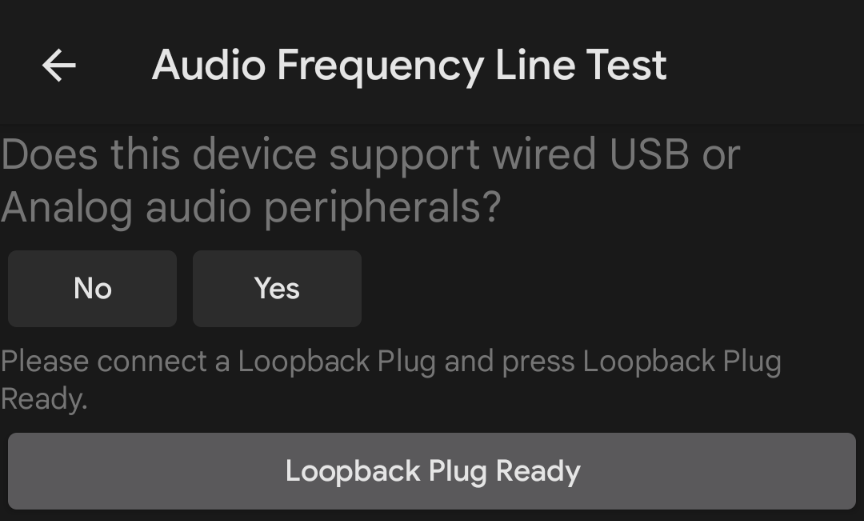
Figure 2. Loopback plug ready.
Tap Test and wait for the test to complete.
When the test is complete, view the results on the test screen.
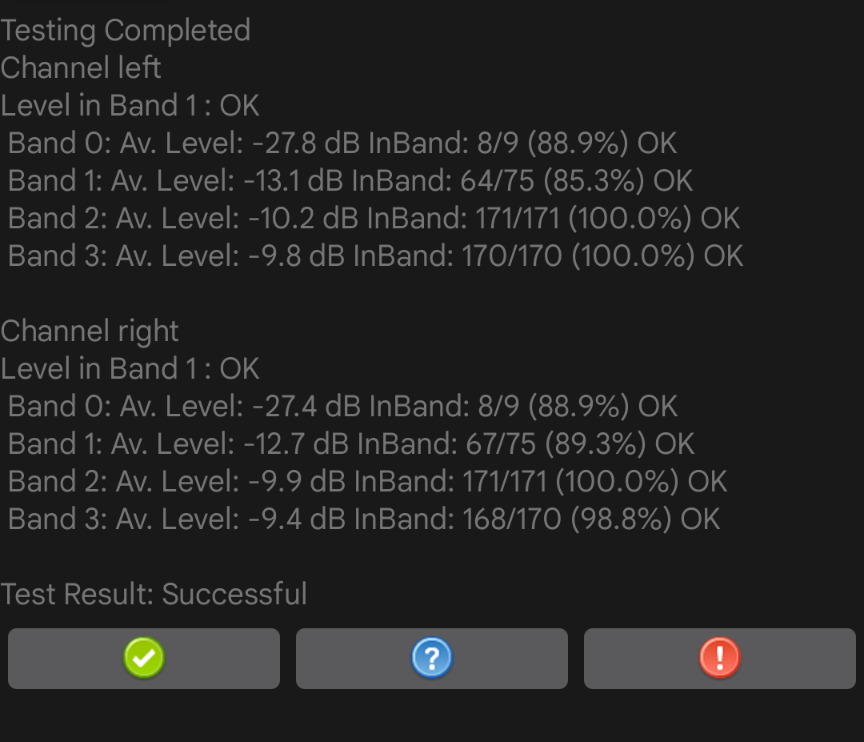
Figure 3. Testing complete.
If the test passed, tap the green checkmark. If the test failed, tap !.
Run the audio frequency speaker test
This test uses the signal captured by an external USB reference microphone to assess the speakers' frequency response.
A reference microphone delivers a flat, uncolored audio response. These microphones are often used for analysis and measurement equipment.
A reference microphone has the following minimum recommended characteristics:
- Flat frequency response on range 100 Hz to 20 kHz: +/- 2 dB S/N ratio 70 dB (A-weighted)
- THD ratio at 1,000 Hz less than 1% at 127 dB SPL
Recommended microphones include the miniDSP USB measurement calibrated microphone and the Dayton Audio UMM-6 USB measurement microphone.
To run the test:
Tap Yes or No to report whether the DUT supports a connection of a USB reference microphone. If it doesn't, mark the test as passed by tapping the green checkmark at the bottom of the screen.
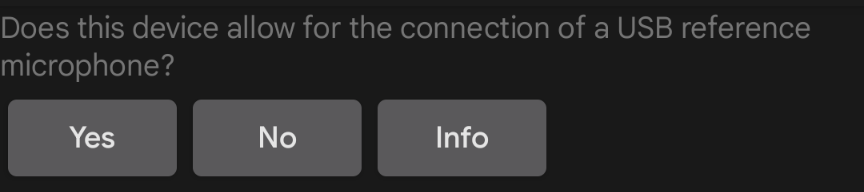
Figure 4. Support USB microphone.
Connect a USB reference microphone to the DUT and place the microphone 20 cm away from the DUT and perpendicular to the center of the screen:
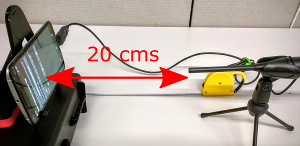
Figure 5. Device under test.
Tap USB Reference microphone ready.
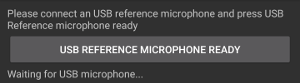
Figure 6. Microphone ready.
Tap Test and wait for the test to complete.
When the test is complete, view the results on the test screen.
If the test passed, tap the green checkmark. If the test failed, tap !.
Run the audio frequency microphone test
This test requires both external speakers for a white noise sound source and a USB reference microphone to calibrate the DUT's internal microphone against. The speakers don't need to have a flat frequency response, but they need good coverage from low frequencies (100 Hz) to high frequencies (20 kHz).
To run the test:
Report whether the DUT has a physical audio output port. If it doesn't, mark the test as passed by tapping the green checkmark at the bottom of the screen.
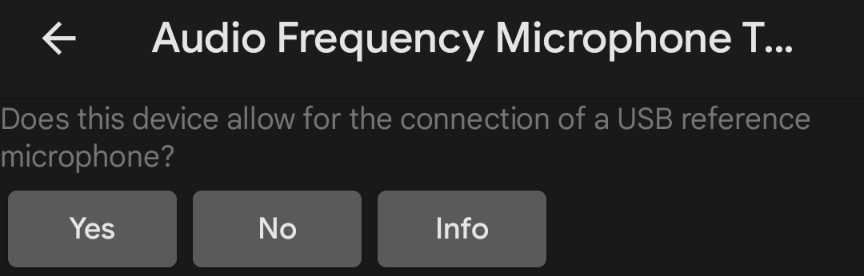
Figure 7. Audio microphone test.
Position the speakers 40 cm perpendicular to the center of the screen of the DUT.
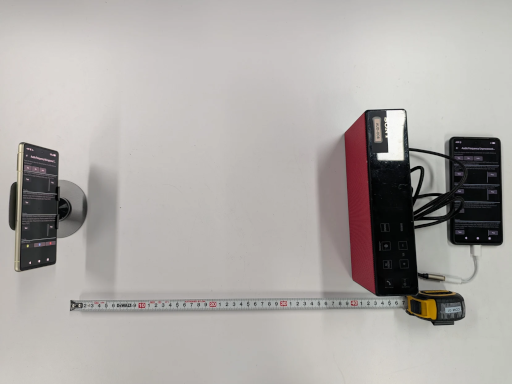
Figure 8. Device under test.
Connect external speakers to the auxiliary phone using the headphone or line out connector. Unplug any USB microphone connected to the DUT.
Tap Play on the auxiliary phone, tap Test on the DUT, and wait for the test to complete.
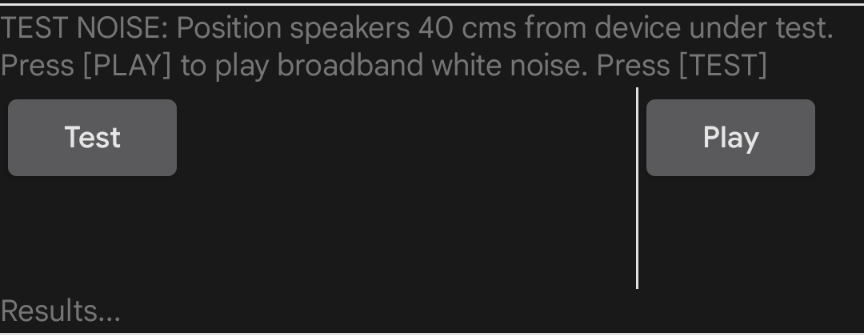
Figure 9. Test noise.
Connect a USB reference microphone to the DUT. Keep the external speakers connected and position the microphone next to the DUT's internal microphone, pointed toward the external speakers.
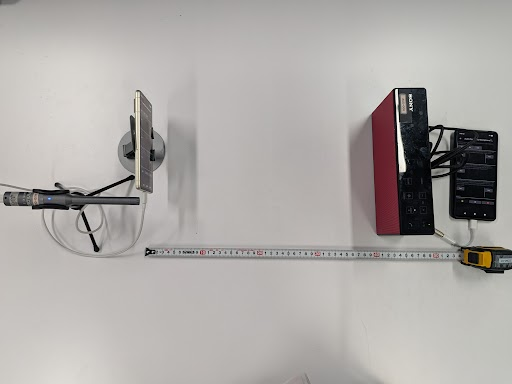
Figure 10. Device position.
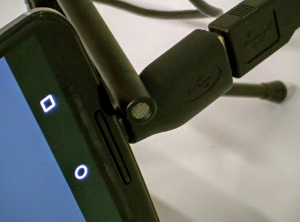
Figure 11. Microphone position.
Tap Test on the DUT to test USB background and wait for the test to complete.
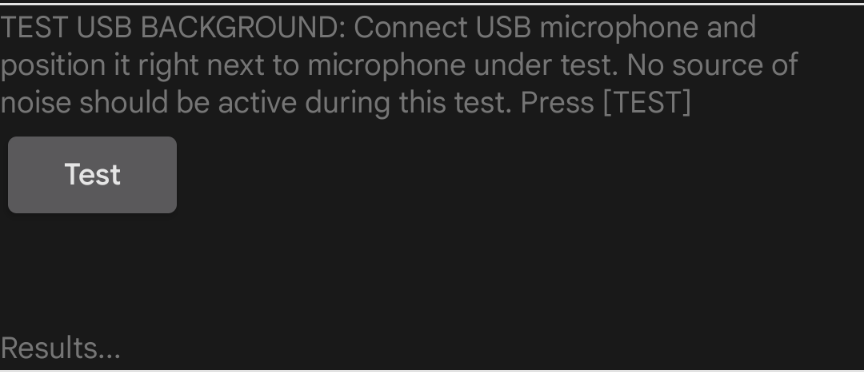
Figure 12. Test USB background.
Tap Play on the auxiliary phone, tap Test on the DUT, and wait for the test to complete.
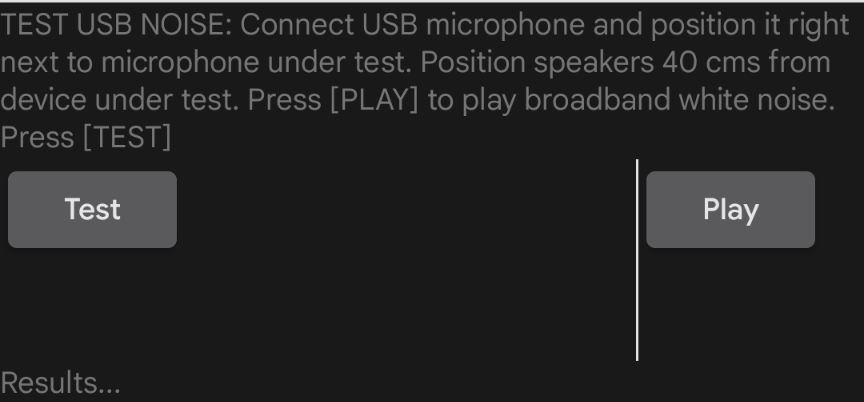
Figure 13. Test USB noise.
Record the test results.
Run the audio frequency unprocessed test and voice recognition test
This test requires a sound pressure level (SPL) meter in addition to a USB reference microphone and external speakers.
For the frequency unprocessed test, if the DUT has a definition for the audio frequency unprocessed feature, all sections of this test must pass. If the DUT doesn't define this feature, the test can pass even if some sections fail.
To run the test:
Connect external speakers to the auxiliary phone. Unplug any USB microphone connected to the DUT.
To conduct the tone test:
- Tap Play on the auxiliary phone.
Move the SPL meter back and forth in a straight line from the speakers until it detects a sound pressure level of 94 dB SPL for the frequency unprocessed test and 90 dB SPL for the frequency voice recognition test. The following figures illustrate the sound pressure level shown on the sound pressure level meter:
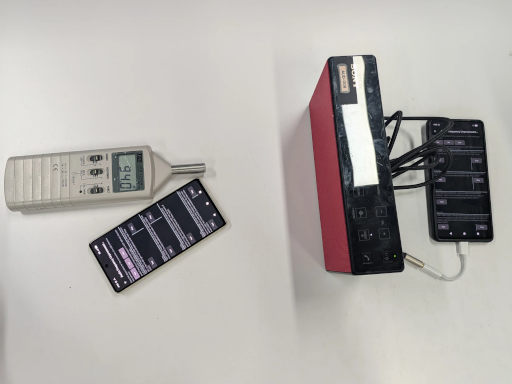
Figure 14. Test tone setup for preset unprocessed.
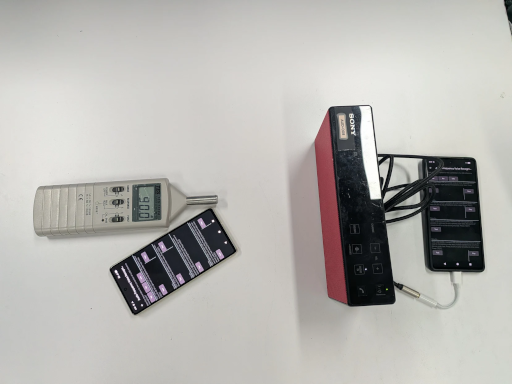
Figure 15. Test tone setup for preset voice recognition.
Move the DUT and place the microphone in about the same location found in the previous step.
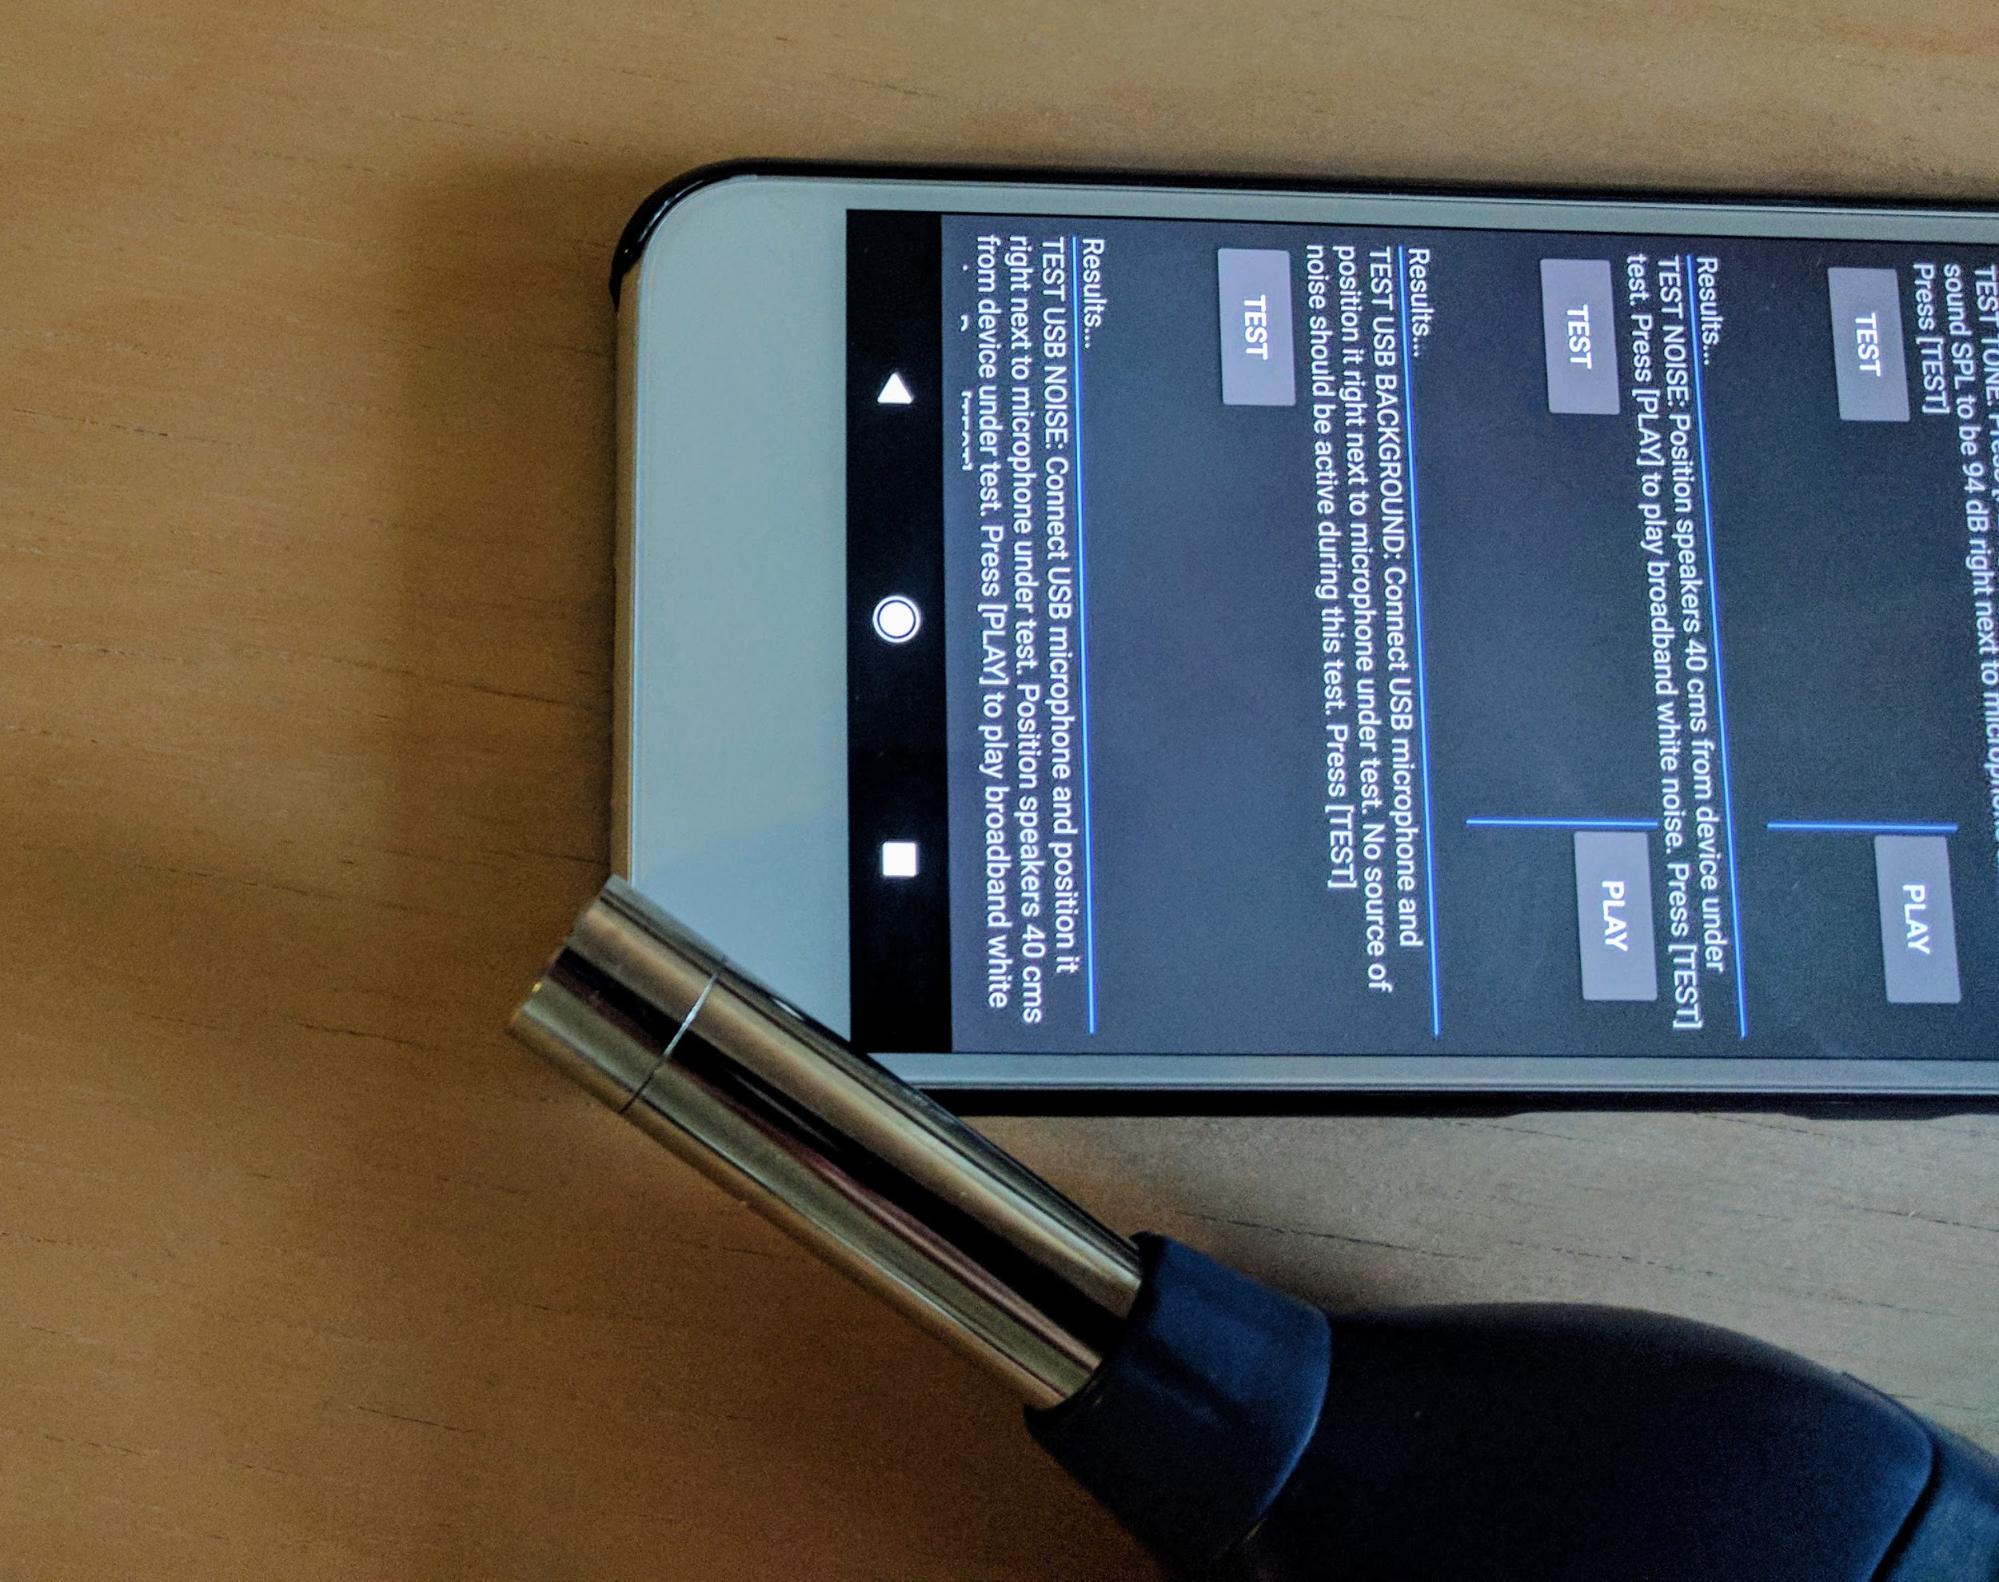
Figure 16. SPL meter placement.
Tap Play on the auxiliary phone.
Tap Test on the DUT. The DUT performs a short audio capture.
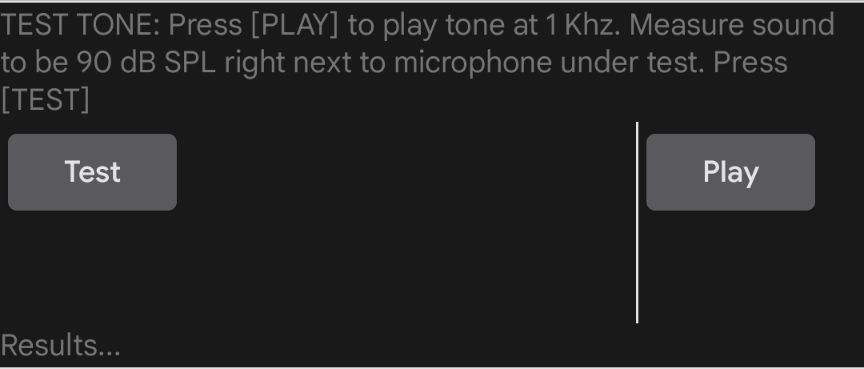
Figure 17. Audio capture.
To conduct the noise test:
Position the speakers perpendicular to the center of the screen of the DUT and 40 cm away.
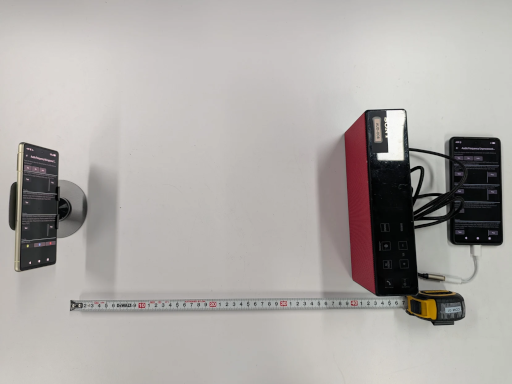
Figure 18. Speaker placement.
Tap Play on the auxiliary phone.
Tap Test on the DUT and wait for the test to complete.
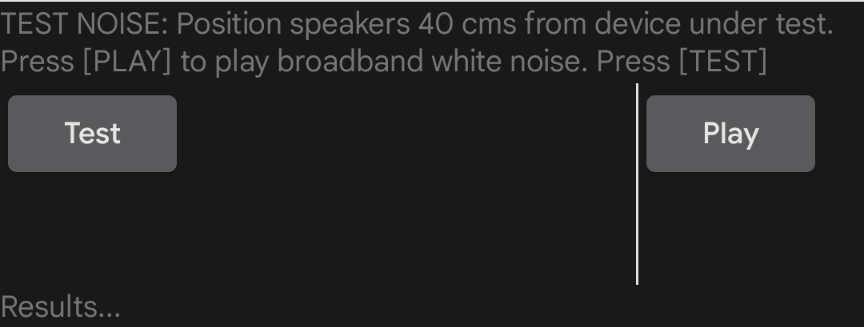
Figure 19. Running test.
To test USB background:
- Connect a USB reference microphone to the DUT and position it close to the DUT's internal microphone.
Tap Test. The test runs and displays results on screen.
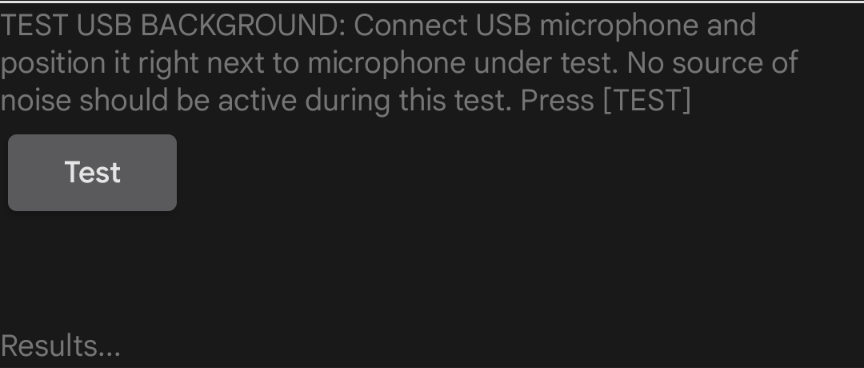
Figure 20. Running test.
To test USB noise:
- Place a USB microphone in the same position as in the previous test.
- Tap Play on the auxiliary phone. The speaker plays broadband noise.
Tap Test on the DUT. The test runs and displays results on screen.
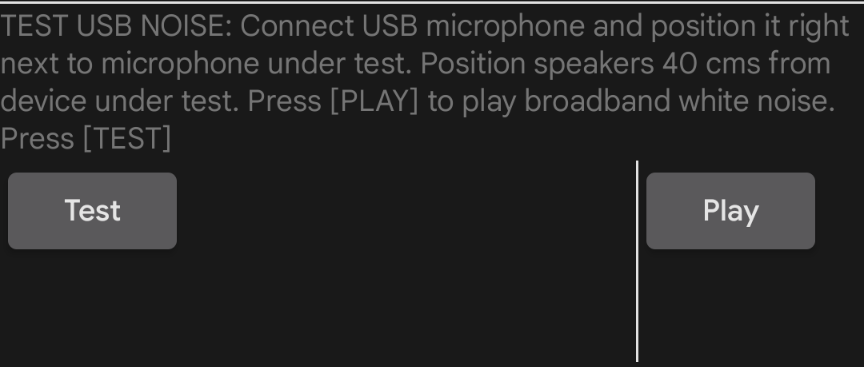
Figure 21. Running test.
View the results for all four sections of the test. Repeat sections as needed.
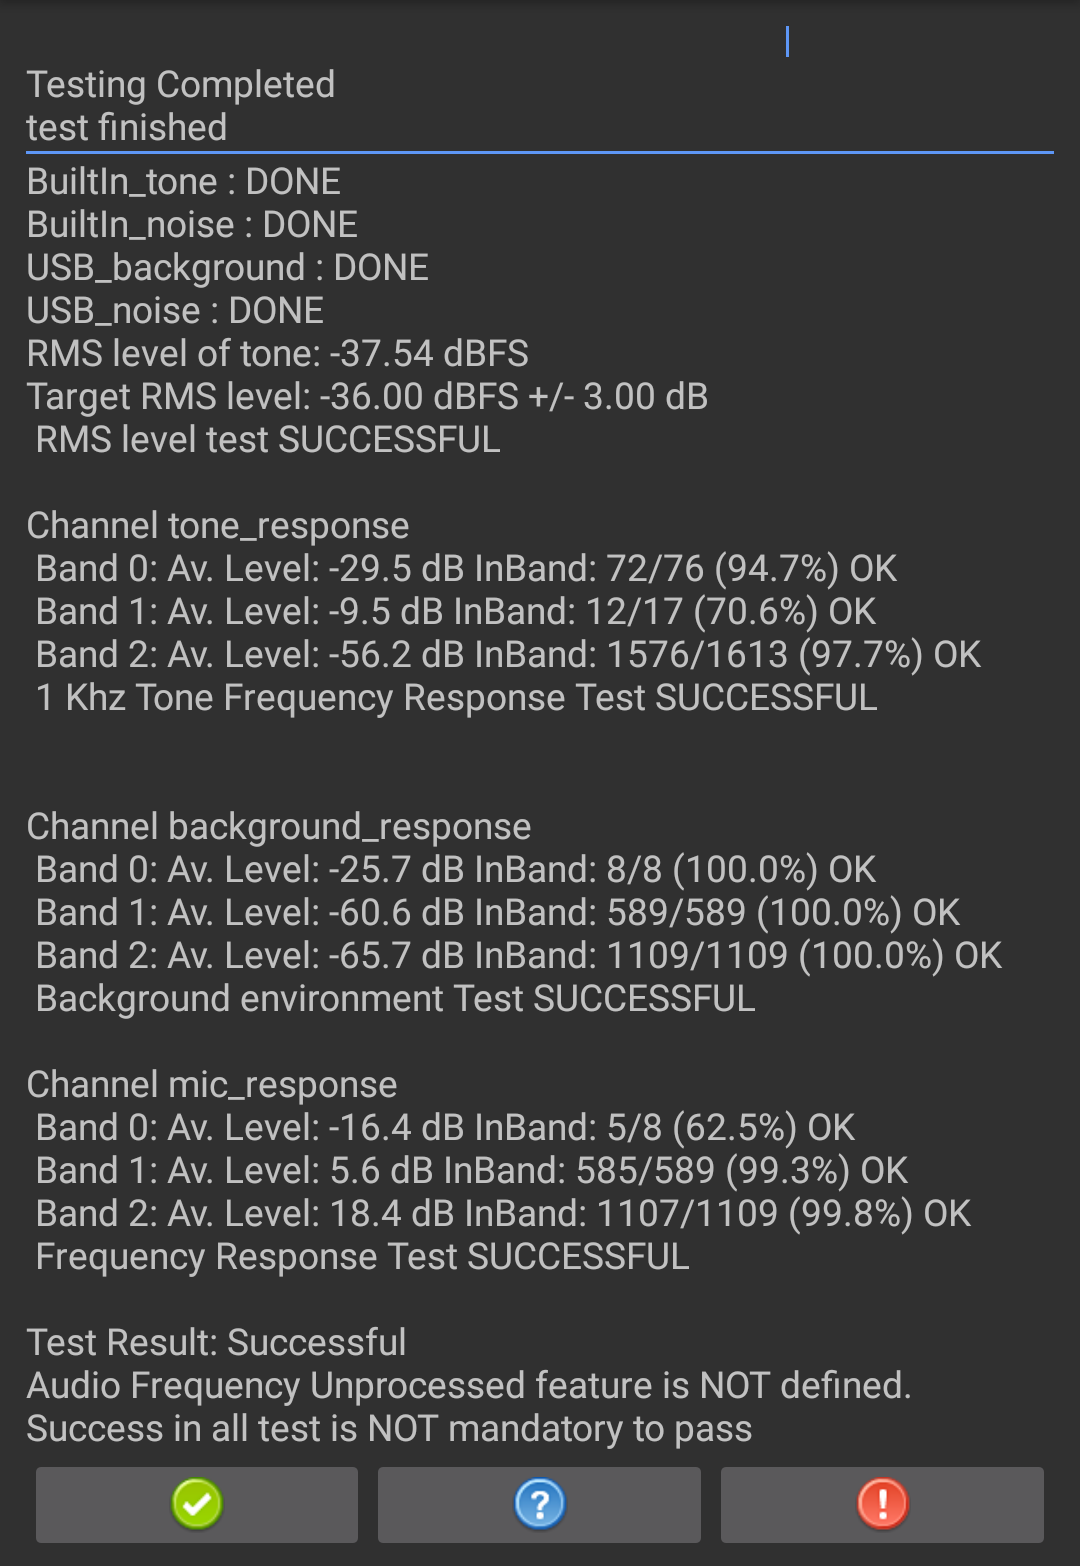
Figure 22. Test results.
If the test passed, tap the green checkmark. If the test failed, tap !.