
This page covers the CTS Verifier (CTS-V) audio tests that determine compliance with CDD audio latency requirements. Before running these tests, read the General instructions.
Audio cold start input latency test
The audio cold start input latency test measures the time required to record audio from a suspended (cold) audio system.
To run the audio cold start input latency test, follow these steps:
- Select the API to test. The latency requirement must pass for only one API.
Tap Start to begin the test run. The test measures the time required to start recording audio from a cold audio system. Results appear on the screen with a pass or fail indication.
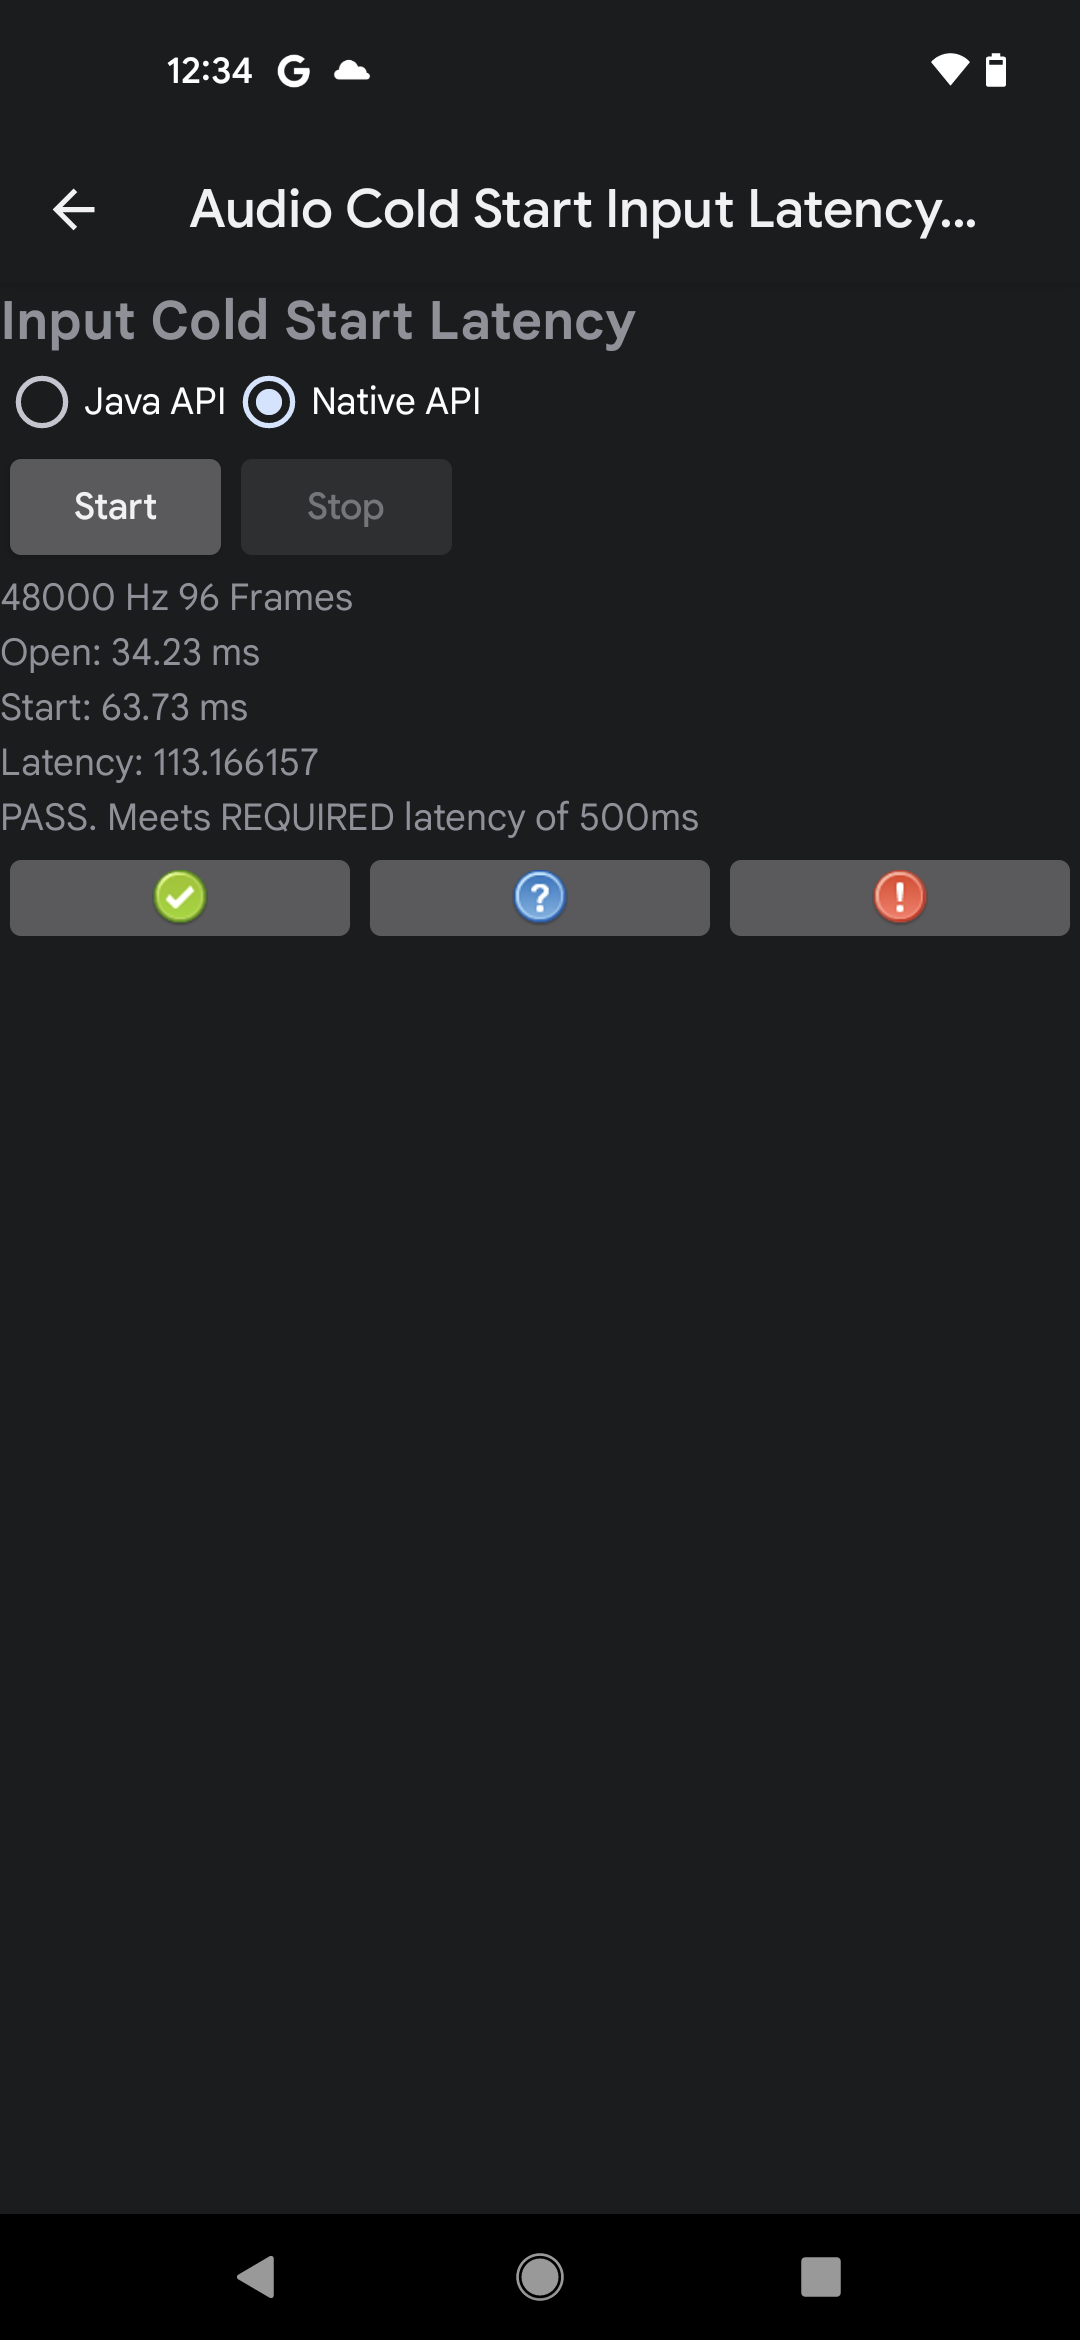
Figure 1. Example results for a passed test on the Native API
If the measured latency meets the CDD requirements, the test passes.
Audio cold start output latency test
The audio cold start output latency test measures the time required to play audio from a suspended (cold) audio system. This test has the following requirements:
- Device requirements: Go to Settings > Sound & vibration and toggle Touch Sounds to the off position.
To run the audio cold start output latency test, follow these steps:
- Select the API to test. The latency requirement must pass for only one API.
Tap Start to begin the test run. The test plays a silent audio track and measures the time from the start of playback to the time the track appears in the output. Results appear on the screen with a pass or fail indication.
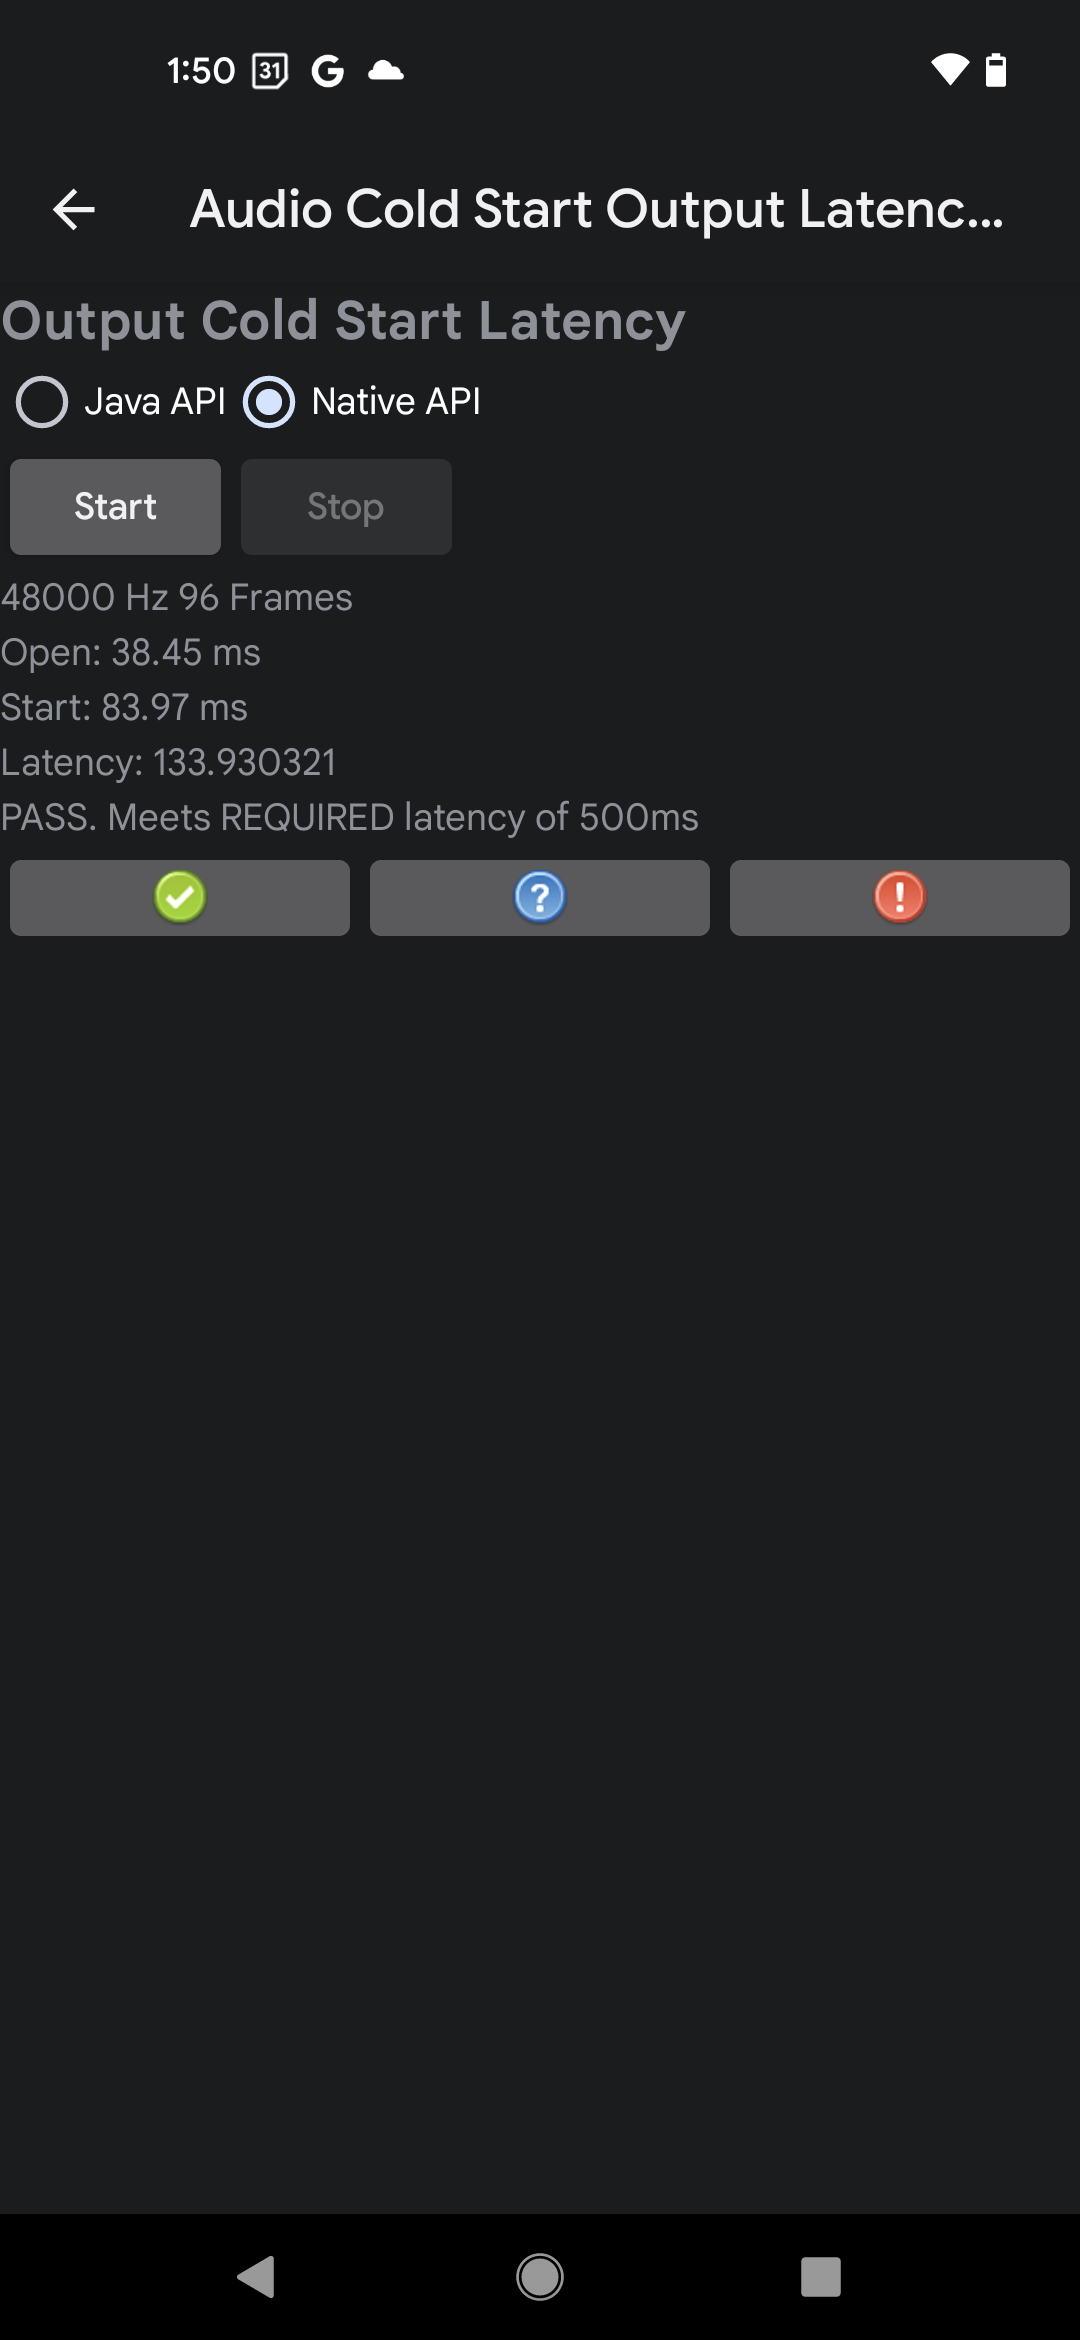
Figure 2. Example results for a passed test on the Native API
If the measured latency meets the CDD requirements, the test passes.
Audio tap to tone test
The audio tap to tone test determines the time required for audio triggered by a user action on the screen to appear at the output of the audio system. The test uses the internal microphone to measure the time between a screen interaction and a tone played on the internal speaker. The overall result is calculated as the average of five successful measurements.
Guidelines for a successful tap trigger
This test listens for the physical tick sound made by the tester's fingernail striking the screen in the activation field to indicate screen interaction. The sound also activates tone playback. Because the tick can be difficult to detect, it's important to set up the test environment and execute the tap trigger precisely.
Use the following guidelines to achieve a good tap trigger during the test:
- In a quiet room, place the device on a table, screen side up.
- Strike the screen with an index finger, making sure that the fingernail and
fingertip both contact the screen so that the fingernail strike creates an
audible tick sound.
- Striking with only the soft part of the fingertip won't create the trigger sound.
- Strike the screen only once and withdraw your finger. Multiple strikes confuse the measurement.
For a measurement to succeed, the test must be able to detect both the activation tick and the generated tone. You might need to adjust how hard you strike the screen or the volume of the playback to obtain a successful measurement.
Test procedure
To run the audio tap to tone test, follow these steps:
- Disconnect all wired or Bluetooth audio peripherals from the DUT.
- Select the API to test. The latency requirement must pass for only one API.
- Tap Start to begin the test.
Tap the screen once with your fingernail as described in Guidelines for a successful tap trigger. A strong tick sound from the fingernail striking the display is necessary to register the start of the measurement.
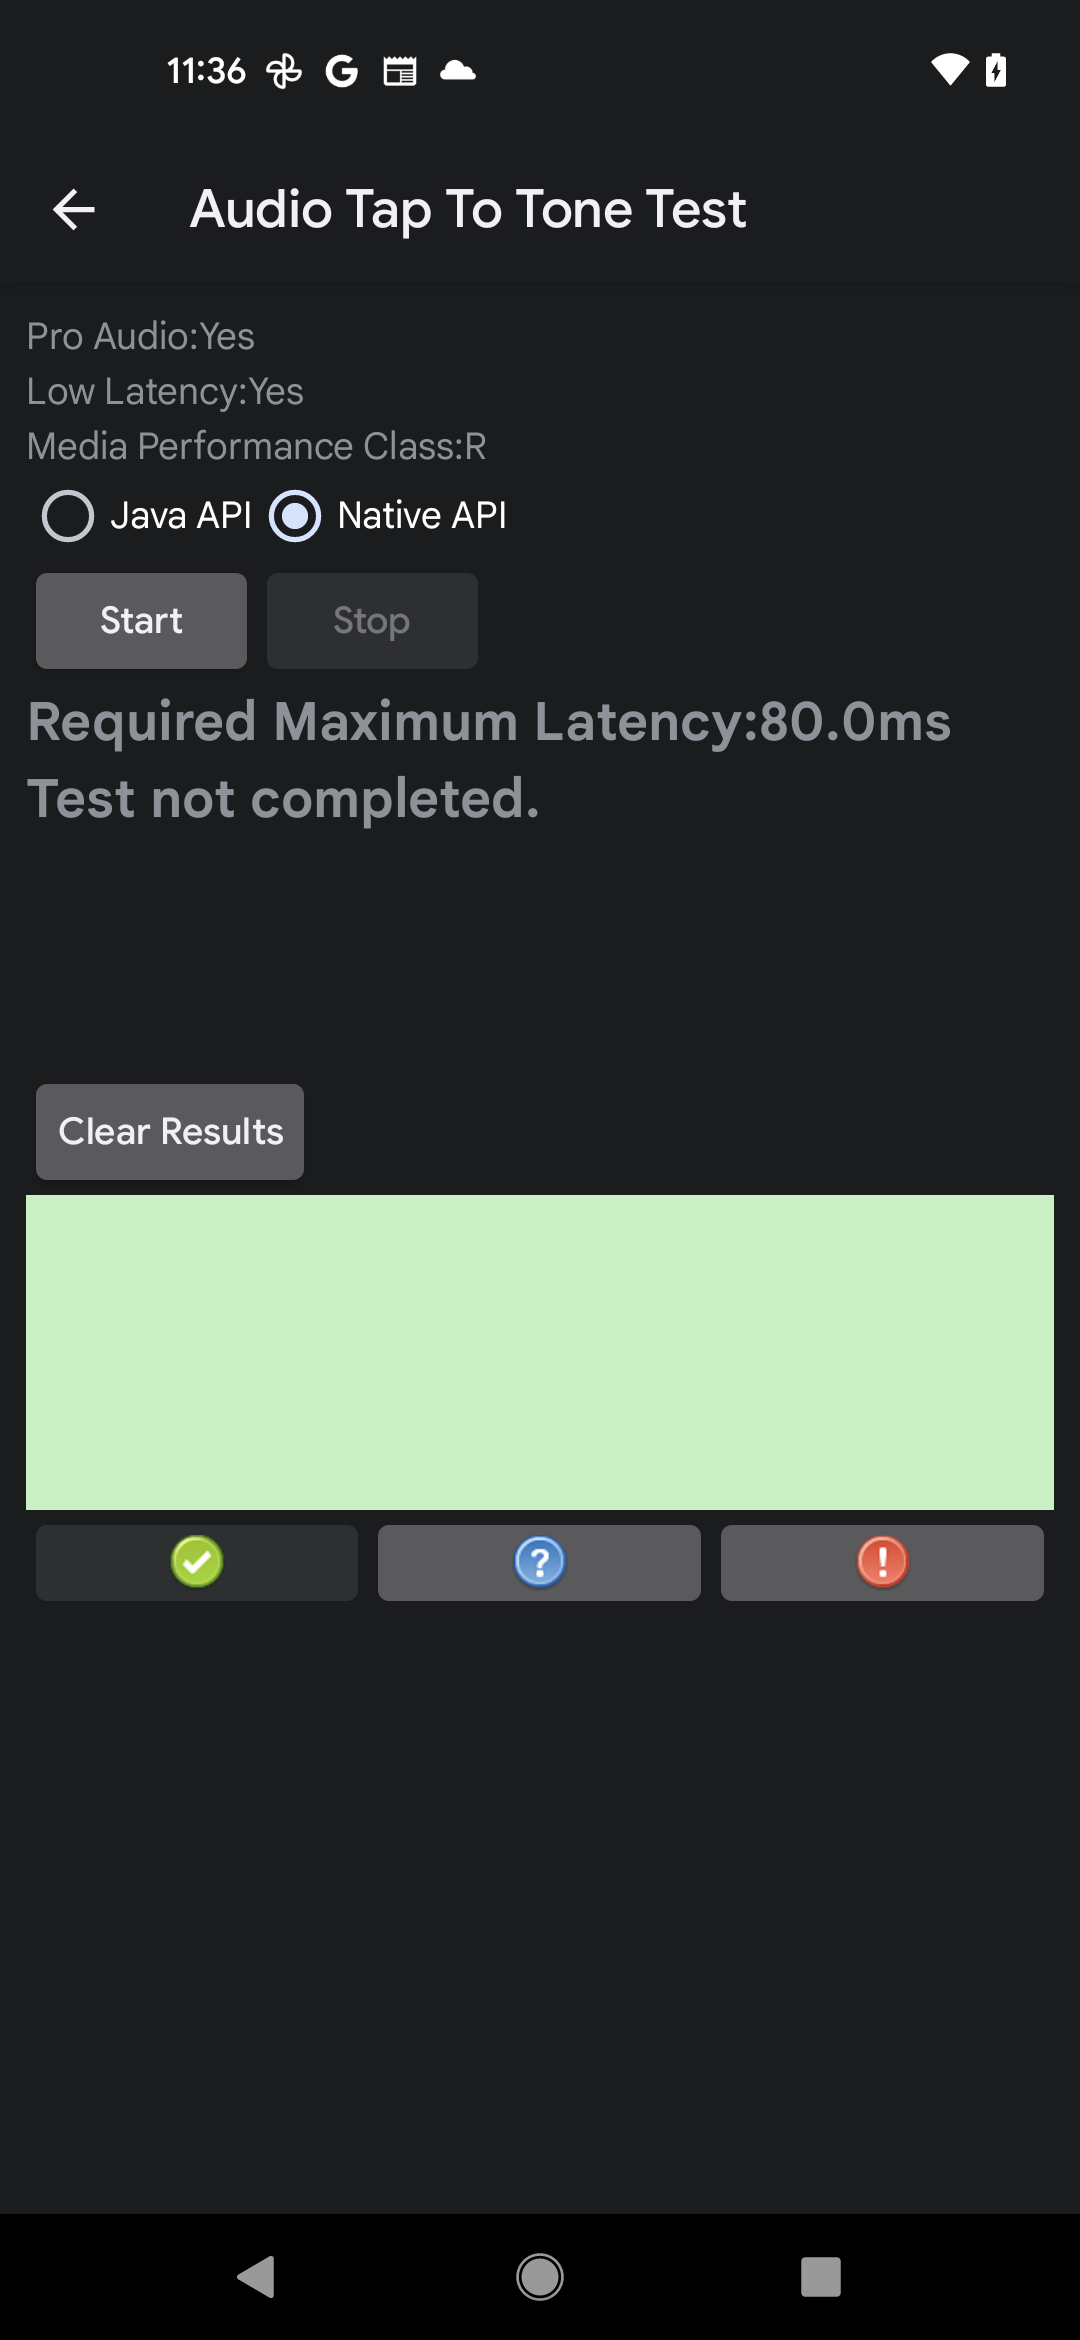
Figure 3. Audio tap to tone test, incomplete
Wait for measurement results to appear, and then repeat steps 3 and 4 until the device has made five successful measurements.
Tap Stop to end the test.
Evaluate the test results.
- Within the green rectangle, the red lines indicate the trigger tick and the resulting tone.
- If the test average reports a PASS, report the test as passed.
- If the test average reports a FAIL, report the test as failed.
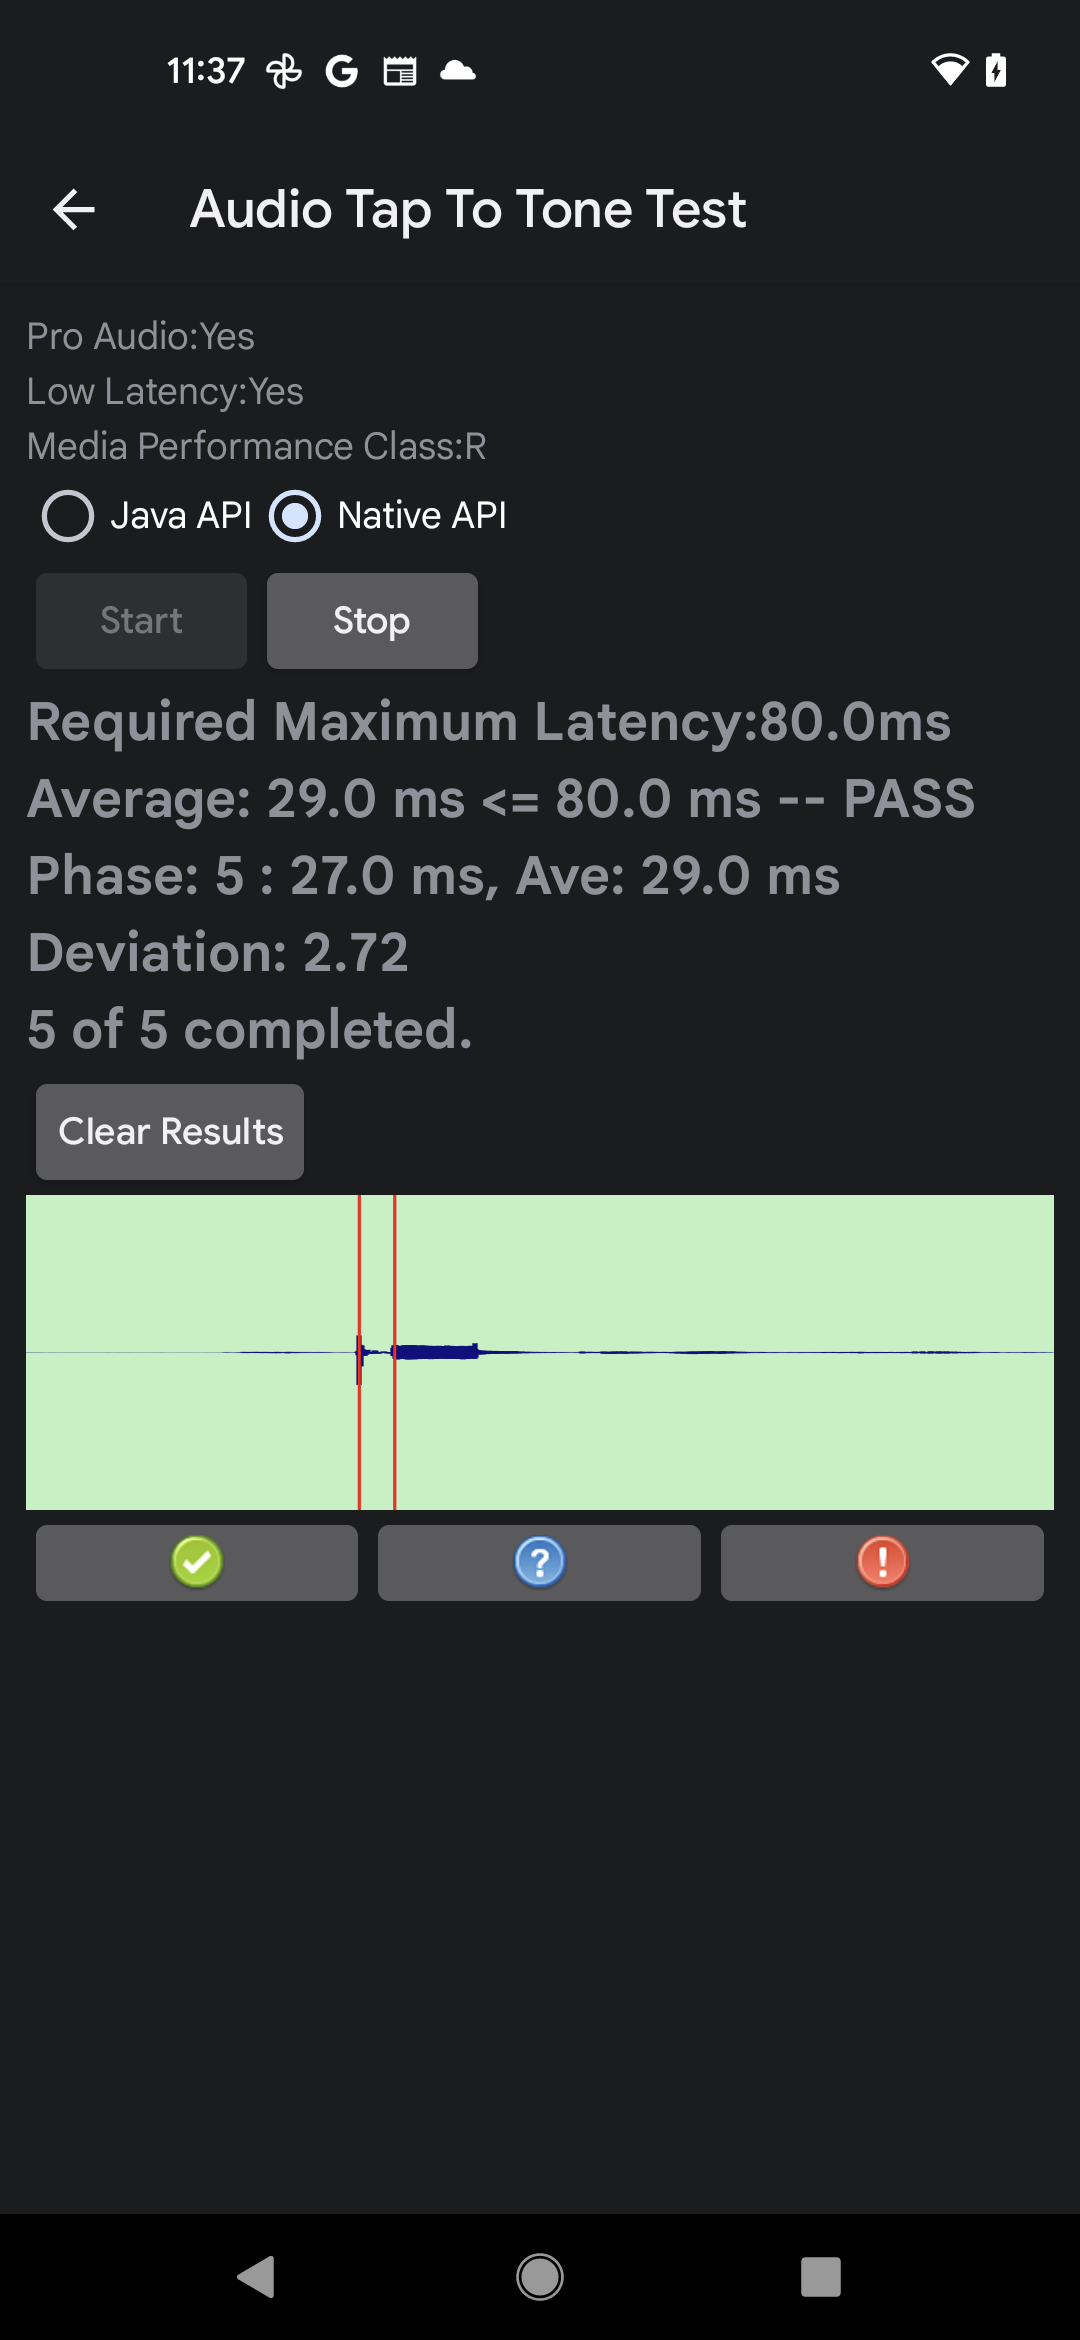
Figure 4. Audio tap to tone test, complete
Audio loopback latency test
The audio loopback latency test measures "round-trip" latency, from the start of signal playback to the receipt of the captured audio. While this test doesn't allow for the separation of the latency measurements in the playback and capture of the system, it gives a good indication of overall latency performance of the system over several device pairs.
Loopback latency is measured by generating a signal on an output device and capturing that signal on a paired input device. The generated signal is a set of noise bursts that can be recognized by the test and is used to accurately determine the start of the signal.
Latency paths
The audio loopback latency test measures the latency of three routes:
Speaker/Mic: The built-in speaker signal is captured by the built-in microphone. Testing this path is required on handheld devices, such as phones and tablets, and isn't required for nonhandheld devices, such as watches, TVs, automobiles, and refrigerators.
Headset Jack: The signal is routed with a loopback plug from the output to the input of the 3.5 mm analog headset jack.
USB: The signal is routed through either a USB-to-analog headset adapter with a loopback plug, or a USB audio interface with output jacks connected to input jacks. Obtaining a passing value for either of the USB routes is sufficient to pass. This route might not be available for some Android devices, such as TV and automobile.
Test panel
The Audio Loopback Latency Test panel consists of the following sections, as shown in the following figure:
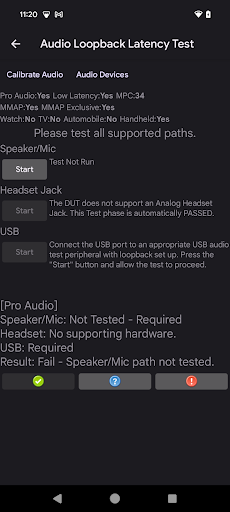
Figure 5. Audio loopback latency test panel.
Support utilities
You must run the following utilities before starting the test:
Calibrate Audio: To effectively analyze the captured audio, it's important to generate an output signal at an adequate level. Calibrate Audio invokes the Audio Loopback Calibration panel, which is used to ensure an appropriate signal level.
Audio Devices: Starts a dialog that displays all of the audio devices that are supported by and connected to the DUT. For more information, see Audio Devices panel.

Figure 6. Audio loopback latency test support utilities.
DUT configuration section
This section displays information about the configuration of the DUT. The following configuration attributes determine, in part, the pass criteria:
Pro Audio: The DUT declares the Pro Audio flag specifying that the DUT supports a professional level of audio performance and features such as MIDI support.
Low Latency: The DUT declares the Low Latency flag specifying that the DUT supports a low maximum latency for audio playback and capture.
MPC: The Media Performance Class level declared by the DUT.
MMAP: The DUT supports MMAP mode audio playback.
MMAP Exclusive: The DUT supports MMAP exclusive mode playback.
Watch: The DUT has been determined to be a watch.
TV: The DUT has been determined to be a television.
Automobile: The DUT has been determined to be an automobile.
Handheld: The DUT has been determined to be a handheld device, such as a phone or a tablet.
Test sections
For each route, the test section contains two elements:
- Start: Executes the test section. The button is enabled when it's determined that the DUT supports a given available route.
- Instruction, process, and status text: Displays instructions for enabling the test section, the status of the test section while it's running, and the results of a test section when complete.
| Section | Description |
|---|---|
| Speaker and mic test | Start is enabled unless the DUT doesn't support either an internal speaker or internal microphone, as in a TV or automobile device. |
| Headset jack test | Start is enabled if both of these are true: the DUT supports an analog headset jack and an Audio loopback plug is plugged in to an analog 3.5 mm headset jack on the DUT. |
| USB test | Start is enabled if both of these are true: the DUT supports a USB audio connection and a USB audio device is connected. |
| Results | Displays the results for the overall test. |
Test process
For each supported route, do the following:
- Connect the appropriate loopback peripheral for analog headset and USB tests. For the speaker and Mic test, place the DUT on a flat surface in a quiet room. The required peripherals are listed in CTS Verifier audio peripherals.
- Run the Support utilities.
- Run the test section by tapping Start.
As the test for each test section completes, the Results section updates to reflect the overall test status.
When all required routes are tested, and each test meets the latency criteria for that route as specified in CDD, PASS is enabled.