2025 年 3 月 27 日より、AOSP のビルドとコントリビューションには aosp-main
ではなく android-latest-release
を使用することをおすすめします。詳細については、AOSP の変更をご覧ください。
マルチデバイス NFC テストを実行する
コレクションでコンテンツを整理
必要に応じて、コンテンツの保存と分類を行います。
このドキュメントではマルチデバイス NFC テストの実行方法について説明します。
前提条件を満たす
マルチデバイス NFC テストを実行する前に、以下を行います。
- 自分の Android 15 実装を搭載したデバイスを用意します。
- CTS-V の要件を満たします。
- 手順に沿って CTS-V をセットアップします。
DUT とテスト用の PN532 NFC リーダーを準備する
前の手順が終わったら、以下の手順に沿って DUT とテスト用の PN532 NFC リーダーを準備します。
- USB 経由で DUT をホストマシンに接続します。
- ホストに ADB 経由で DUT にアクセスするための権限を付与します。
次のコマンドを実行して、CTS 検証ツールアプリ(CtsVerifier.apk
)を DUT にインストールします。
extract root/out/host/linux-x86/cts-verifier/android-cts-verifier.zip
cd android-cts-verifier
adb install -r -g CtsVerifier.apk
NFC テストに必要な APK をインストールします。
cd MultiDevice
adb install -r -g NfcEmulatorTestApp.apk
NFC をこの DUT 用にセットアップする
以下の手順に沿って NFC をこの DUT 用にセットアップします。
- DUT で [設定] メニューを開きます。
- [NFC] または [接続済みのデバイス] のセクションを探します。
- [NFC] の切り替えスイッチがオンになっていることを確認します。
NFC チップをスマートフォンの NFC リーダーの上に配置します。
- PN532 NFC チップを確保します。All-In-One PN532、非 BLE オプションが推奨です。
- USB ケーブルを使って PN532 NFC チップを Linux ホストに接続します。
- 次の写真のように、PN532 NFC チップをスマートフォンの NFC リーダーの上に配置します。
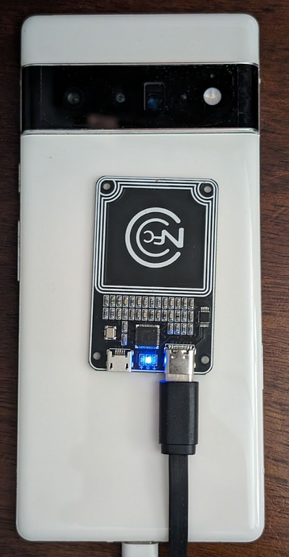
図 1. NFC チップをかざす。
テスト環境をセットアップする
以下の手順に沿って、テスト環境のセットアップを行います。
テスト環境をセットアップするには、次のコマンドを実行します。
cd MultiDevice
source build/envsetup.sh
このコマンドは、Python をチェックし、PYTHONPATH
環境変数をセットアップします。ターミナルにエラーが出力されなければ、マルチデバイス テストを実行する環境の準備は整っています。
実行時にエラー メッセージ libtinfo.so.6: no version information
available (required by /bin/sh)
が表示された場合は、次のコマンドを実行して libtinfo.so.6
ファイルの名前を変更します。
mv $ENV_DIRECTORY/lib/libtinfo.so.6 $ENV_DIRECTORY/lib/libtinfo.so.6.bak
MultiDevice/config.yml
で DUT のデバイス シリアル ID と PN532 NFC リーダーを設定して、テストベッドをセットアップします。
TestBeds:
- Name: CtsNfcHceMultiDeviceTestCases-py-ctsv
Controllers:
AndroidDevice:
- serial: "<device-id>"
TestParams:
pn532_serial_path: "<pn532-serial-path>"
NFC テストを実行する
NFC テストを実行します。
CTS-V アプリを開き、[NFC Tests] をタップします。
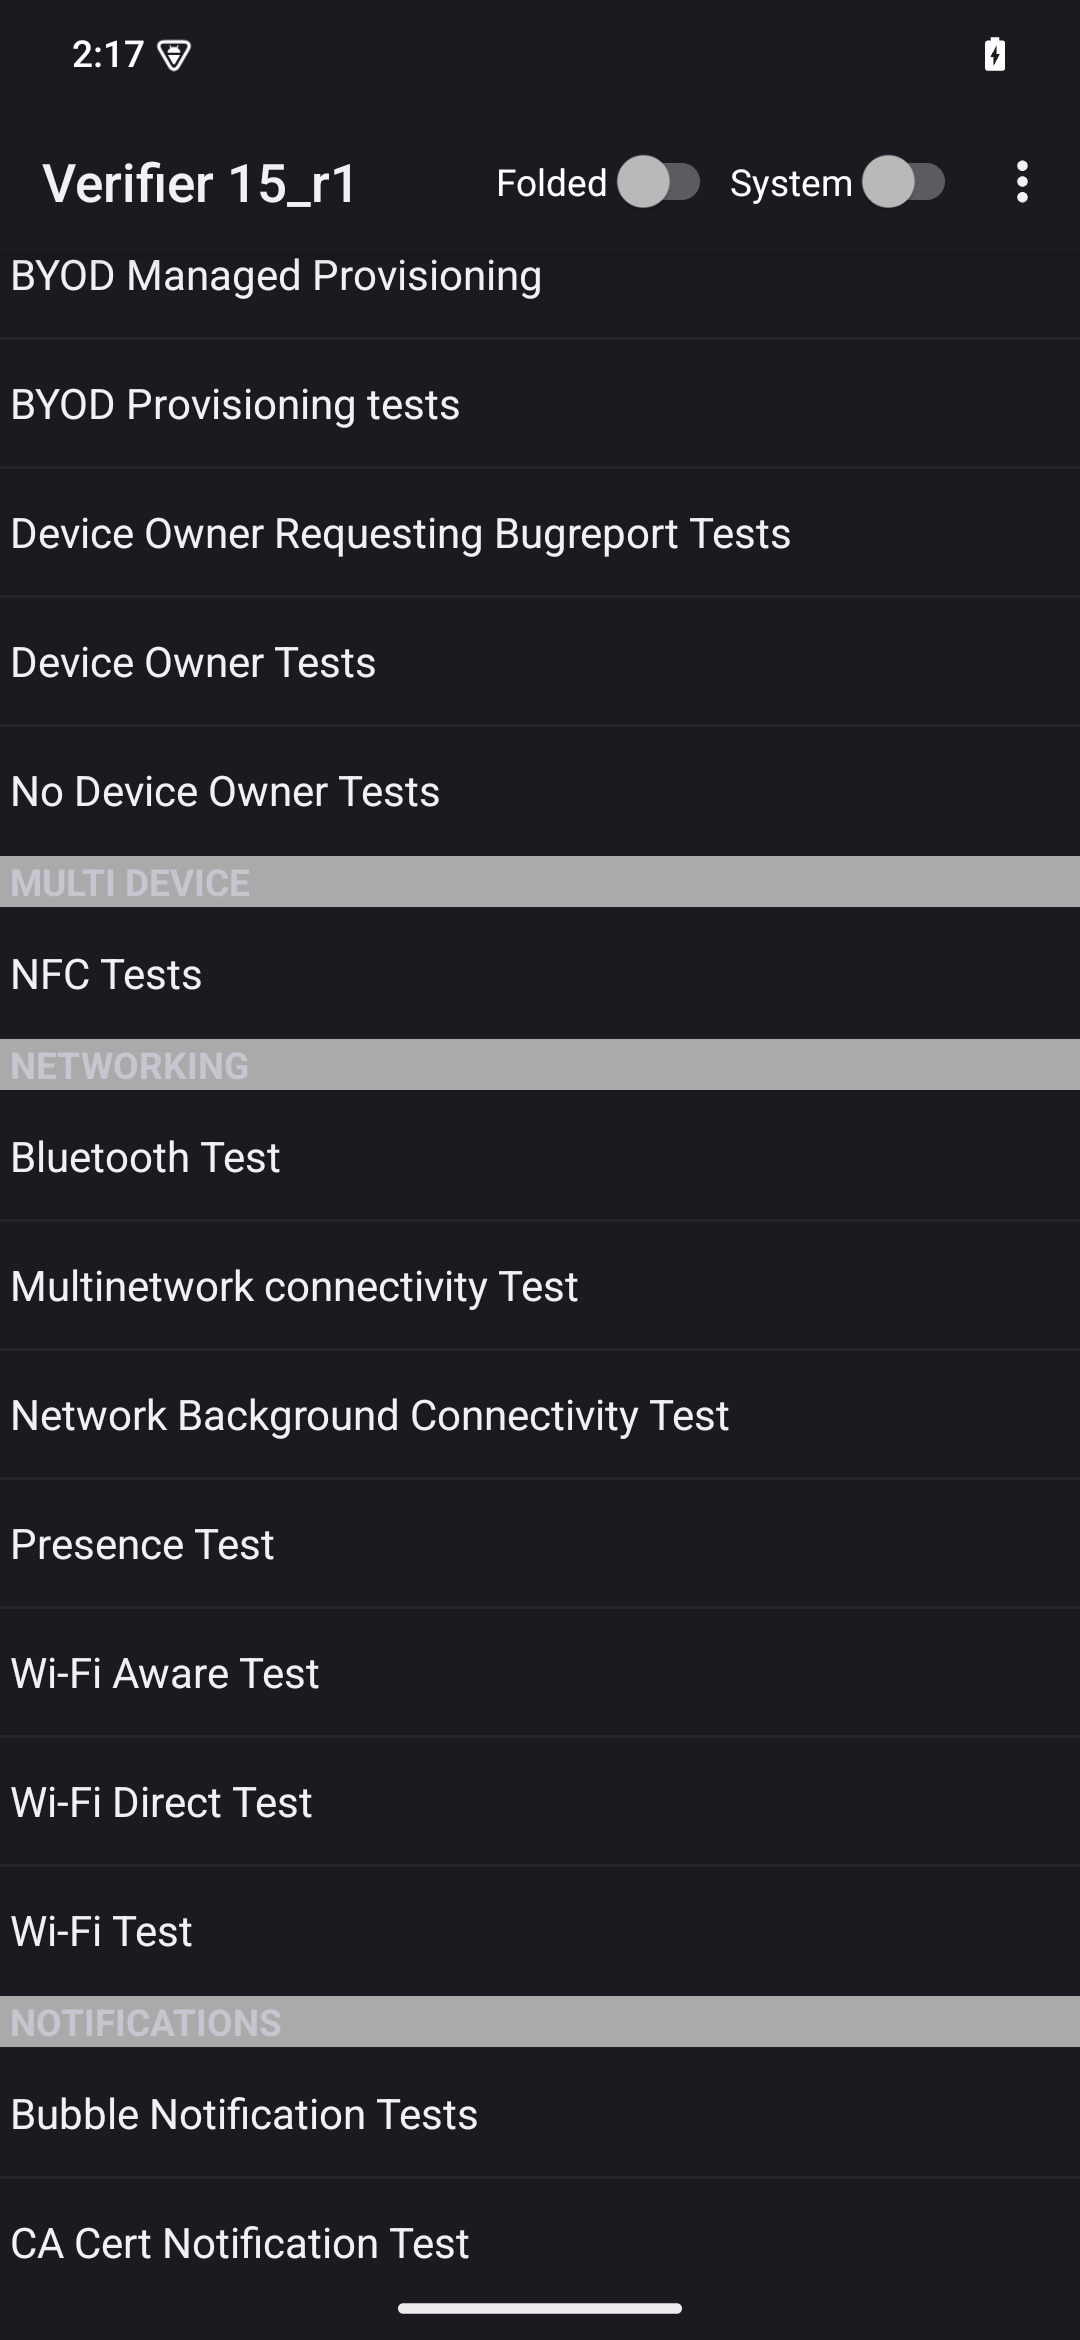
図 2. CTS-V アプリ。
テストケースの一覧とともに情報ウィンドウが表示されます。
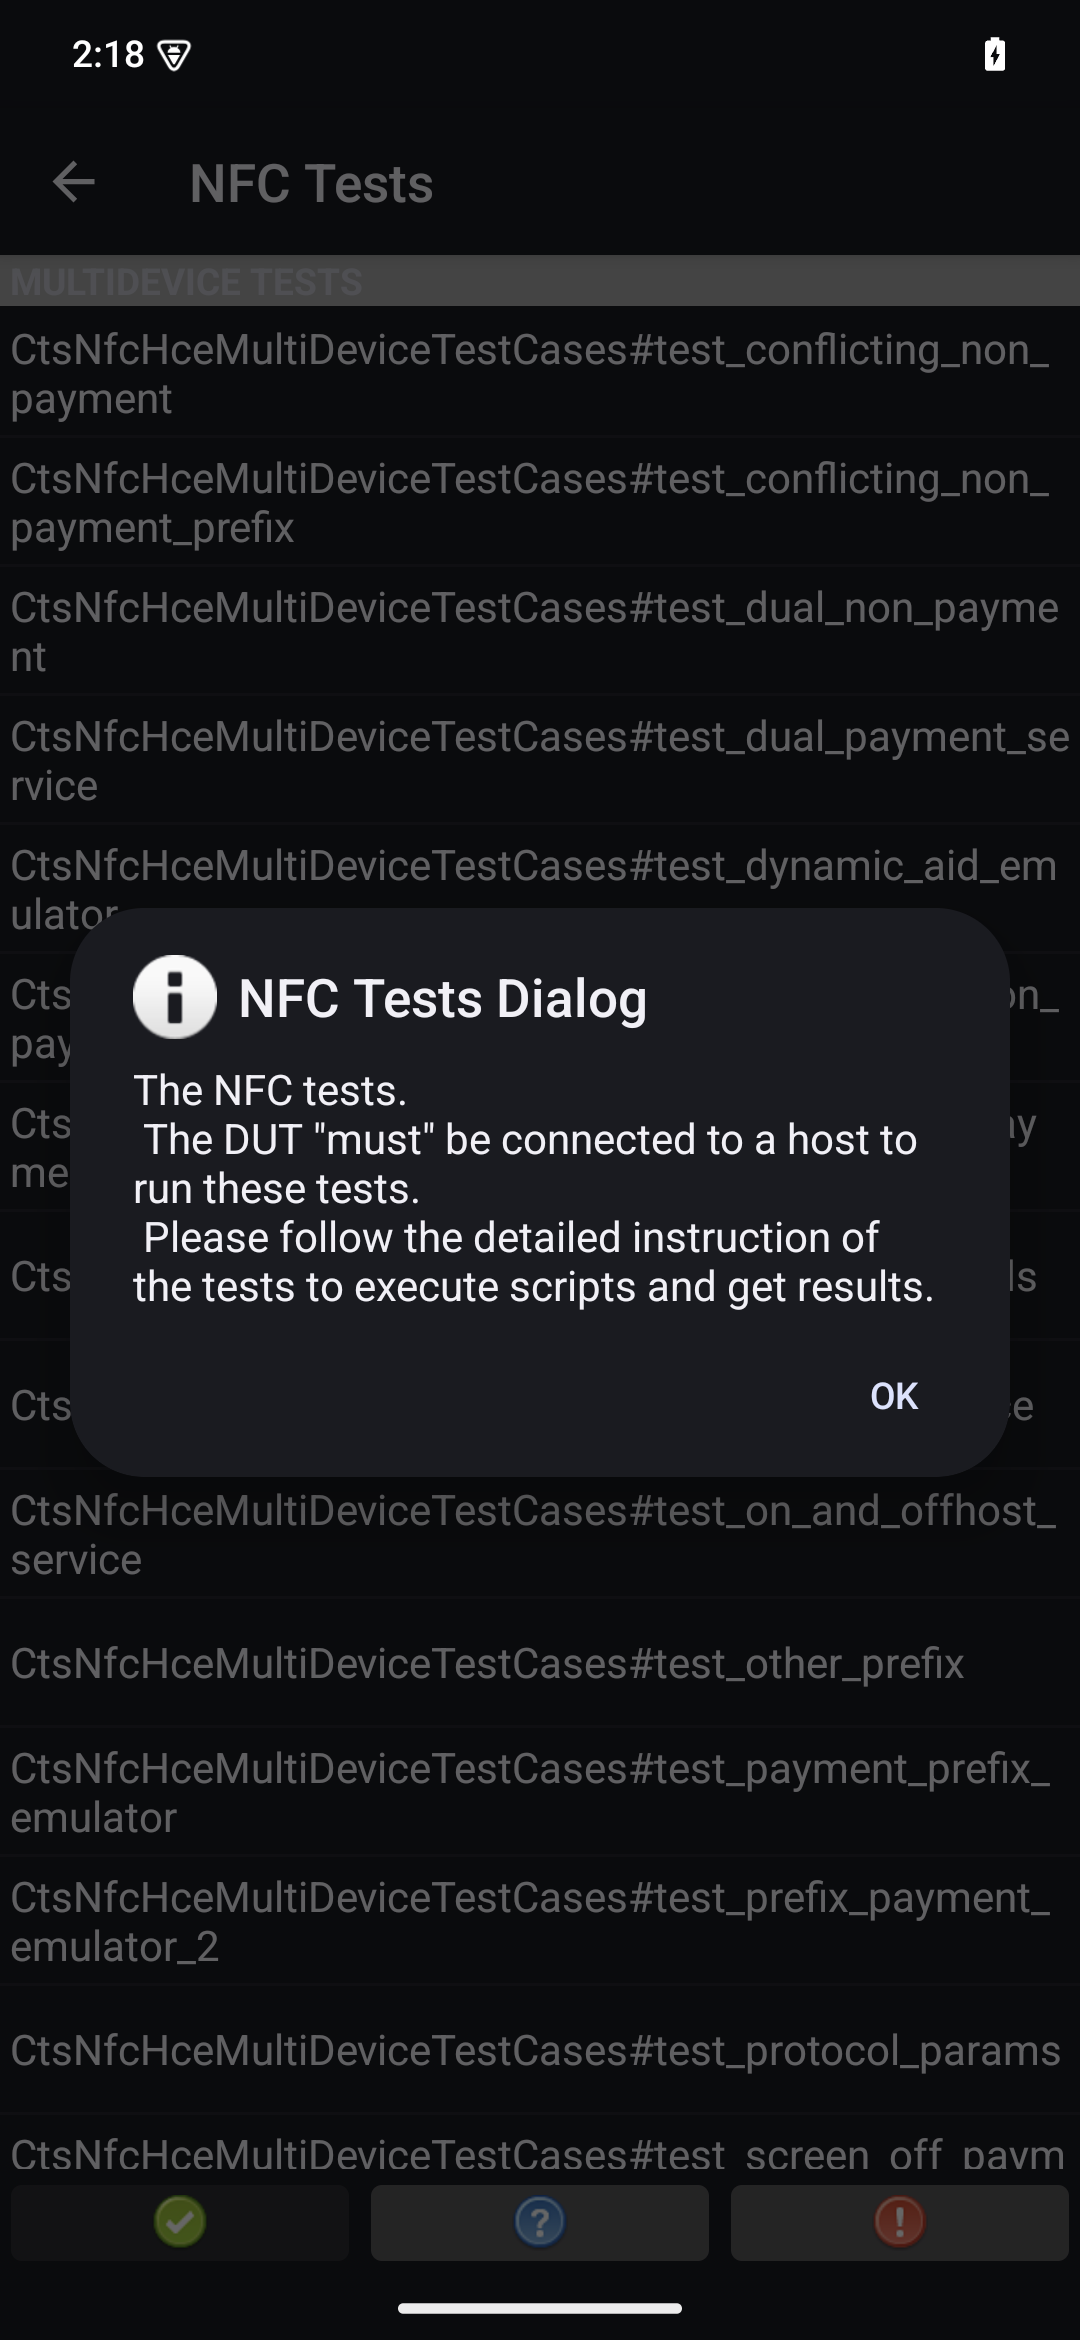
図 3. CTS-V アプリのテストケース。
次のコマンドを実行して、ホスト上でテストを実行します。
MultiDevice$ python3 tools/run_all_tests.py
テストが完了すると、CTS-V アプリでテスト結果が更新されます。成功したテストは緑色で表示されます。
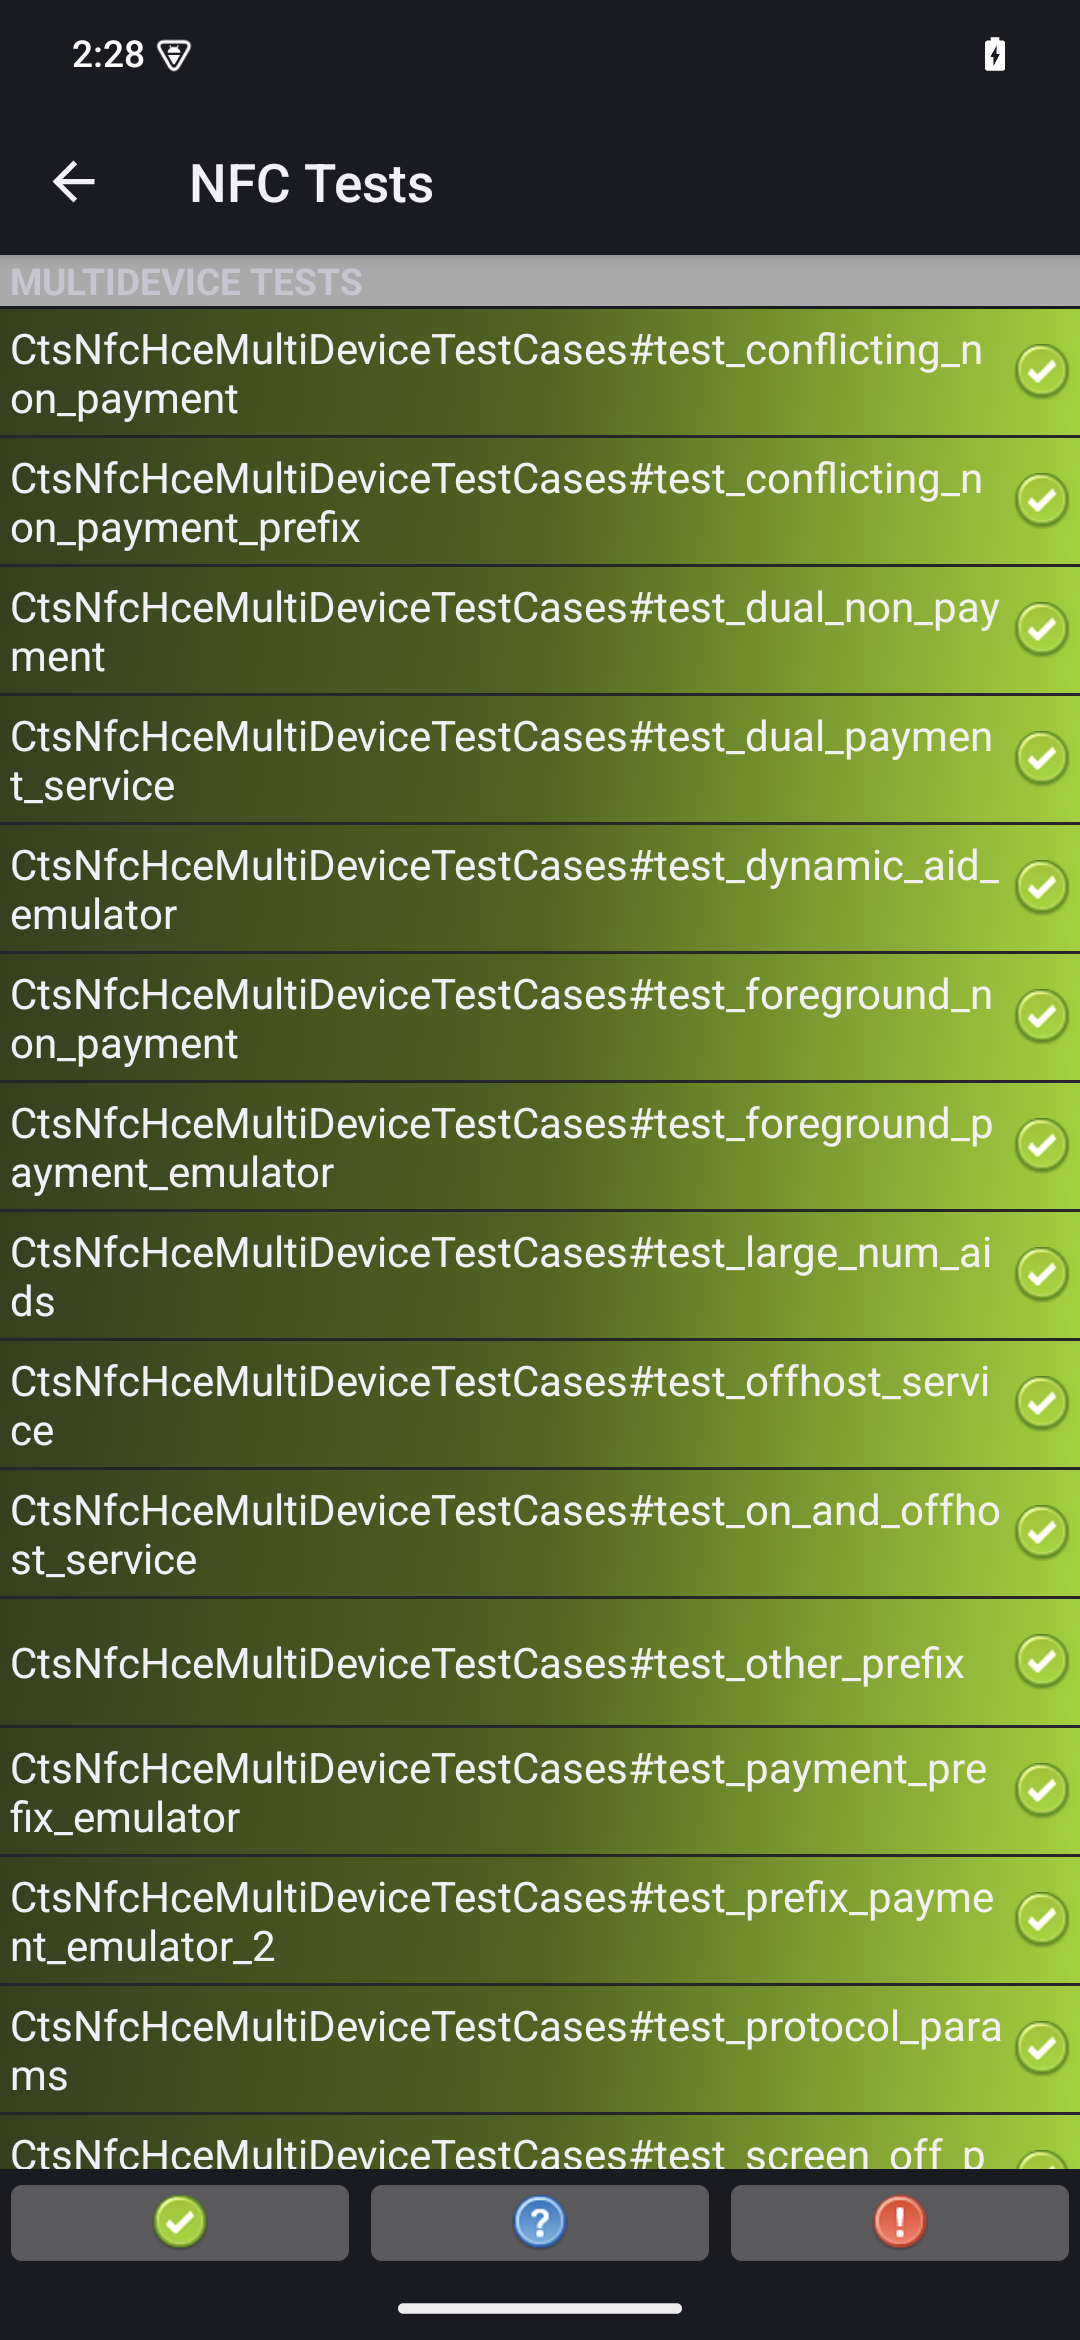
図 4. CTS-V テストの結果。
赤色の失敗が表示されている場合は、次のコマンドで失敗したテストを実行し直します。
python3 tools/run_all_tests.py --test_cases "`TestCaseA`" "`TestCaseB`" --test_files "`TestFileA`"
ここで
TestCaseA
と TestCaseB
は、CTS-V に表示されたテストケースの名前です。
TestFileA
はテストケースを含んでいるテストファイルです。
例:
python3 tools/run_all_tests.py --test_cases "test_conflicting_non_payment" "test_conflicting_non_payment_prefix" --test_files "CtsNfcHceMultiDeviceTestCases-py-ctsv"
このページのコンテンツやコードサンプルは、コンテンツ ライセンスに記載のライセンスに従います。Java および OpenJDK は Oracle および関連会社の商標または登録商標です。
最終更新日 2025-05-08 UTC。
[[["わかりやすい","easyToUnderstand","thumb-up"],["問題の解決に役立った","solvedMyProblem","thumb-up"],["その他","otherUp","thumb-up"]],[["必要な情報がない","missingTheInformationINeed","thumb-down"],["複雑すぎる / 手順が多すぎる","tooComplicatedTooManySteps","thumb-down"],["最新ではない","outOfDate","thumb-down"],["翻訳に関する問題","translationIssue","thumb-down"],["サンプル / コードに問題がある","samplesCodeIssue","thumb-down"],["その他","otherDown","thumb-down"]],["最終更新日 2025-05-08 UTC。"],[],[],null,["# Run multi-device NFC tests (Android 15)\n\nThis document explains how to run multi-device NFC tests.\n\nMeet prerequisites\n------------------\n\nBefore you run multi-device NFC tests, do the following:\n\n1. Prepare a device with your Android 15 implementation.\n2. Follow CTS-V [requirements](/docs/compatibility/cts/verifier#requirements).\n3. Follow CTS-V [setup](/docs/compatibility/cts/verifier#setup).\n\nPrepare a DUT and a PN532 NFC reader for the test\n-------------------------------------------------\n\nAfter you finish the previous steps, follow these steps to run\nprepare a DUT and a PN532 NFC reader for the test:\n\n1. Connect the DUT to a host machine over USB.\n2. Grant permissions for the host to access the DUT over ADB.\n3. Install the CTS Verifier app (`CtsVerifier.apk`) on the DUT:\n\n extract root/out/host/linux-x86/cts-verifier/android-cts-verifier.zip\n\n cd android-cts-verifier\n\n adb install -r -g CtsVerifier.apk\n\n4. Install the NFC test required APKs:\n\n cd MultiDevice\n\n adb install -r -g NfcEmulatorTestApp.apk\n\nSet up NFC for the DUT\n----------------------\n\nFollow these steps to run set up NFC for the DUT:\n\n1. On the DUT, go to the **Settings** menu.\n2. Look for the **NFC** or **Connected Devices** section.\n3. Ensure the NFC toggle switch is turned on.\n4. Position an NFC chip on the phone's NFC reader:\n\n 1. Acquire a PN532 NFC chip. We recommend the [All-In-One PN532](https://shop.mtoolstec.com/product/mtools-all-in-one-pn532), non-BLE option.\n 2. Attach the PN532 NFC chip to the Linux host using a USB cable.\n 3. Place the PN532 NFC chip over the phone's NFC reader as shown in the following image:\n\n **Figure 1.** NFC chip placement.\n\nSet up the test environment\n---------------------------\n\nFollow these steps to run set up the test environment:\n\n1. Run these commands to set up the test environment:\n\n cd MultiDevice\n\n source build/envsetup.sh\n\n This command checks the Python and sets up the `PYTHONPATH` environment\n variable. If no errors are printed to the terminal, the environment is ready\n to run the multi-device tests.\n\n If you see the error message `libtinfo.so.6: no version information\n available (required by /bin/sh)` at runtime, run the following command\n to rename the `libtinfo.so.6` file: \n\n mv $ENV_DIRECTORY/lib/libtinfo.so.6 $ENV_DIRECTORY/lib/libtinfo.so.6.bak\n\n2. Set up the test bed by setting the device serial IDs of the DUT and PN532 NFC\n reader in `MultiDevice/config.yml`:\n\n TestBeds:\n - Name: CtsNfcHceMultiDeviceTestCases-py-ctsv\n Controllers:\n AndroidDevice:\n - serial: \"\u003cdevice-id\u003e\"\n TestParams:\n pn532_serial_path: \"\u003cpn532-serial-path\u003e\"\n\nRun the NFC tests\n-----------------\n\nTo run the NFC tests:\n\n1. Open the CTS-V app and tap **NFC Tests**:\n\n **Figure 2.** The CTS-V app.\n\n The info window with list of test cases appears:\n\n **Figure 3.** CTS-V app test cases.\n2. Run the tests on your host:\n\n MultiDevice$ python3 tools/run_all_tests.py\n\n When the tests are completed, the test results are updated in the CTS-V\n app. Successful tests are green:\n\n **Figure 4.** CTS-V test results.\n3. If you see any failures marked in red, use the following command to rerun\n the failed tests:\n\n python3 tools/run_all_tests.py --test_cases \"`\u003cvar translate=\"no\"\u003eTestCaseA\u003c/var\u003e`\" \"`\u003cvar translate=\"no\"\u003eTestCaseB\u003c/var\u003e`\" --test_files \"`\u003cvar translate=\"no\"\u003eTestFileA\u003c/var\u003e`\"\n\n Where:\n - \u003cvar translate=\"no\"\u003eTestCaseA\u003c/var\u003e and \u003cvar translate=\"no\"\u003eTestCaseB\u003c/var\u003e are the names of the test cases as displayed in CTS-V.\n - \u003cvar translate=\"no\"\u003eTestFileA\u003c/var\u003e is the test file containing the test cases.\n\n For example: \n\n python3 tools/run_all_tests.py --test_cases \"test_conflicting_non_payment\" \"test_conflicting_non_payment_prefix\" --test_files \"CtsNfcHceMultiDeviceTestCases-py-ctsv\""]]