2025년 3월 27일부터 AOSP를 빌드하고 기여하려면 aosp-main
대신 android-latest-release
를 사용하는 것이 좋습니다. 자세한 내용은 AOSP 변경사항을 참고하세요.
근초음파 테스트
컬렉션을 사용해 정리하기
내 환경설정을 기준으로 콘텐츠를 저장하고 분류하세요.
이 페이지에 나와 있는 콘텐츠와 코드 샘플에는 콘텐츠 라이선스에서 설명하는 라이선스가 적용됩니다. 자바 및 OpenJDK는 Oracle 및 Oracle 계열사의 상표 또는 등록 상표입니다.
최종 업데이트: 2025-07-27(UTC)
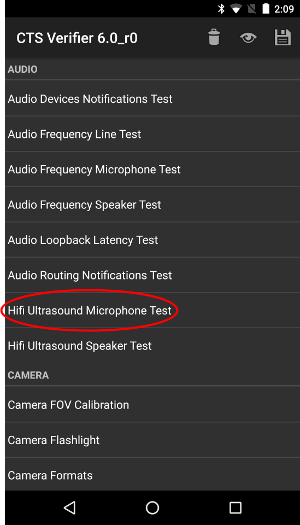
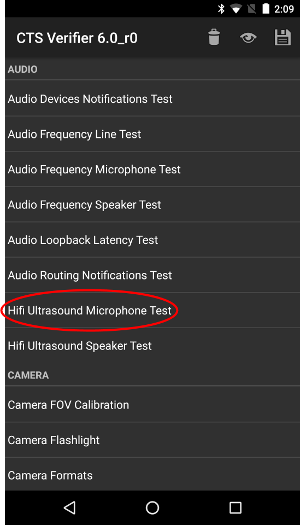
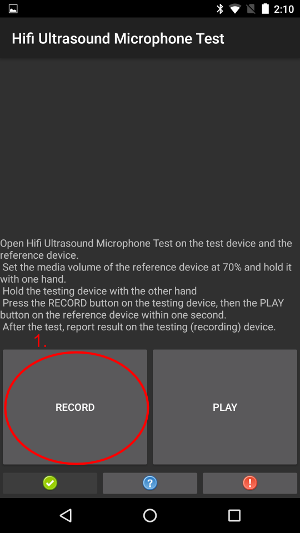
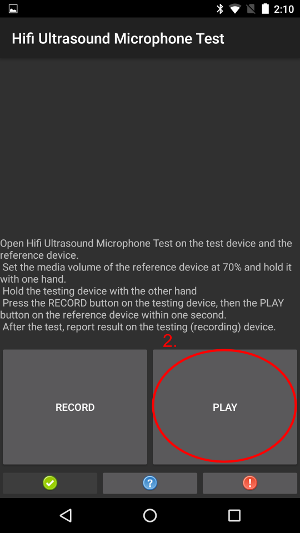
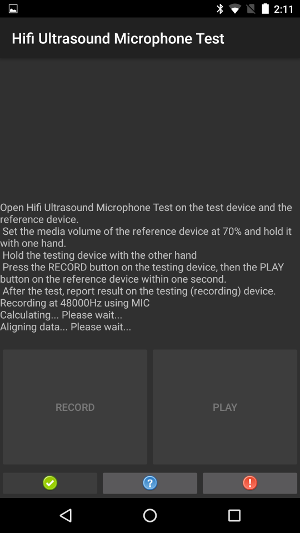
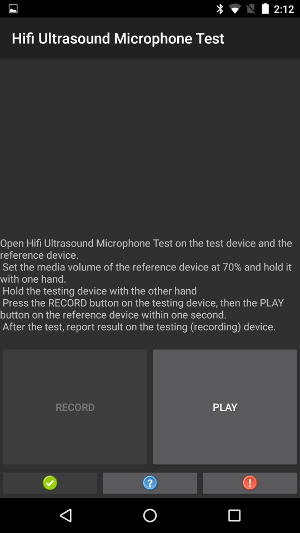
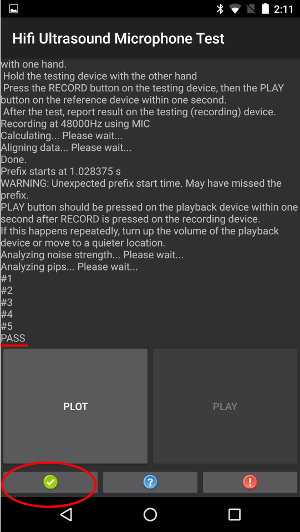
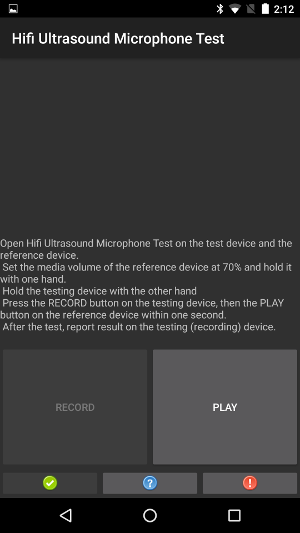
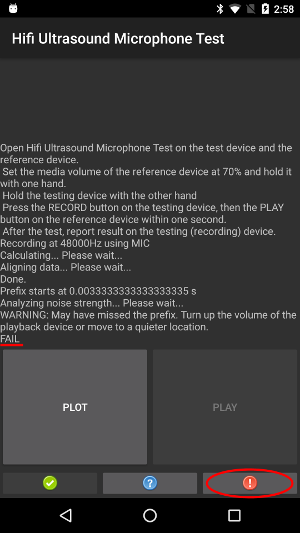
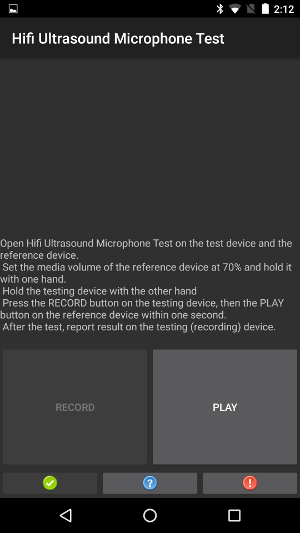
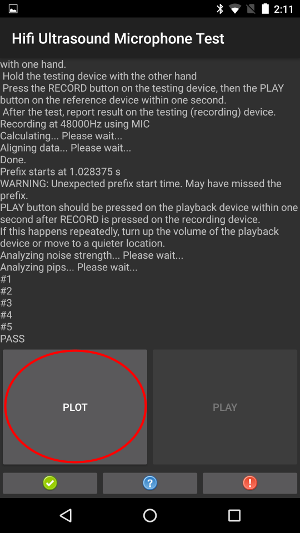
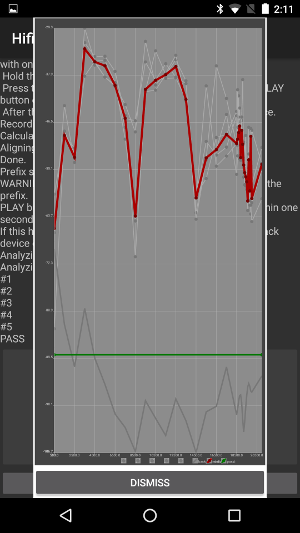
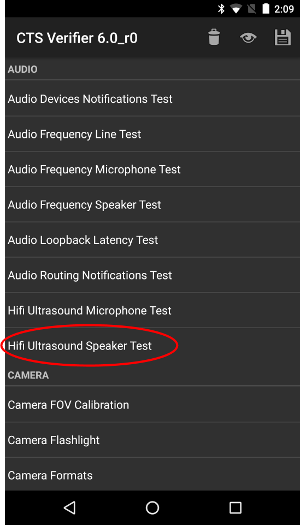
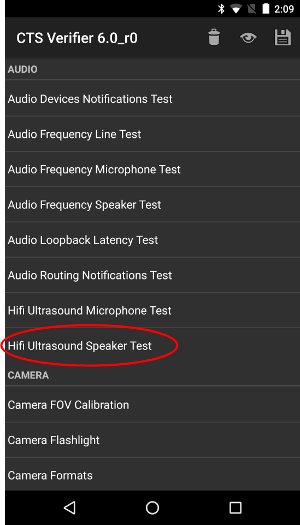
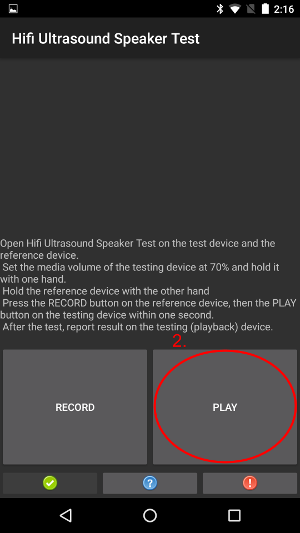
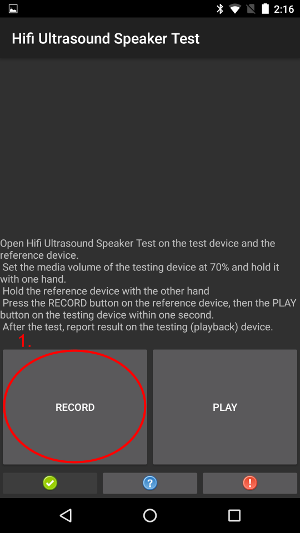
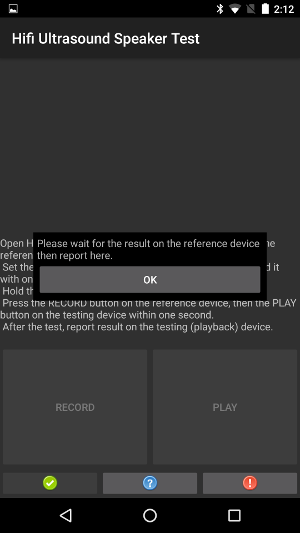
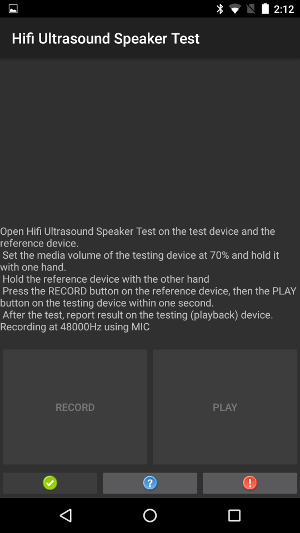
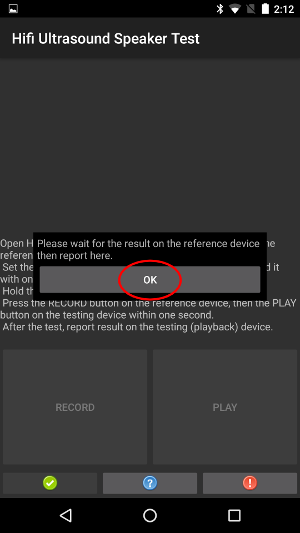
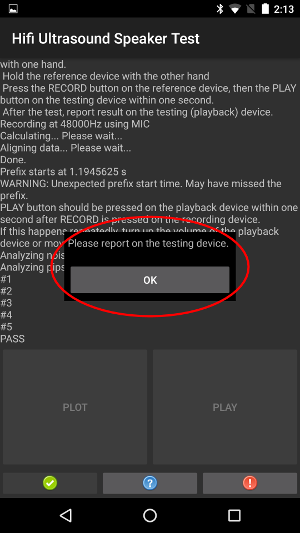
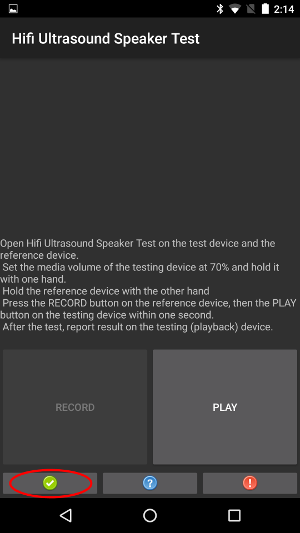
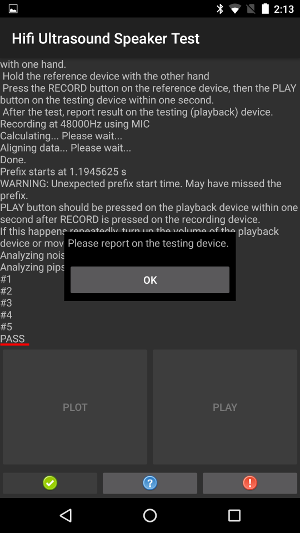
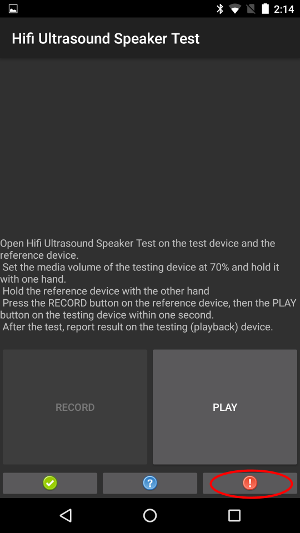
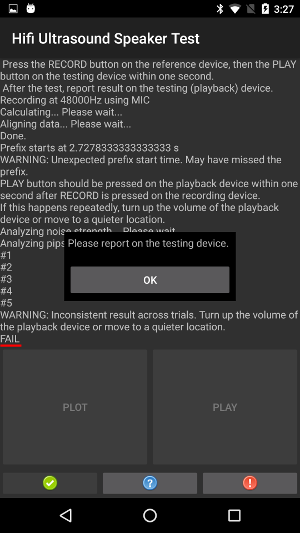
[[["이해하기 쉬움","easyToUnderstand","thumb-up"],["문제가 해결됨","solvedMyProblem","thumb-up"],["기타","otherUp","thumb-up"]],[["필요한 정보가 없음","missingTheInformationINeed","thumb-down"],["너무 복잡함/단계 수가 너무 많음","tooComplicatedTooManySteps","thumb-down"],["오래됨","outOfDate","thumb-down"],["번역 문제","translationIssue","thumb-down"],["샘플/코드 문제","samplesCodeIssue","thumb-down"],["기타","otherDown","thumb-down"]],["최종 업데이트: 2025-07-27(UTC)"],[],[],null,["# Near ultrasound tests\n\nThis page contains steps for conducting near ultrasound (formerly known\nas hifi ultrasound) microphone and speaker tests. See the [Audio](/docs/core/audio) section for general audio\nimplementation instructions.\n\nNear ultrasound microphone tests\n--------------------------------\n\nPrerequisites: Prepare two devices, one as the test device, one as the reference\ndevice. The reference can be any device that is known to produce near ultrasound sound.\n\n|-------------------------------------------------------------------------------------------------------------------------------------------------------------------|----------------------|\n| Step 1: Open Near Ultrasound Microphone Tests on both devices | |\n| Test device | Reference device |\n| Step 2: After opening the test, press RECORD on the test device, then quickly press PLAY on the reference device. | |\n| Test device | Reference device |\n| Step 3: Wait for the test to finish. While waiting, the devices should look like the following screenshots. Do nothing until you see the screens shown in Step 4. | |\n| Test device | Reference device |\n| Step 4a: On the test device, if text PASS is shown, report passed by pressing the green button. | |\n| Test device | Reference device |\n| Step 4b: On the test device, if text FAIL is shown, report failed by pressing the red button. Afterward you can repeat from step 1 to repeat the test if desired. | |\n| Test device | Reference device |\n| Extra step: This step isn't required. You can plot the calculated response using the PLOT button on the test device. | |\n| Test device | Reference device N/A |\n\nNear ultrasound speaker tests\n-----------------------------\n\nPrerequisites: Prepare two devices, one as the test device, one as the reference\ndevice. The reference can be any device that is known to record near ultrasound sound.\n\n|--------------------------------------------------------------------------------------------------------------------------------------------------------------------------------------------------------------------|------------------|\n| Step 1: Open Near Ultrasound Speaker Tests on both devices | |\n| Test device | Reference device |\n| Step 2: After opening the test, press RECORD on the reference device, then quickly press PLAY on the test device. | |\n| Test device | Reference device |\n| Step 3: Wait for the test to finish. While waiting, the devices should look like the following screenshots. Do nothing until you see the screens shown in Step 4. | |\n| Test device | Reference device |\n| Step 4: When you see the popup on the reference device, press OK on the test device. | |\n| Test device | Reference device |\n| Step 5a: On the reference device, if text PASS is shown, report passed by pressing the green button on the test device. | |\n| Test device | Reference device |\n| Step 5b: On the reference device, if text FAIL is shown, report failed by pressing the red button on the test device. Afterward you can repeat from step 1 to repeat the test if desired. | |\n| Test device | Reference device |\n| Extra step: This step isn't required. You can plot the calculated response using the PLOT button on the reference device. See the instructions in [Near Ultrasound Microphone Test](#ultrasound_microphone_tests). | |"]]