
To use Android Virtual Devices (AVDs), Android Emulator supports a Graphical User Interface (GUI) and Command Line Interface (CLI). You select the optimal workflow for your environment.
- Create and manage virtual devices GUI is a straightforward tool provided for most app developers and users.
- Start the emulator from the command line provides a flexible way for power users and automation. For example, to use multiple AVDs or to set up continuous testing and continuous integration. To get started, see the examples in tools).
Build an AOSP Car AVD
The process to build an AOSP Car AVD is similar to Building AVD images for a phone (for example, aosp_car_x86_64):
- To set up the development environment and identify a branch, see
Source control tools, and then read
Download the Android source:
ANDROID_BRANCH="android12L-release"
REPO_URL="https://android.googlesource.com/platform/manifest"
mkdir $ANDROID_BRANCH && cd $ANDROID_BRANCH && repo init -u $REPO_URL -b $ANDROID_BRANCH --partial-clone && repo sync -c -j8 - Build the AVD image:
. build/envsetup.sh && lunch sdk_car_x86_64-userdebug && m -j32
- Run the AVD image (append additional Command-line startup options
as needed):
emulator &
For example:
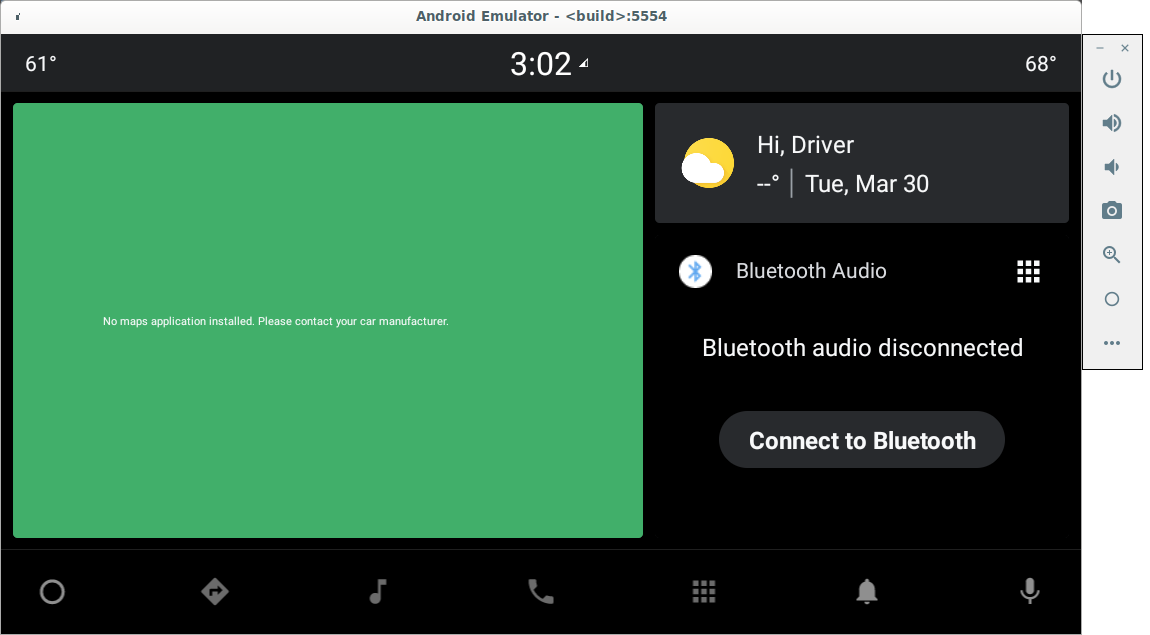
Figure 1. Android Virtual Emulator screen
Notes about this process:
- Because the build process is the same as that required to build Android for a physical device, allow some time to download the source and then build it.
- To work on other branches, set
$ANDROID_BRANCHto another branch/tag. - AVD images, such as
system.img, are built at$ANDROID_PRODUCT_OUT. To learn more about key images, see AVD system directory. - See the README file to learn how the prebuilt emulator binaries in your Android tree are used to run the emulator.
Create a Car AVD
Adding a new car AVD is almost identical to
Adding a New Device. For example,
1660554
creates a new avd_car AVD.
To create a Car AVD:
- Create a company and a device folder as needed. This example uses
$ANDROID_BUILD_TOP/device/google_car/avd_car. - Create the product makefile,
avd_car.mk, which defines how to build the AVD. - Create a device folder,
avd_car_device, in which to containBoardConfig.mkandsource.properties. - Add the new
makefileand the newlunchchoice toAndroidProducts.mk. - To build and run the new
avd_carAVD:. build/envsetup.sh && lunch acar-userdebug && m -j32 && emulator &
Pack an AVD image zip file
You can pack and share your AVD with others or use it on another
computer. Use emu_img_zip.mk
to generate the AVD image zip file:
- After you build the AVD, make
emu_img_zipthe target:m emu_img_zip
- The AVD image zip file, prefixed with
sdk-repo-linux-system-images, is created in the folder named$ANDROID_PRODUCT_OUT.
Build an AVD kernel
AVD kernels are similar to other Android kernels in that all are pre-built images. Normally, you can use the standard goldfish kernel pre-built images as is from each Android release.
To experiment with kernel changes:
- Run the following series of instructions:
mkdir goldfish-kernel-54
cd goldfish-kernel-54
repo init -u https://android.googlesource.com/kernel/manifest -b
common-android11-5.4
repo sync
BUILD_CONFIG=common/build.config.gki.x86_64 build/build.sh
BUILD_CONFIG=common-modules/virtual-device/build.config.goldfish.x86_64
build/build.sh
ls -l ./out/android11-5.4/dist/
- Replace the kernel binary in the codebase according to the AVD makefile. For example,
device/generic/goldfish/board/emu64x/details.mkincludesdevice/generic/goldfish/board/kernel/x86_64.mk.
The kernel code and config is located as follows:
| Item | Value |
|---|---|
| Branch | common-android11-5.4 (used in Android 11) |
| Manifest | kernel/manifest/common-android11-5.4 |
| common-modules/virtual-device | kernel/common-modules/virtual-device/android11-5.4 |
| Kernel | kernel/common/android11-5.4 |
Create a new device profile
To enable users to create a specific AVD in Android Studio AVD Manager, see
Create and manage virtual devices.
Device makers can define their own hardware specifications, such as for screen size and DPI,
through use of a devices.xml file included in the AVD image.
- For example, see the Automotive Device profiles in
automotive.xml. - For HMI development or prototyping, multiple devices can be added to the file for the same AVD image.
- Include the file in the OEM AVD image zip file in the
[ABI]folder. For example, asx86_64. - Device makers can also Create an emulator skin. For instance, to define additional hardware buttons for higher fidelity UX. This isn't only useful for developer workflows, but also for other tasks such as UX research and review.
Create the AVD image XML file
Device makers can create an AVD Image XML file for Android Studio to download it.
- For example, see the AAOS AVD image XML file,
sys-img2-1.xml. - Device makers can define their own OEM AVD license agreement for their target users (employing the honor system), with the license for Android Emulator. Android Studio gets user consensus when such a license is included.
To create the image:
- Prepare an AVD image zip file.
- Unzip
${ANDROID_PRODUCT_OUT}/sdk-repo-linux-system-images-*.zip. - Add
devices.xmlto thex86_64folder and then compress the file in a zip file. For example, asoem_avd_img_x86_64.zip. - Update
oem-sys-img2-1.xml. - Update the zip file name, size, and shasum (sample XML files are provided in
tools).
For example, to host the AVD on Google Cloud Storage, see Creating storage buckets.
To upload and make the AVD publicly accessible, see Making data public:
BUCKET_NAME="aaos-avd"
gsutil mb gs://$BUCKET_NAME
gsutil cp oem_avd_img_x86_64.zip gs://$BUCKET_NAME
gsutil cp oem-sys-img2-1.xml gs://$BUCKET_NAME
gsutil iam ch allUsers:objectViewer gs://$BUCKET_NAME
The AVD image SDK add-on URL format is as: https://storage.googleapis.com/$BUCKET_NAME/oem-sys-img2-1.xml.
For example, if the BUCKET_NAME is aaos-avd, the URL is: https://storage.googleapis.com/aaos-avd/oem-sys-img2-1.xml.
Share an AVD image with Android Studio users
So that your users can download AVD images and use your AVD by Android Studio, you can provide an SDK add-on XML file. For details, see Update the IDE and SDK Tools.
To download the AVD from the network:
- Host the image zip file and XML files on a server.
- Provide the URL to your target users.
- (Optional) Limit access by user name and password.
Alternatively, to speed up development, download the AVD to a local directory:
- Save the XML files and all the artifacts specified in the XML file to a folder
(for instance, all the AVD image zip files) named
ADDON_DIR. - Specify the URL as
file://$ADDON_DIR/oem-sys-img2-1.xml.