
裝置管理
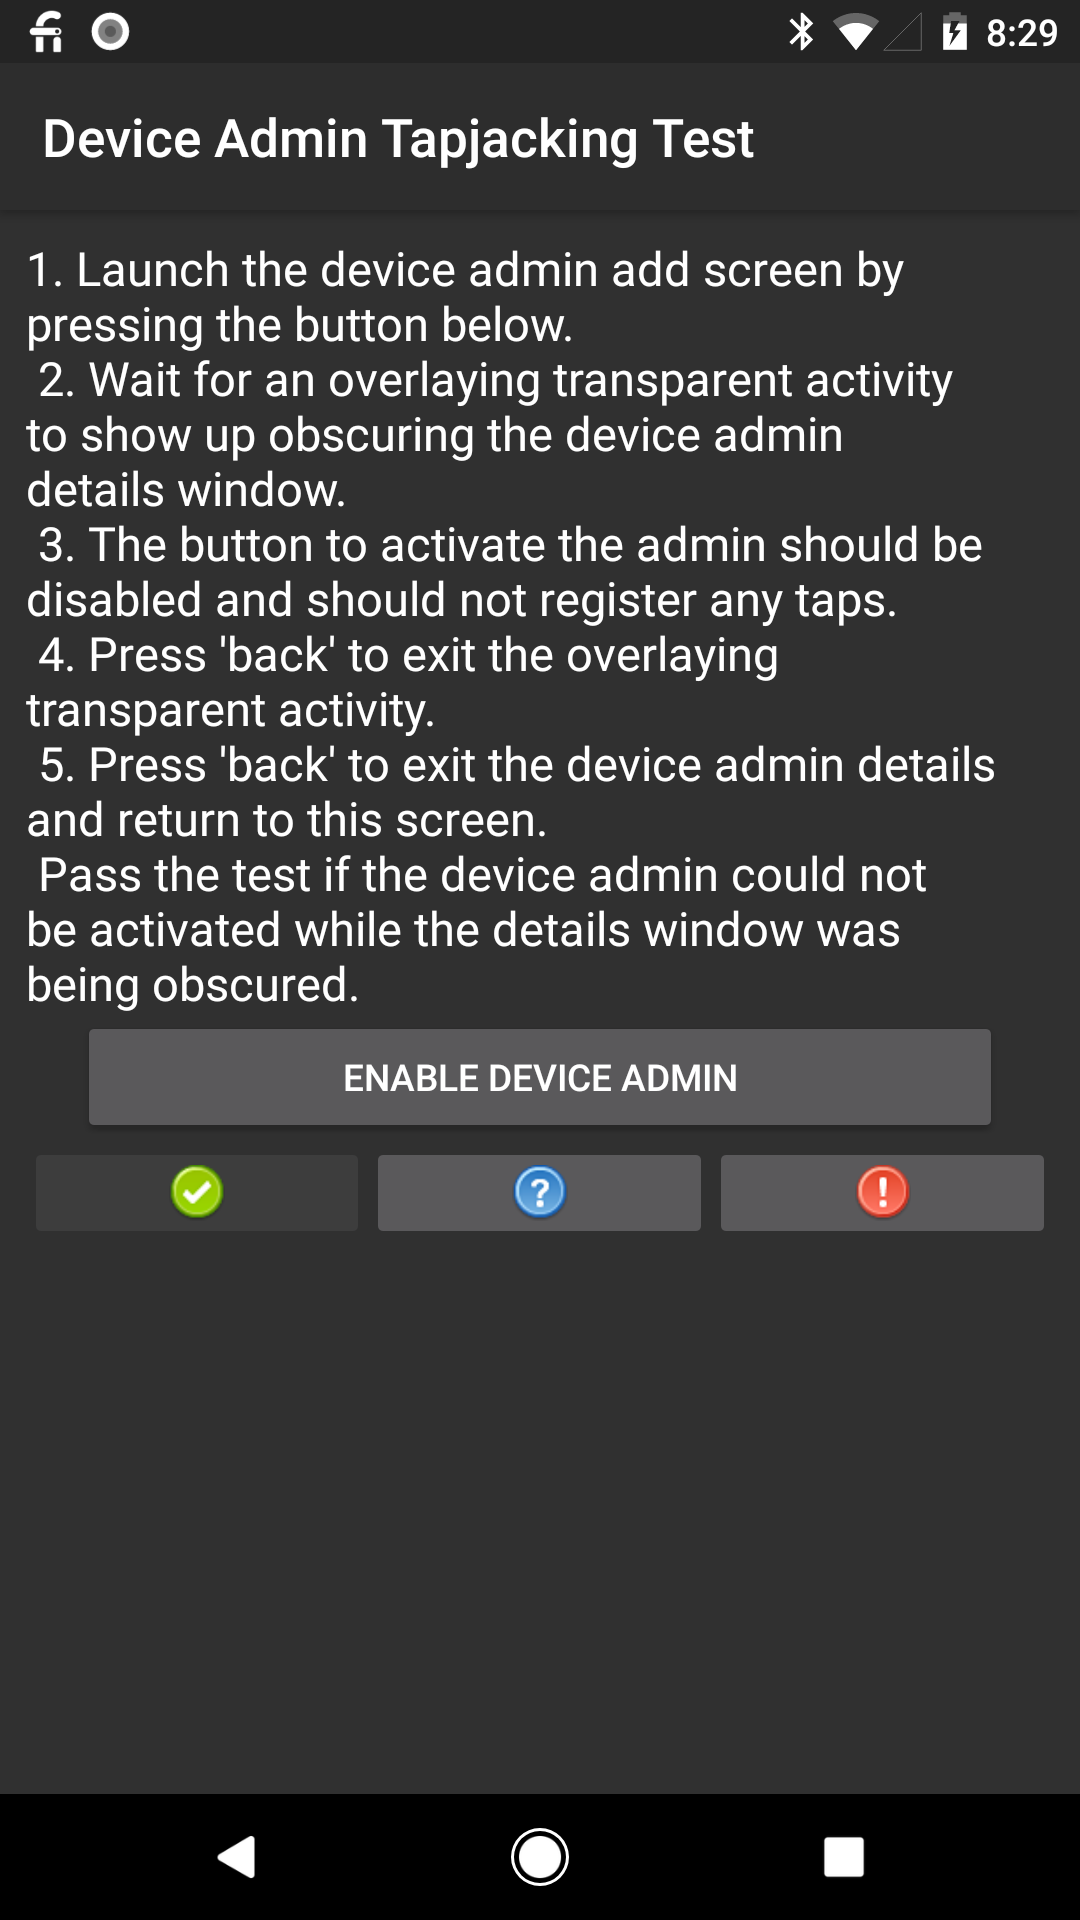
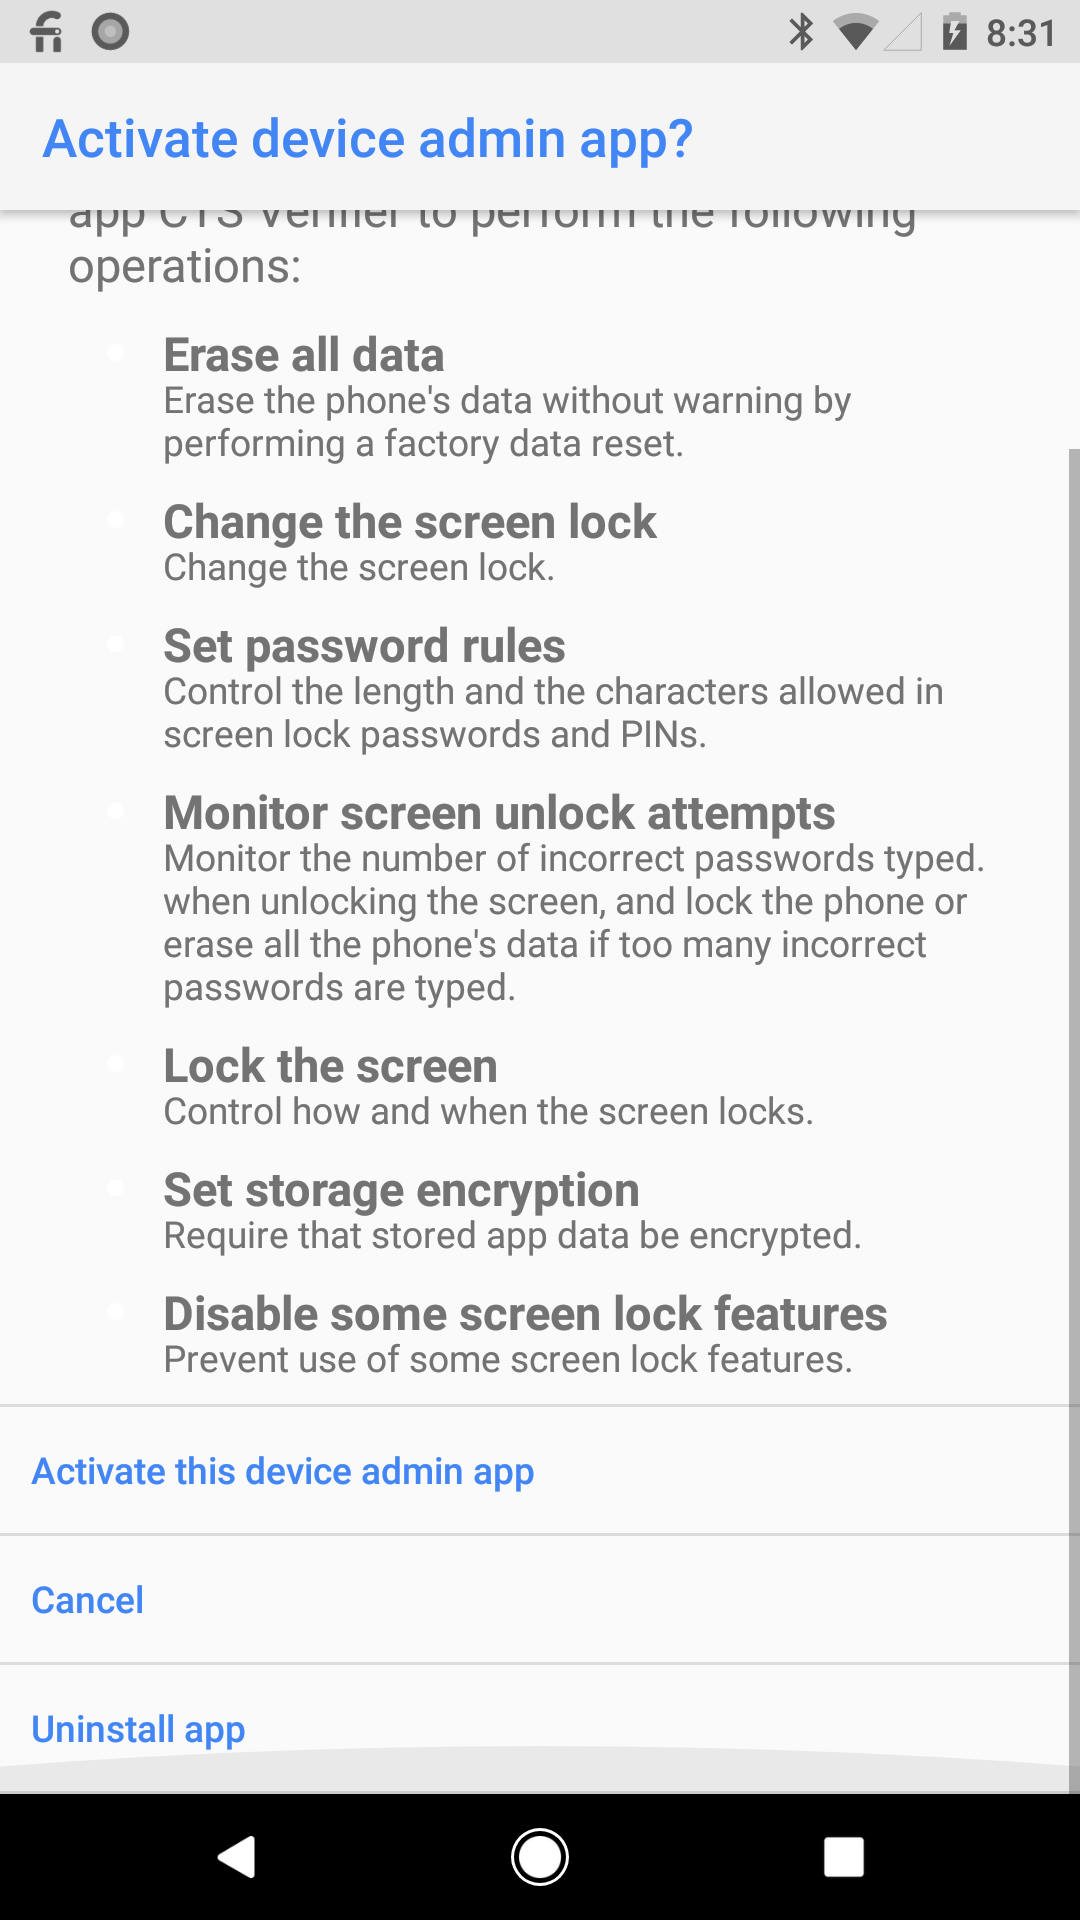
測試:Cts Verifier > Device Administration > Device Admin Tapjacking Test
com.android.cts.verifier.admin.tapjacking.DeviceAdminTapjackingTestActivity
測試結果可解讀為符合或不符合預期。 透過疊加層輕觸按鈕,但可能產生不清楚的說明。
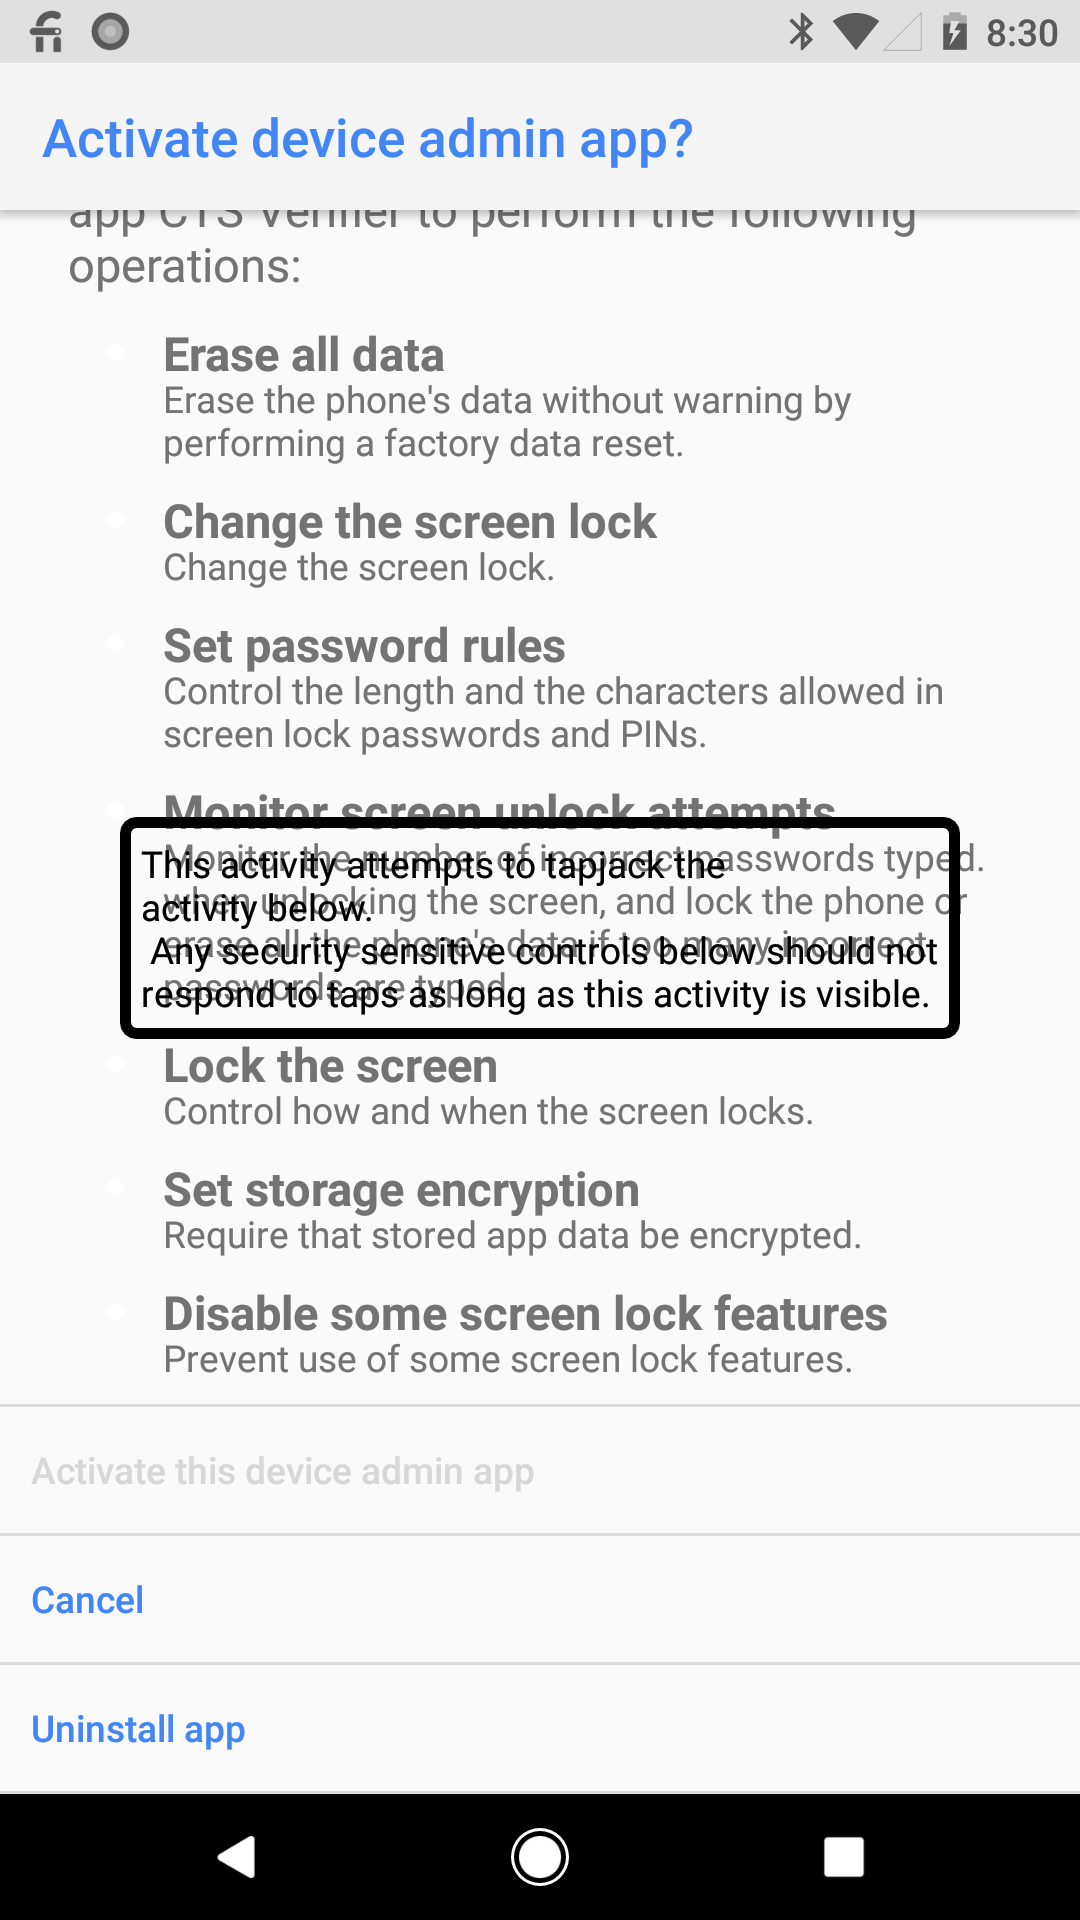
啟用管理員的按鈕應停用,且不應註冊任何輕觸動作。
無法啟用裝置管理員應用程式,但會顯示訊息方塊 由於有其他應用程式顯示在這些選項上方,因此「設定」無法回應您的動作。因此系統會註冊輕觸動作,使用者仍可輕觸取消並按下「解除安裝應用程式」。
以下是步驟 3 的預期結果。
|
|
|
| 3. 輕觸「啟用裝置管理員」 | 3.1. 已啟用「啟用這個裝置管理應用程式」。 | 3.2. 「啟用這個裝置管理應用程式」已停用。 |
圖 1. 裝置管理測試的預期結果。
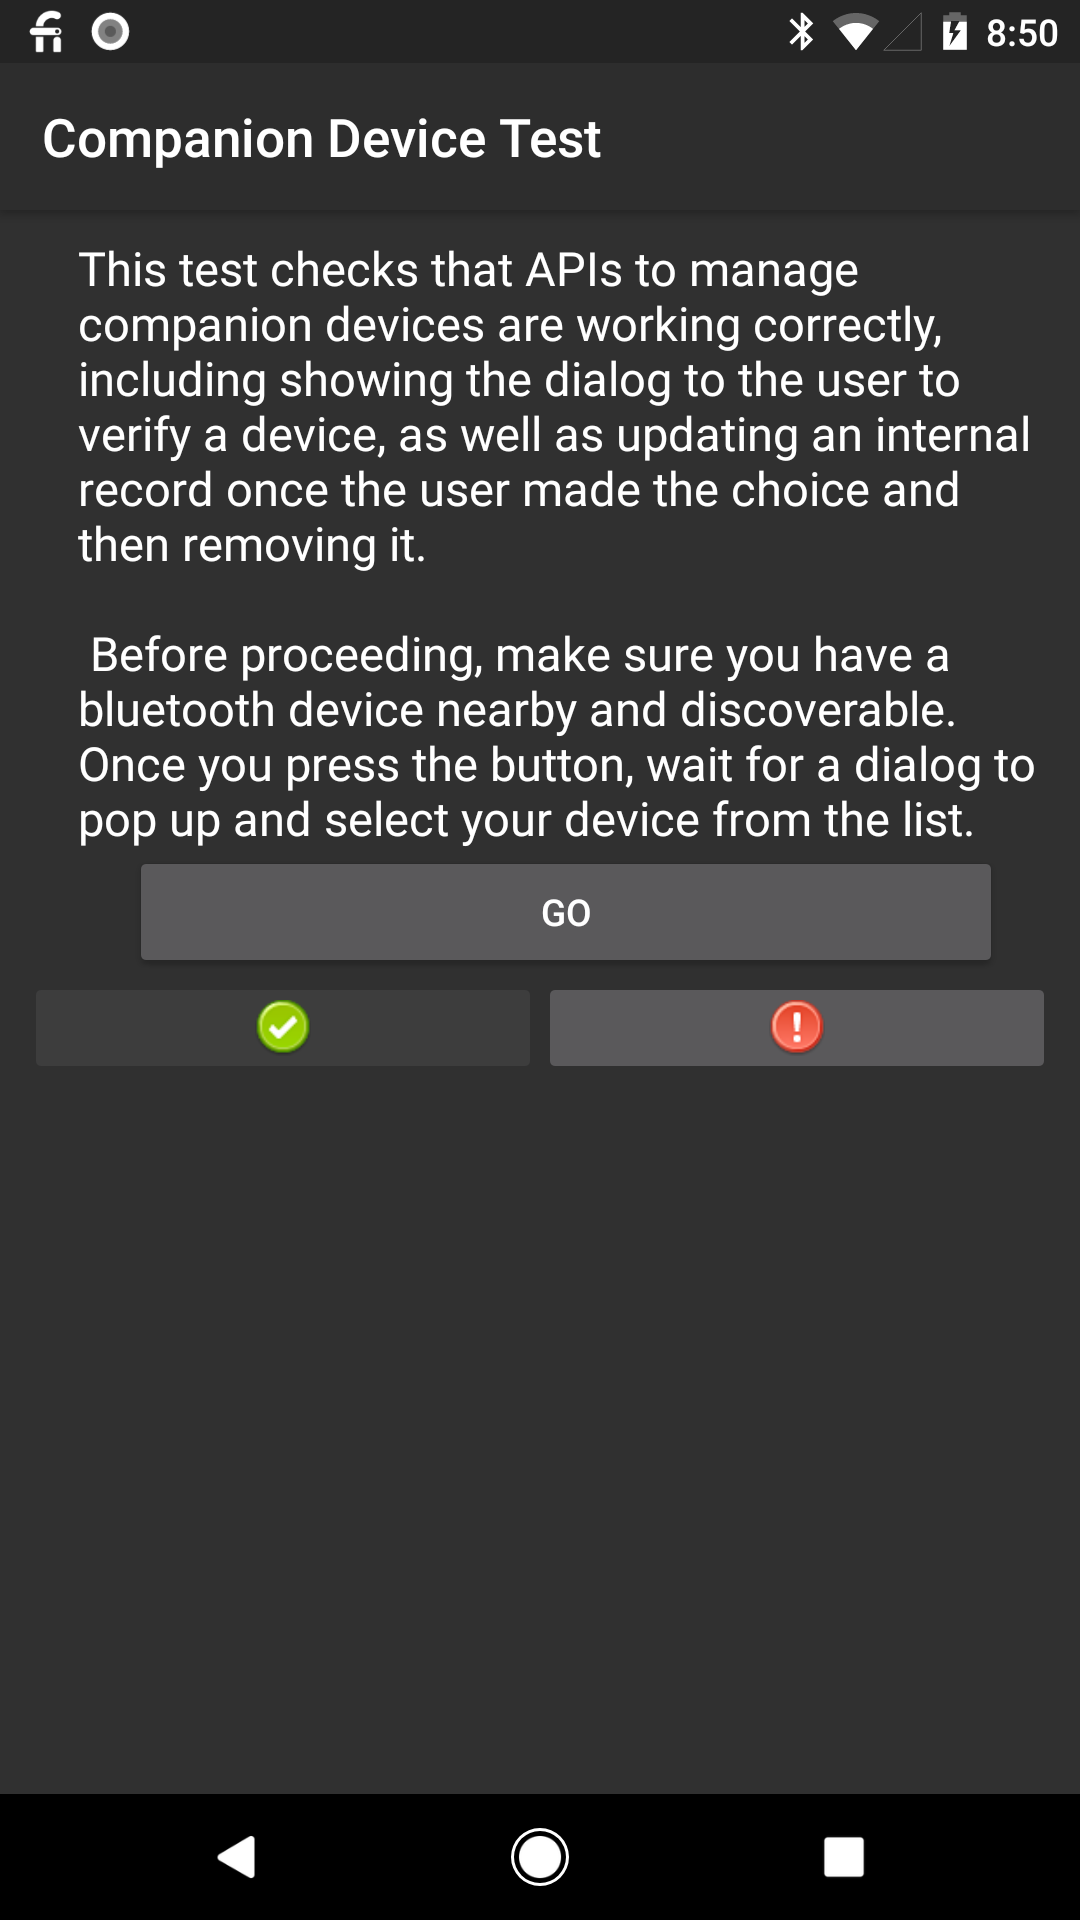
配對裝置測試
配對裝置測試為 com.android.cts.verifier.companion.CompanionDeviceTestActivity。
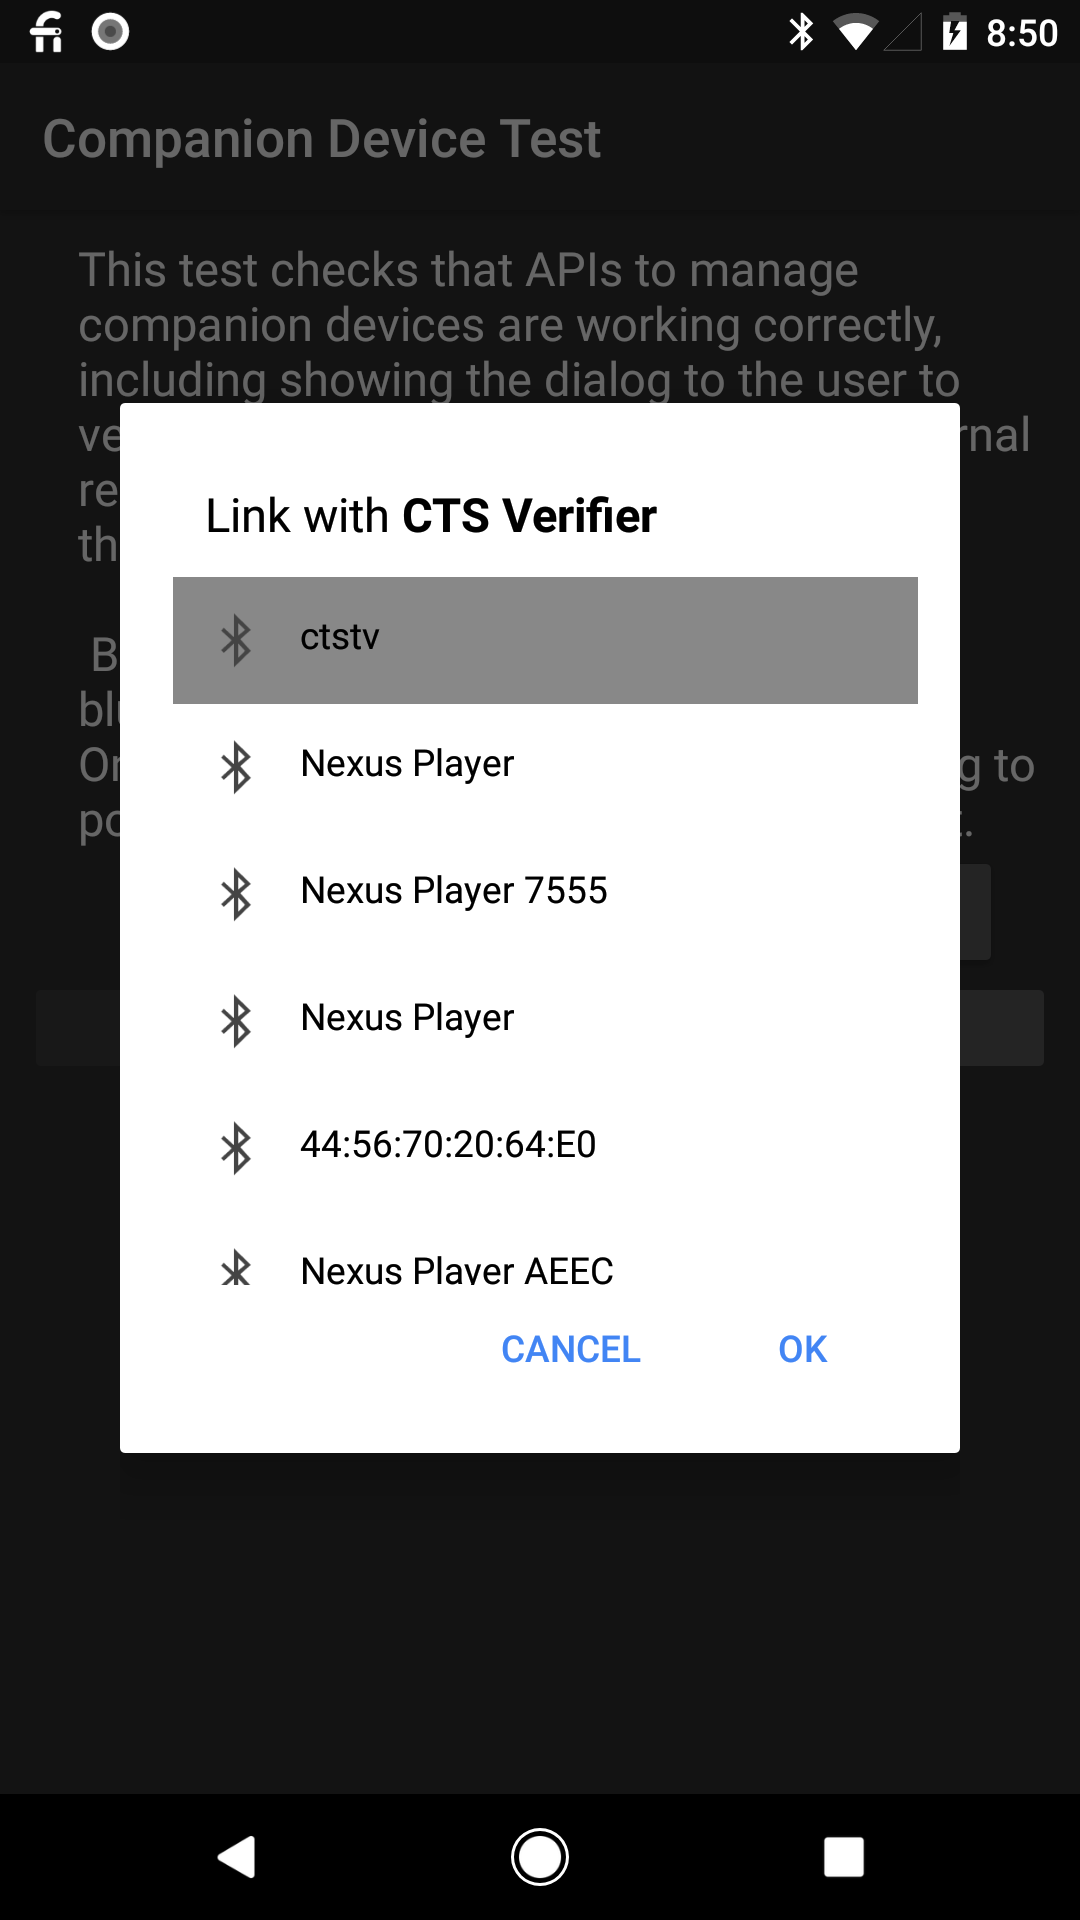
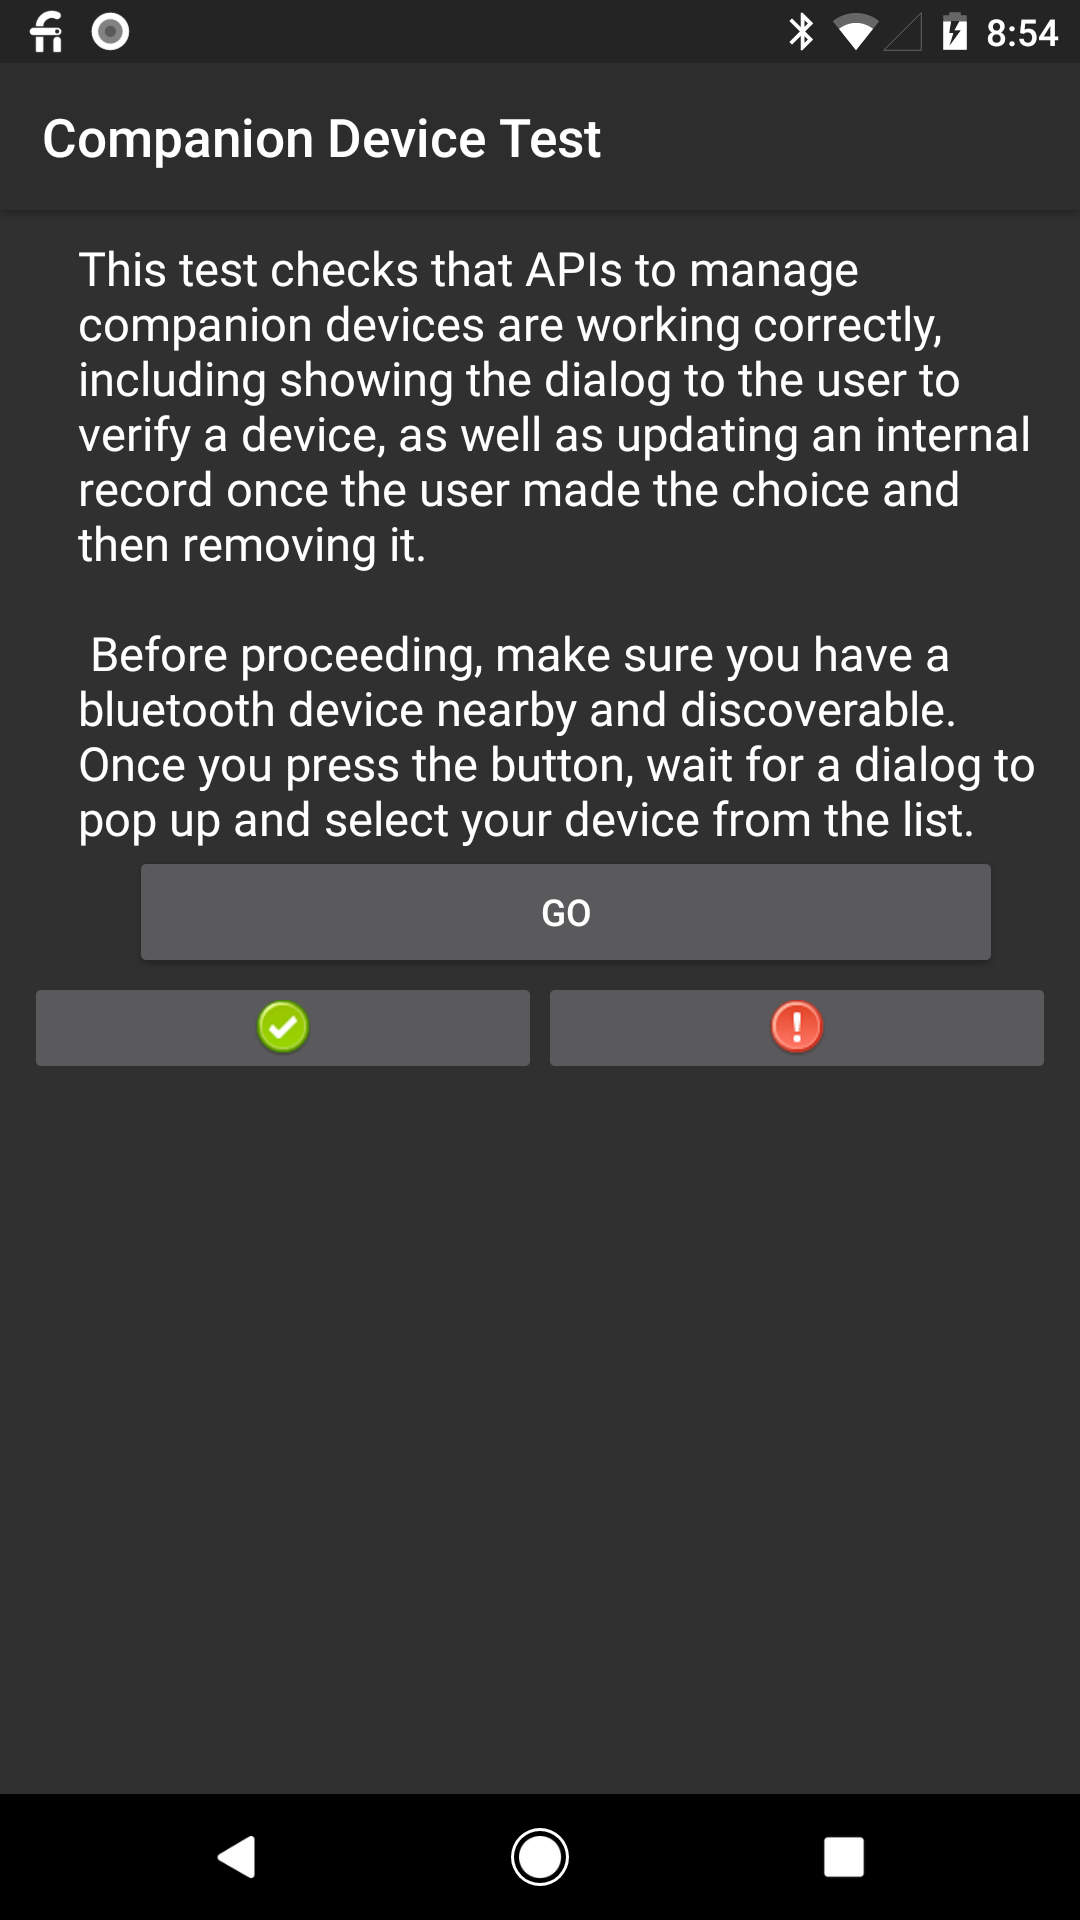
在清單中選取裝置並按下「OK」後,可能無法清楚瞭解測試是否已正確完成。
預期結果如下。
|
|
|
| 1. 輕觸「開始」 | 2. 輕觸藍牙裝置 | 3. 輕觸「通行證」 |
圖 2. 隨附裝置測試的預期結果。
語音信箱廣播測試
語音留言廣播測試為 com.android.cts.verifier.voicemail.VoicemailBroadcastActivity。
如要傳送語音留言到手機,請撥打裝置電話、在裝置上拒接來電,然後留下語音留言。
視覺化語音信箱是一種傳送裝置音訊資料和來電語音信箱詳細資訊的方式,而不是只傳送訊息等待指標** (MWI) 簡訊。
這項測試是為了測試接收 MWI 的行為,如果使用視覺化語音信箱,電信業者可能不會傳送 MWI,進而干擾測試,因此必須停用視覺化語音信箱。
測試 USB 配件/裝置
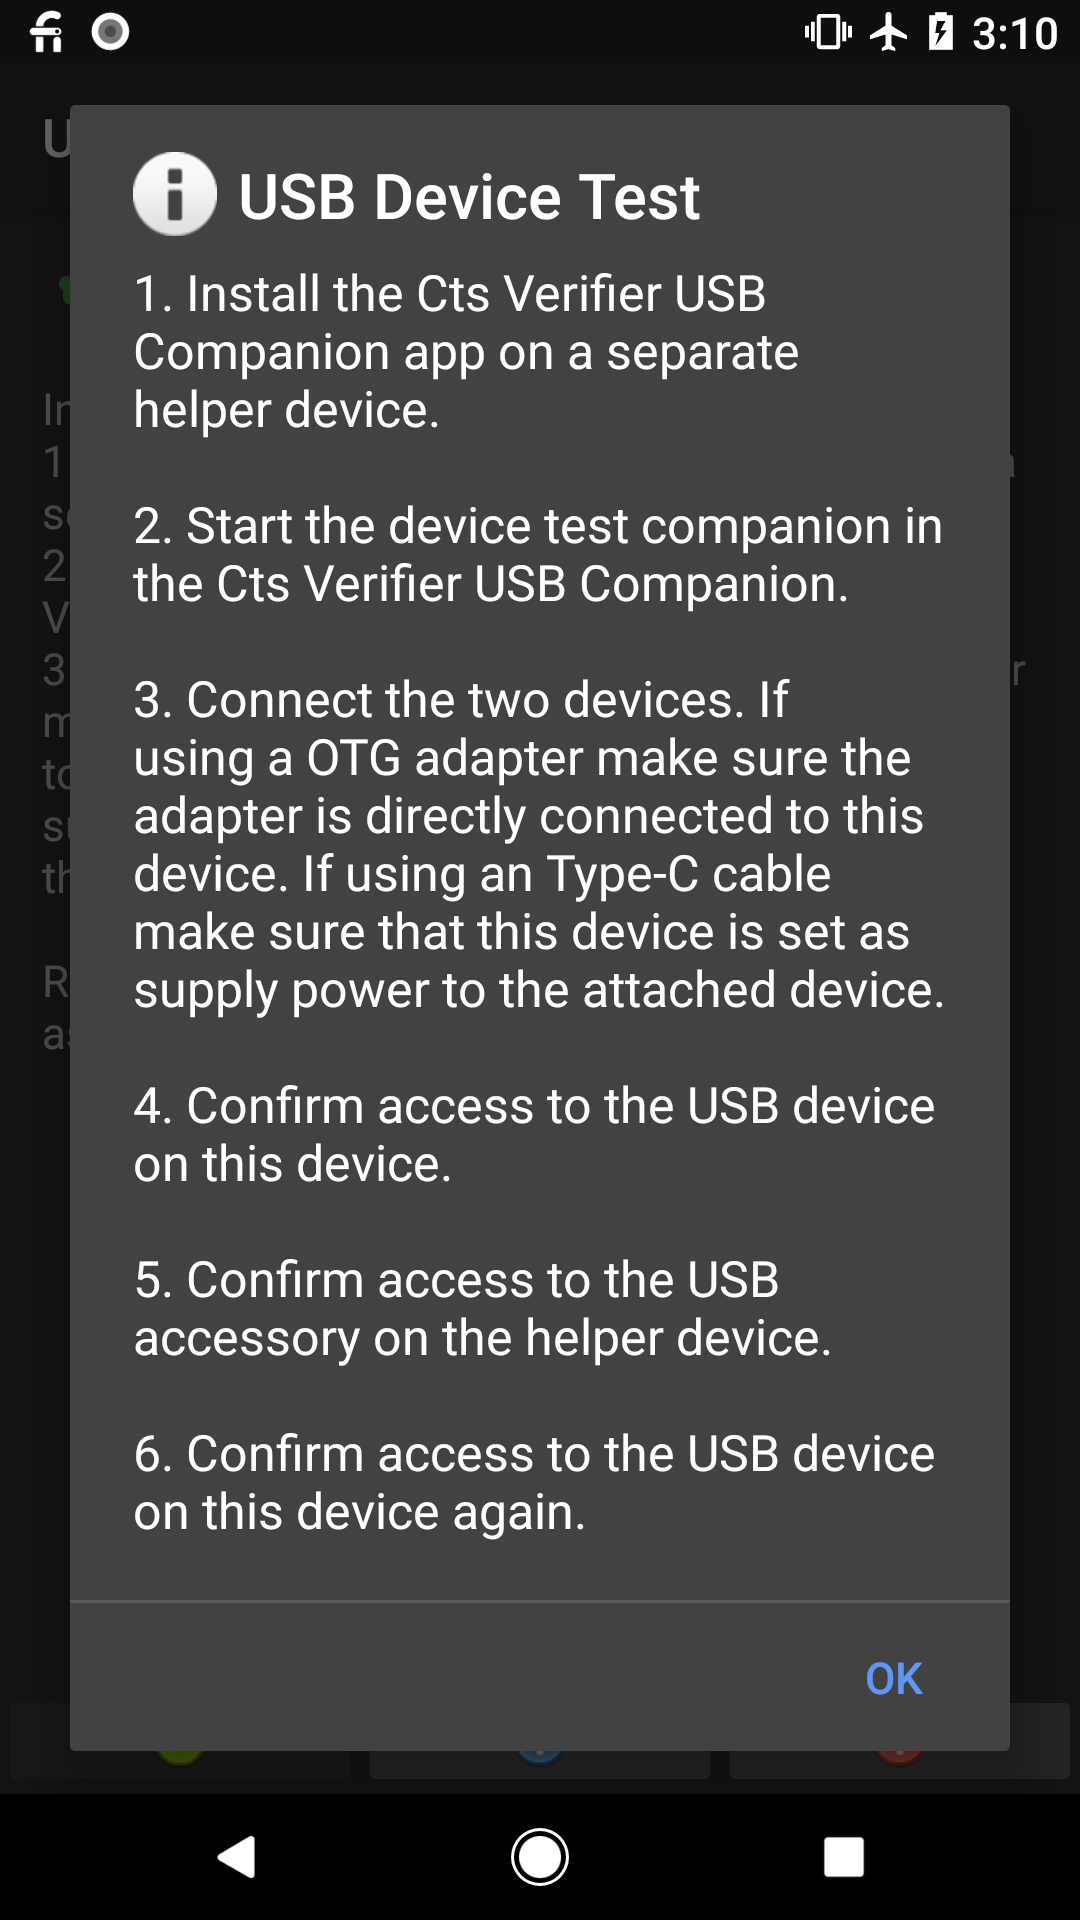
圖 3. 語音留言廣播測試操作說明。
避免不穩定行為的具體指示:
- 在 DUT 上安裝 CtsVerifier.apk
- 在 Pixel 上安裝 CtsVerifierUSBCompanion.apk
- 確認所有 USB 傳輸線都已拔除
- 在 Pixel 上啟動 CtsVerifierUSBCompanion,然後選取配件測試同伴
- 在 DUT 上啟動 CtsVerifier,然後選取 USB 配件測試
- 將 OTG 轉接頭連接至 Pixel,然後透過 USB-A(公頭) 對 USB-C 傳輸線連接 DUT
- 依下列順序核准連線對話方塊:
- Pixel
- DUT
- Pixel
- 等待測試完成
動態感應器探索測試
各裝置製造商可以決定是否支援 API (isDynamicSensorDiscoverySupported)。
如果裝置支援 API,裝置製造商必須取得外部感應器,才能通過測試。裝置製造商必須找到裝置,並連線至該裝置,才能測試動態感應器。
如果裝置製造商無法找到裝置,請使用下列設定。
- 購買 TI EK-TM4C123GXL 開發板。
選項 1
選項 2 下載並安裝 lm4tools。
執行 Linux/Mac 專用指令:
cd /tmp
git clone https://github.com/utzig/lm4tools.git
cd lm4tools
make
sudo PREFIX=/usr make install
如果是 Windows,可以直接使用 TI 的 LMFlash,透過 GUI 刷寫。
擷取 Google 提供的二進位檔,名為 usb_sensor_dummy_accel.bin。
將開發板上的切換開關切換至 DEBUG 模式,然後將 USB Micro 傳輸線插入標示為 DBG 的連接埠。
執行下列指令:
lm4flash -v -E usb_accel_dummy.bin注意:如有權限問題,請使用
sudo執行。韌體更新完成後,請從 DBG 連接埠拔除 USB Micro 傳輸線,將先前使用的開關切換回 DEVICE,然後將 USB Micro 傳輸線的一端插入標示為 DEVICE 的 USB 插槽。充電線的另一端應直接插入裝置。
現在可以執行這項 CTS-V 測試,應該能夠探索並使用您剛插入的裝置做為虛擬加速度計。
測試解除安裝裝置管理員
這項測試可能需要先透過 adb 從主機手動在裝置上安裝 CtsEmptyDeviceAdmin.apk。
例如 adb install CtsEmptyDeviceAdmin.apk。
使用 CTS 驗證器 >「裝置管理」 >「裝置管理員解除安裝測試」。
系統應會偵測到應用程式已安裝,並完成其他步驟。
擷取筆記測試內容
從 Android 14 開始,如果原始設備製造商選擇啟用 NOTES 角色,原始設備製造商裝置就必須通過新的「Capture Content for Notes」CTS-V 測試。
「Capture Content for Notes」測試位於 CaptureContentForNotesVerifierActivity.java
,並在「FEATURES」類別下方,如下圖所示:

圖 4. 在 CTS-V 套件中擷取記事測試的內容。
「擷取記事內容」測試會測試下列 API:
Intent#ACTION_LAUNCH_CAPTURE_CONTENT_ACTIVITY_FOR_NOTEIntent#EXTRA_CAPTURE_CONTENT_FOR_NOTE_STATUS_CODEandroid.permission.LAUNCH_CAPTURE_CONTENT_ACTIVITY_FOR_NOTEStatusBarManager#canLaunchCaptureContentActivityForNote
執行「擷取記事內容」測試前,請先完成下列步驟:
確認裝置已啟用
NOTES角色。 如果「應用程式」設定視窗的「預設應用程式」下方顯示「記事」選項,表示NOTES角色已啟用。如果裝置支援
NOTES角色,請在浮動多工視窗中啟動預設記事應用程式。你可以透過主畫面上的小工具捷徑進入,或是透過周邊裝置 (例如觸控筆上的按鈕) 執行這項操作。按照
README的說明安裝CtsDefaultNotesApp。
執行測試時,請遵循下列規範:
- 如果
NOTES角色已停用,測試清單會空白,且測試會允許使用者略過測試。輕觸綠色「通過」按鈕,即可略過測試。 如果已啟用
NOTES角色,綠色的「通過」按鈕會停用,且測試會顯示在測試清單中,如下圖所示:
圖 5. 啟用
NOTES角色後,即可測試「擷取內容至記事」功能。按照下列步驟執行「擷取記事內容」測試套件:
逐一進行測試,並按照指示操作。
輕觸適當的按鈕:
- 輕觸綠色的「通過」按鈕,記錄成功。所有測試通過後,綠色的「通過」按鈕就會啟用。
- 輕觸紅色「失敗」按鈕,記錄失敗。如果測試失敗,紅色「失敗」按鈕會啟用。