
After flashing a user build onto a device, you need to re-enable USB debugging. OmniLab ATS can automate this step using AOA device actions, which send a series of UI commands to a device.
Record the AOA commands
First, use the WebAOA command editing tool to record the list of commands to enable USB debugging.
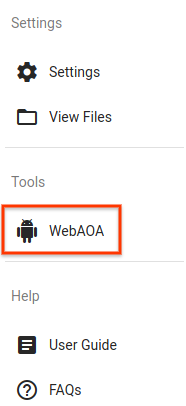
Figure 1. Link to the WebAOA command editing tool in OmniLab ATS.
It is also accessible at http://localhost:8000/webaoa by default.
WebAOA lets you manipulate a local device using a simulated touchscreen and record your UI interactions.
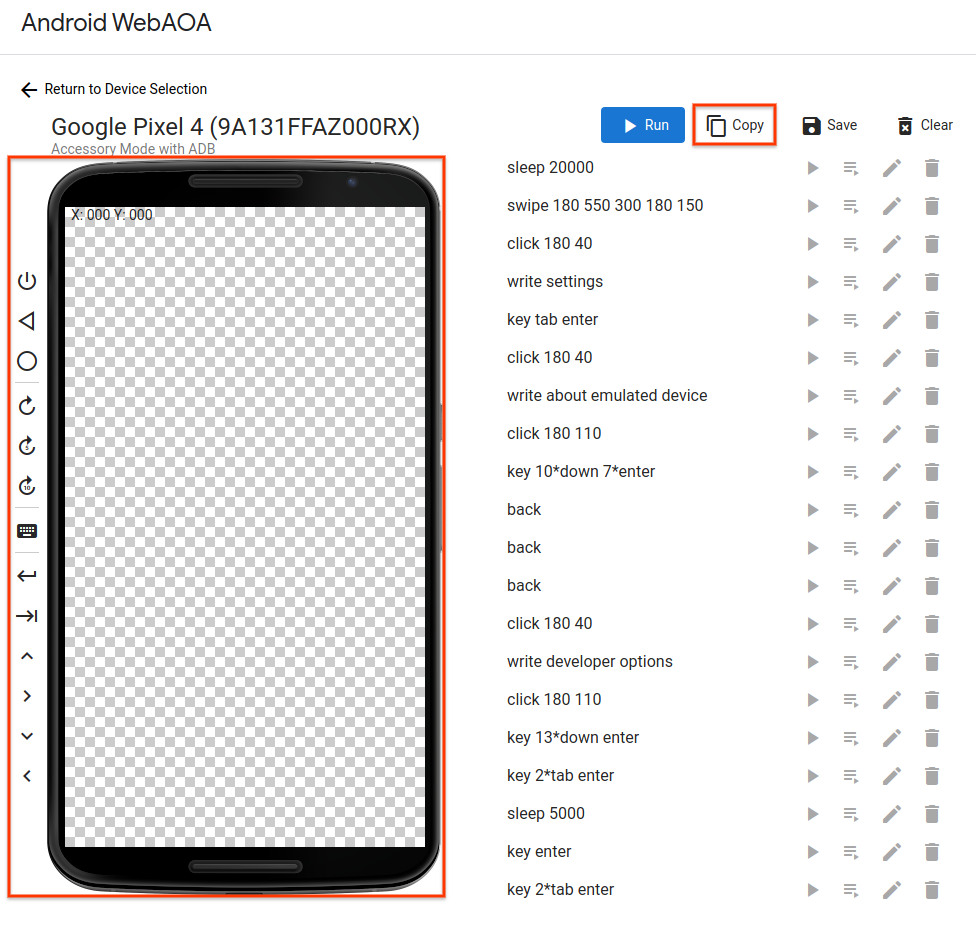
Figure 2. Editing the commands for enabling USB debugging in WebAOA.
Four types of commands are supported:
Clicking and swiping on the touchscreen (
click X Yandswipe X1 Y1 DURATION X2 Y2)Pressing device buttons (
back,home, andwake)Writing text and pressing key combinations (
write TEXTandkey [KEY ...])Waiting for a specified duration (
sleep DURATION)
When you are finished recording commands, you can copy them to your clipboard or save them to a file.
Create an AOA device action
To automatically re-enable USB debugging, the recorded commands need to be added to a device action.
Create a new device action and
add a TF Target Preparer with its class name set to
com.android.tradefed.targetprep.AoaTargetPreparer.
Copy the commands recorded in WebAOA into its action option.
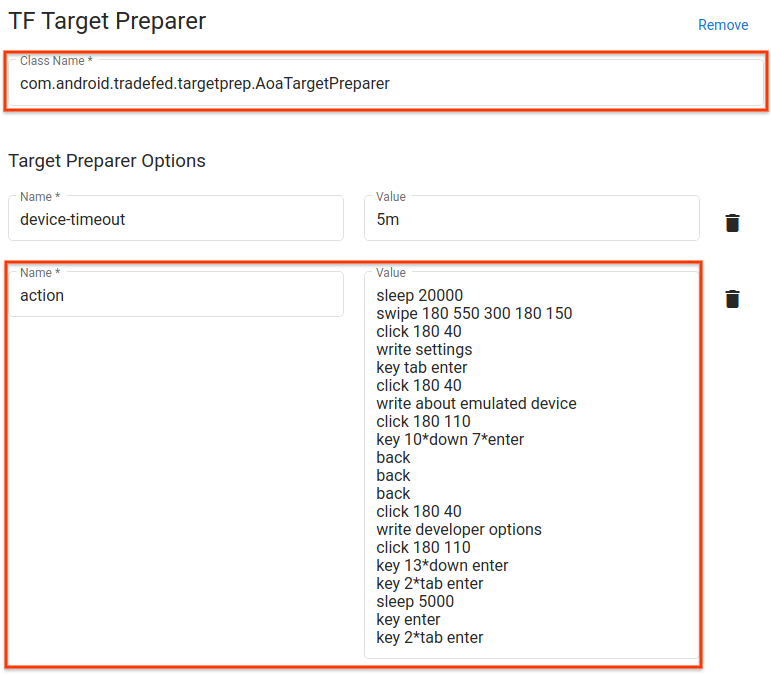
Figure 3. AOA device action for enabling USB debugging on Android 10 GSI.
Use an AOA device action
When scheduling a test run, add your AOA device action and place it directly after your device-flashing action.
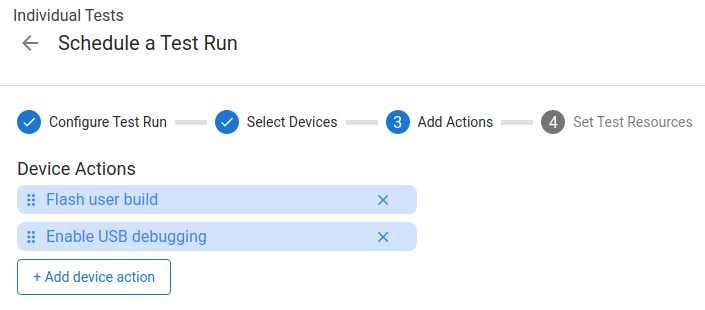
Figure 4. Scheduling a run to flash a user build and re-enable USB debugging.