
Collega l'accelerometro al DUT.
Usa la cera d'api per fissare l'accelerometro nella posizione specificata nell'app di test.
Il collegamento dell'accelerometro deve essere rigido, ma anche facile da rimuovere tra una corsa e l'altra.
Imposta l'orientamento dell'accelerometro in base al tipo di attuatore.
Attuatore risonante lineare (LRA) dell'asse X: assicurati che la freccia -> sull'accelerometro sia allineata con la direzione della lunghezza dell'LRA. Questa direzione è generalmente equivalente alla direzione di risonanza.
Attuatore risonante lineare (LRA) dell'asse Z: utilizza l'orientamento dell'accelerometro descritto nelle istruzioni per l'LRA dell'asse X riportate sopra.
Attuatore a massa rotante eccentrica (ERM): misura il segnale e tutti e tre gli assi, poi seleziona i dati con l'ampiezza del segnale più forte.
Apri l'app di test sul DUT e genera gli effetti target.
Utilizza un mouse Bluetooth per fare clic sui pulsanti di destinazione nell'app. In questo modo puoi fare clic sui pulsanti dell'app senza aggiungere forze esterne, come la pressione di un dito.
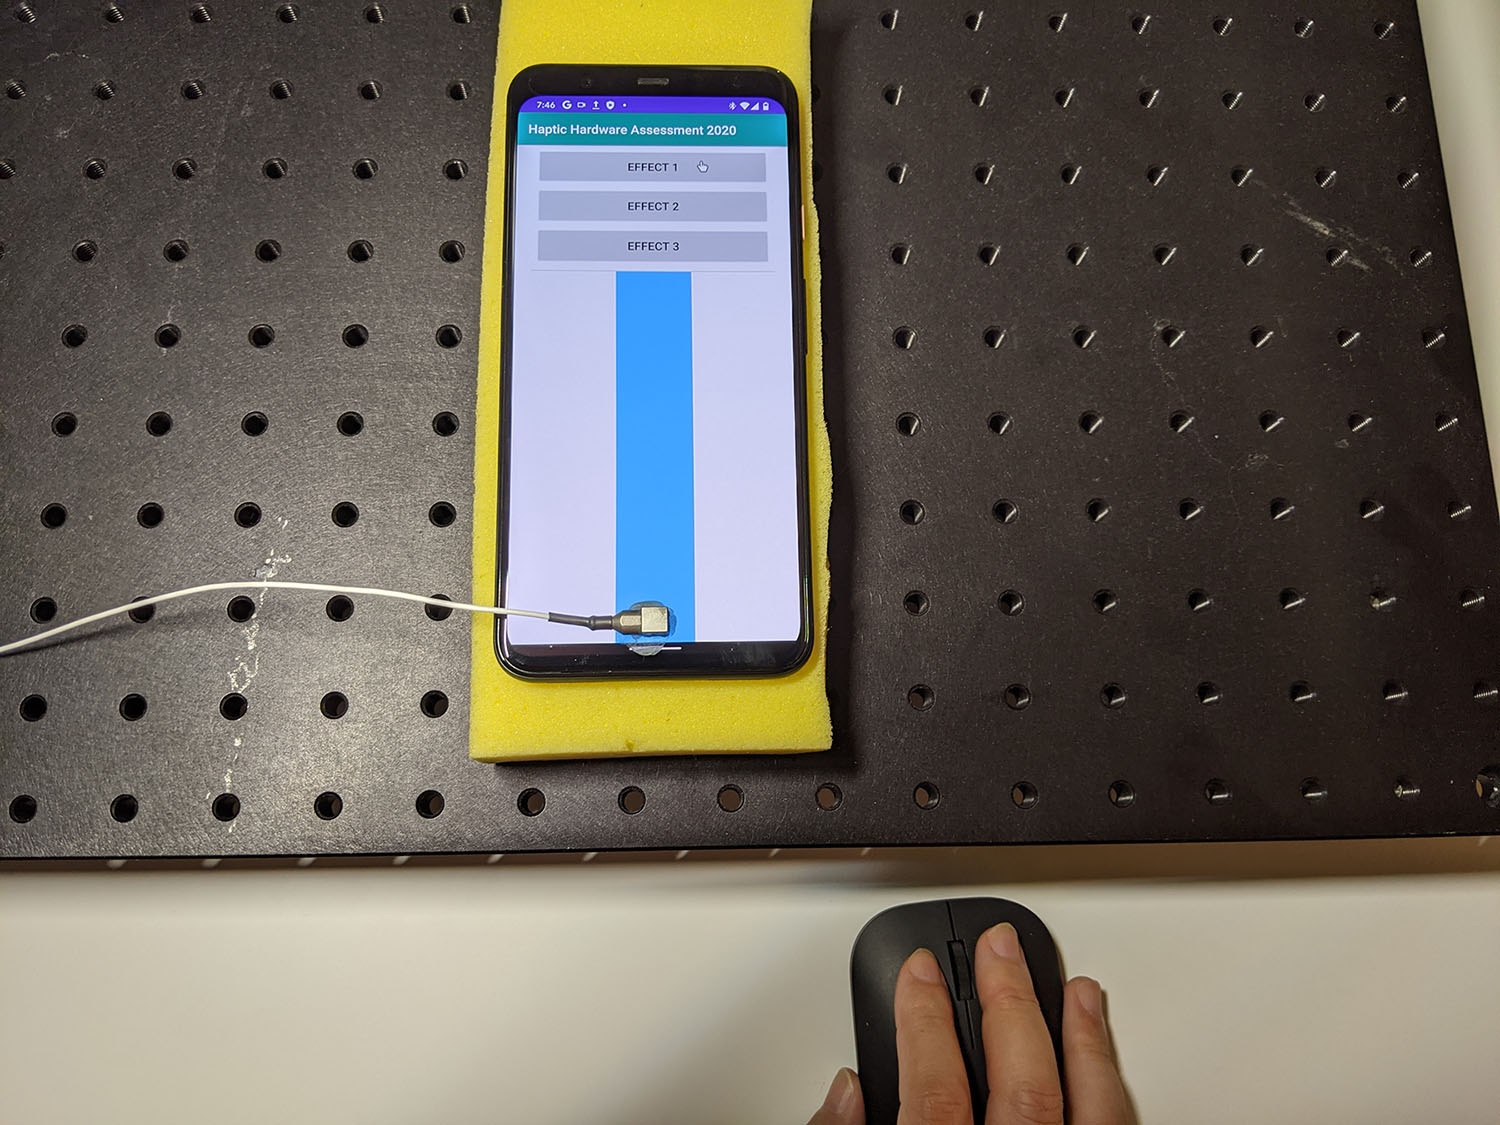
Figura 1. DUT generating target effects
Registra la forma d'onda dall'app di test utilizzando Audacity ed esporta il file:
- Fai clic su Registra in Audacity.
- Premi ciascuno dei pulsanti target nell'app di test.
Esporta la registrazione come file WAV.
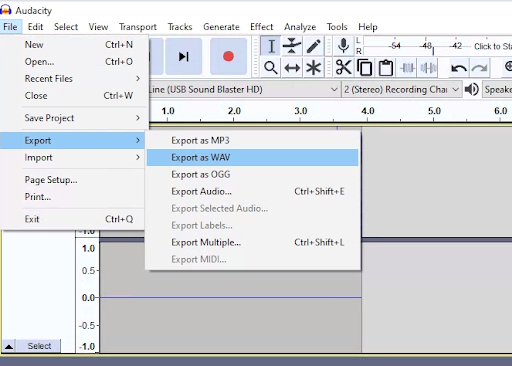
Figura 2. Esportazione da Audacity
Misurare e registrare gli effetti del target
I campioni di contenuti e codice in questa pagina sono soggetti alle licenze descritte nella Licenza per i contenuti. Java e OpenJDK sono marchi o marchi registrati di Oracle e/o delle sue società consociate.
Ultimo aggiornamento 2025-12-03 UTC.
[[["Facile da capire","easyToUnderstand","thumb-up"],["Il problema è stato risolto","solvedMyProblem","thumb-up"],["Altra","otherUp","thumb-up"]],[["Mancano le informazioni di cui ho bisogno","missingTheInformationINeed","thumb-down"],["Troppo complicato/troppi passaggi","tooComplicatedTooManySteps","thumb-down"],["Obsoleti","outOfDate","thumb-down"],["Problema di traduzione","translationIssue","thumb-down"],["Problema relativo a esempi/codice","samplesCodeIssue","thumb-down"],["Altra","otherDown","thumb-down"]],["Ultimo aggiornamento 2025-12-03 UTC."],[],[]]