DUT に加速度計を取り付けます。
蜜蝋を使用して、テストアプリで指定されている位置に加速度計を取り付けます。
加速度計は堅固に接続する必要がありますが、実行と実行の合間に簡単に取り外せるようにしてください。
アクチュエータの種類に応じて、加速度計の向きを設定します。
X 軸リニア共振アクチュエータ(LRA): 加速度計の「->」を LRA の長手方向に合わせます。一般的に、この向きは共振の方向と同じです。
Z 軸リニア共振アクチュエータ(LRA): 前述の X 軸 LRA の手順に記載されている加速度計の向きと同じ向きにします。
偏心回転質量アクチュエータ(ERM): 信号と 3 軸すべてを測定し、信号の振幅が最も強いデータを選択します。
DUT 上でテストアプリを開き、対象の効果を生成します。
Bluetooth マウスを使用してアプリ内の対象のボタンをクリックします。こうすることで、指の圧力などの外力を加えずにアプリのボタンをクリックできます。
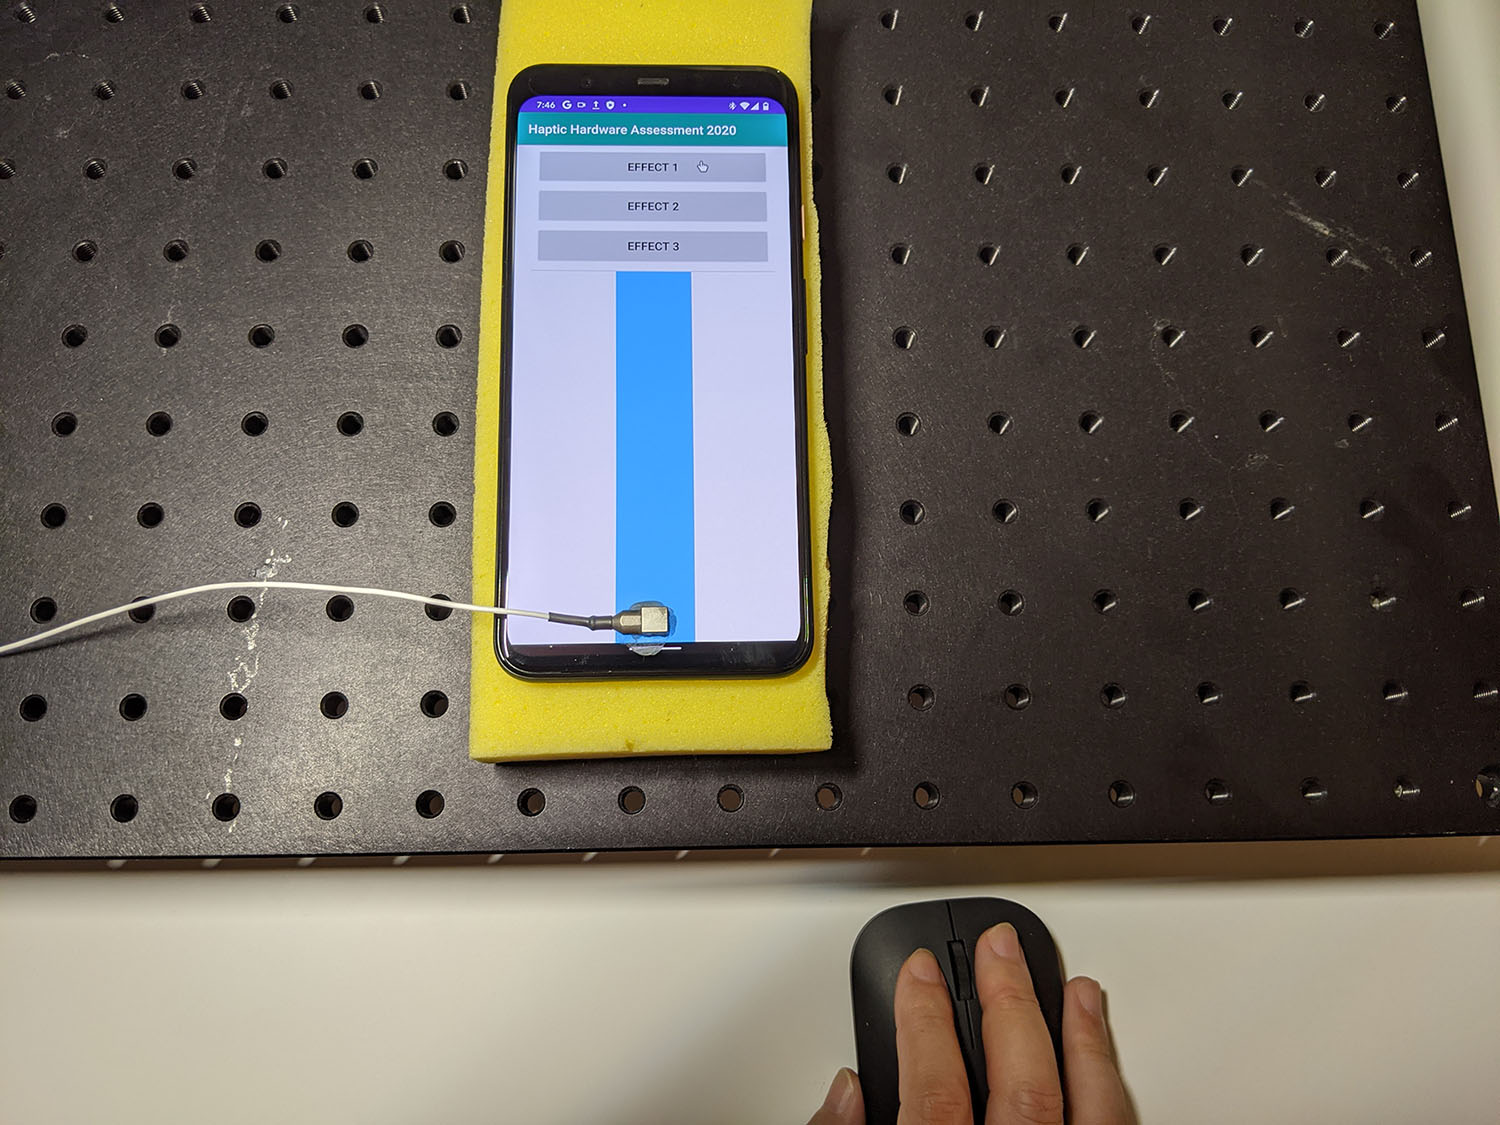
図 1. DUT で対象の効果を生成
Audacity を使用してテストアプリからの波形を記録し、ファイルをエクスポートします。
- Audacity で [Record] をクリックします。
- テストアプリで、対象のボタンをそれぞれ押します。
記録したデータを WAV ファイルでエクスポートします。
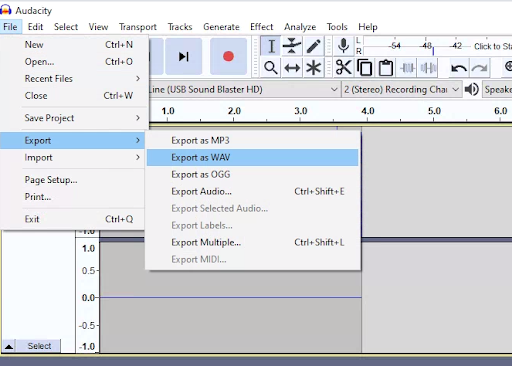
図 2. Audacity からのエクスポート
対象の効果を測定して記録する
このページのコンテンツやコードサンプルは、コンテンツ ライセンスに記載のライセンスに従います。Java および OpenJDK は Oracle および関連会社の商標または登録商標です。
最終更新日 2025-03-19 UTC。
[[["わかりやすい","easyToUnderstand","thumb-up"],["問題の解決に役立った","solvedMyProblem","thumb-up"],["その他","otherUp","thumb-up"]],[["必要な情報がない","missingTheInformationINeed","thumb-down"],["複雑すぎる / 手順が多すぎる","tooComplicatedTooManySteps","thumb-down"],["最新ではない","outOfDate","thumb-down"],["翻訳に関する問題","translationIssue","thumb-down"],["サンプル / コードに問題がある","samplesCodeIssue","thumb-down"],["その他","otherDown","thumb-down"]],["最終更新日 2025-03-19 UTC。"],[],[],null,["# Measure and record target effects\n\n1. Attach the accelerometer to the DUT.\n\n - Use beeswax to attach the accelerometer at the location specified in the\n test app.\n\n - The accelerometer connection should be rigid but also easy to remove\n between runs.\n\n2. Set the orientation of the accelerometer depending on the actuator type.\n\n - **X axis linear resonant actuator (LRA):** Make sure that the -\\\u003e on the\n accelerometer is aligned with the length direction of the LRA. This\n direction is generally equivalent to the resonating direction.\n\n - **Z axis linear resonant actuator (LRA):** Use the accelerometer\n orientation described in the X axis LRA instructions above.\n\n - **Eccentric rotating mass actuator (ERM):** Measure the signal and all\n three axes, then select the data that has the strongest signal amplitude.\n\n | **Note:** If you change the measuring axis, be sure to also change the accelerometer cable attached to the CCLD signal conditioner.\n3. Open the test app on the DUT and generate target effects.\n\n - Use a Bluetooth mouse to click the target buttons in the app. This lets\n you click app buttons without adding external forces, such as pressure from\n a finger.\n\n **Figure 1.** DUT generating target effects\n4. Record the waveform from the test app using Audacity and export the file:\n\n - Click **Record** in Audacity.\n - Press each of the target buttons in the test app.\n - Export the recording as a WAV file.\n\n **Figure 2.** Exporting from Audacity"]]