
Pasang akselerometer ke DUT.
Gunakan lilin lebah untuk memasang akselerometer di lokasi yang ditentukan dalam aplikasi pengujian.
Koneksi akselerometer harus kaku, tetapi juga mudah dilepas di antara lari.
Setel orientasi akselerometer bergantung pada jenis aktuator.
Aktuator resonansi linear (LRA) sumbu X: Pastikan -> pada akselerometer sejajar dengan arah panjang LRA. Arah ini umumnya setara dengan arah resonansi.
Aktuator resonansi linear (LRA) sumbu Z: Gunakan orientasi akselerometer yang dijelaskan dalam petunjuk LRA sumbu X di atas.
Aktuator massa berputar eksentrik (ERM): Ukur sinyal dan ketiga sumbu, lalu pilih data yang memiliki amplitudo sinyal terkuat.
Buka aplikasi pengujian di DUT dan buat efek target.
Gunakan mouse Bluetooth untuk mengklik tombol target di aplikasi. Dengan begitu, Anda dapat mengklik tombol aplikasi tanpa menambahkan gaya eksternal, seperti tekanan dari jari.
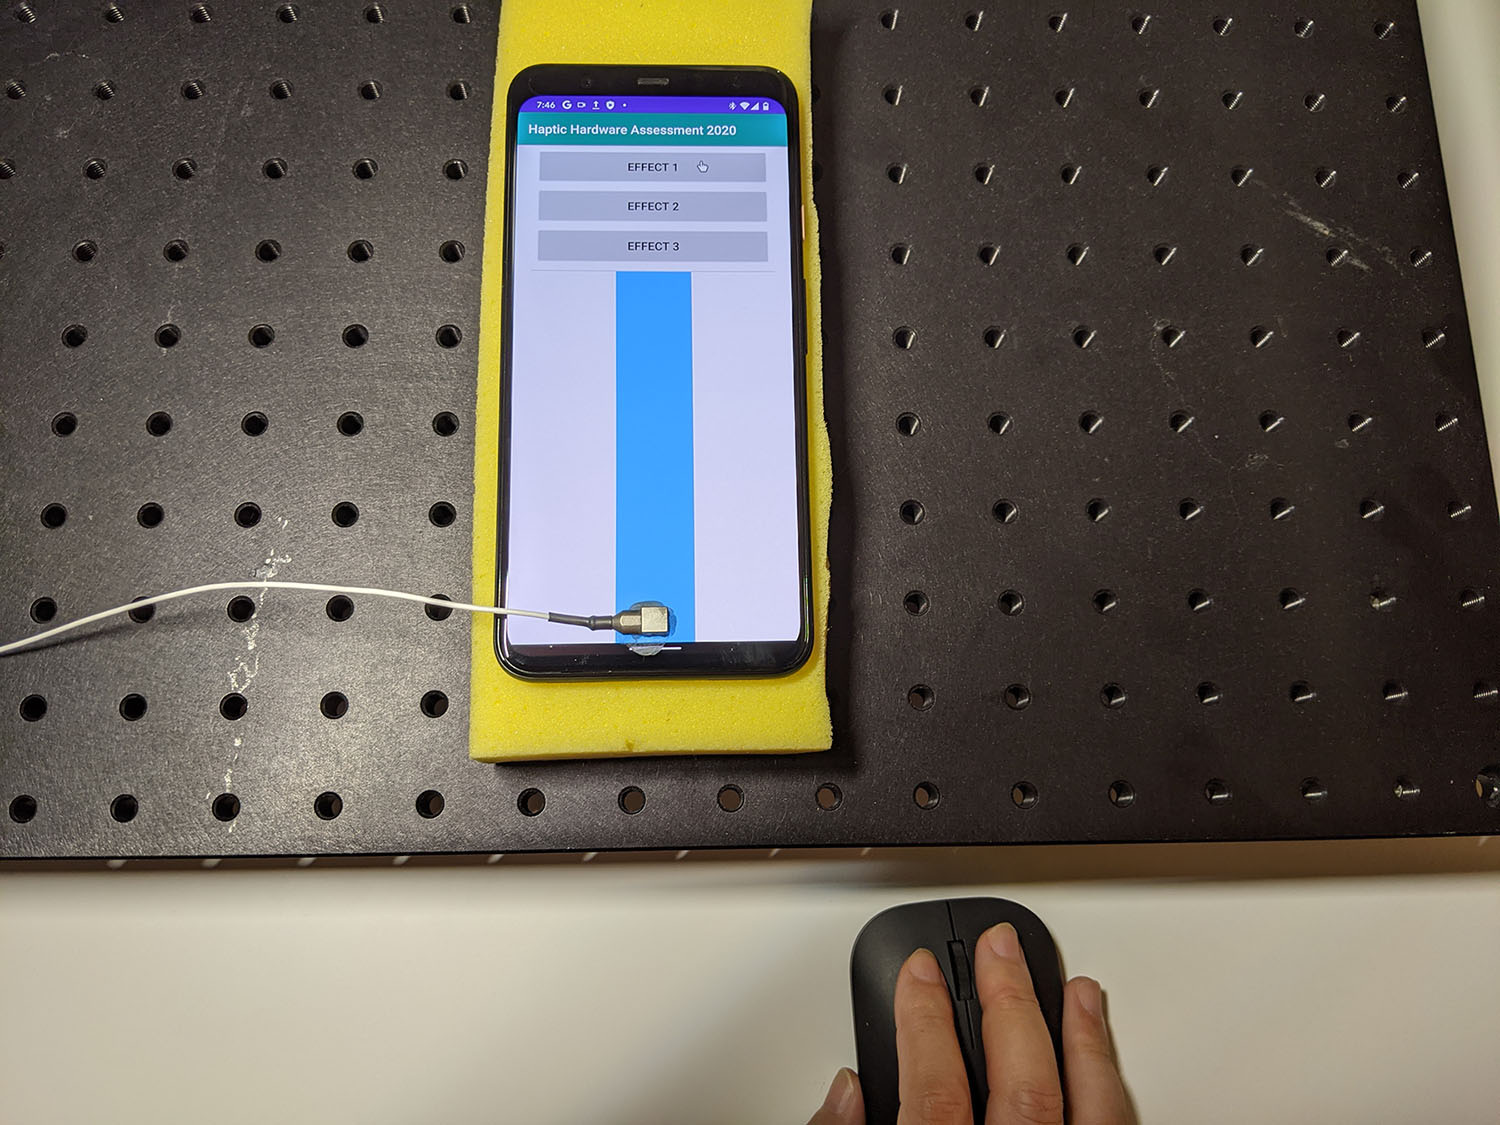
Gambar 1. DUT menghasilkan efek target
Rekam bentuk gelombang dari aplikasi pengujian menggunakan Audacity dan ekspor file:
- Klik Record di Audacity.
- Tekan setiap tombol target di aplikasi pengujian.
Ekspor rekaman sebagai file WAV.
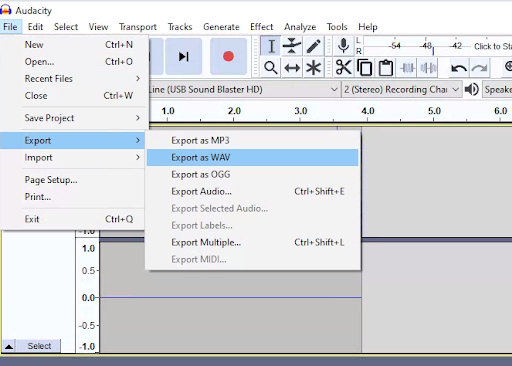
Gambar 2. Mengekspor dari Audacity
Mengukur dan mencatat efek target
Konten dan contoh kode di halaman ini tunduk kepada lisensi yang dijelaskan dalam Lisensi Konten. Java dan OpenJDK adalah merek dagang atau merek dagang terdaftar dari Oracle dan/atau afiliasinya.
Terakhir diperbarui pada 2025-12-03 UTC.
[[["Mudah dipahami","easyToUnderstand","thumb-up"],["Memecahkan masalah saya","solvedMyProblem","thumb-up"],["Lainnya","otherUp","thumb-up"]],[["Informasi yang saya butuhkan tidak ada","missingTheInformationINeed","thumb-down"],["Terlalu rumit/langkahnya terlalu banyak","tooComplicatedTooManySteps","thumb-down"],["Sudah usang","outOfDate","thumb-down"],["Masalah terjemahan","translationIssue","thumb-down"],["Masalah kode / contoh","samplesCodeIssue","thumb-down"],["Lainnya","otherDown","thumb-down"]],["Terakhir diperbarui pada 2025-12-03 UTC."],[],[]]