為配合主幹穩定開發模型,並確保生態系統的平台穩定性,我們將自 2026 年起,在第 2 季和第 4 季將原始碼發布至 AOSP。如要建構及貢獻 AOSP,請使用 android-latest-release。android-latest-release 資訊清單分支版本一律會參照推送至 Android 開放原始碼計畫的最新版本。詳情請參閱「Android 開放原始碼計畫變更」。
 Google uses AI technology to translate content into your preferred language. AI translations can contain errors.
自動在使用者版本上啟用 USB 偵錯功能
透過集合功能整理內容
你可以依據偏好儲存及分類內容。
將使用者版本刷入裝置後,您需要重新啟用 USB 偵錯。OmniLab ATS 可使用 AOA 裝置動作自動執行這個步驟,將一系列 UI 指令傳送至裝置。
記錄 AOA 指令
首先,使用 WebAOA 指令編輯工具記錄啟用 USB 偵錯的指令清單。
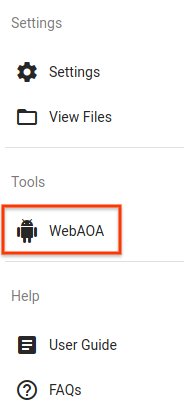
圖 1. OmniLab ATS 中的 WebAOA 指令編輯工具連結。
預設情況下,您也可以透過 http://localhost:8000/webaoa 存取。
WebAOA 可讓您使用模擬觸控螢幕操控本機裝置,並記錄 UI 互動。
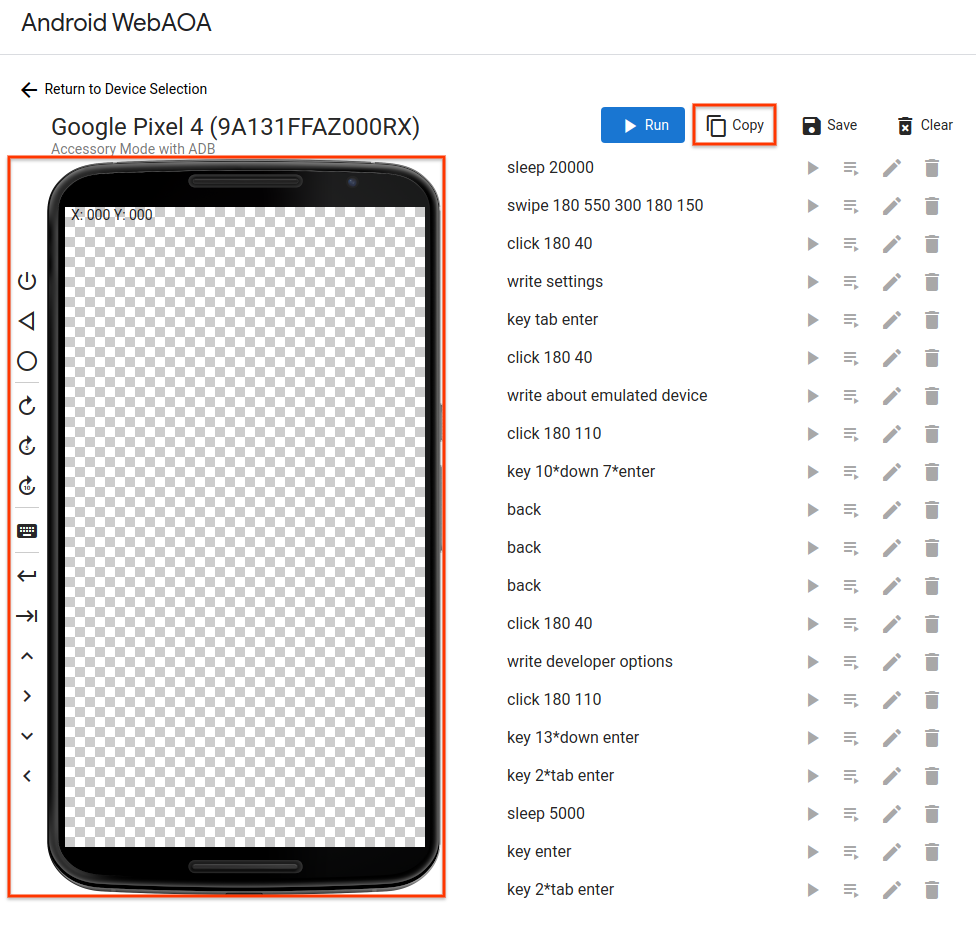
圖 2. 編輯指令,在 WebAOA 中啟用 USB 偵錯。
支援的指令類型有四種:
在觸控螢幕上按一下及滑動
(click X Y 和
swipe X1 Y1 DURATION X2 Y2)
按下裝置按鈕 (back、home 和 wake)
撰寫文字和按下按鍵組合 (write TEXT 和 key [KEY ...])
等待指定時間長度 (sleep DURATION)
錄製完畢後,您可以將指令複製到剪貼簿,或儲存到檔案。
建立 AOA 裝置動作
如要自動重新啟用 USB 偵錯功能,必須將記錄的指令新增至裝置動作。
建立新的裝置動作,並新增 TF 目標準備工具,將類別名稱設為 com.android.tradefed.targetprep.AoaTargetPreparer。將 WebAOA 記錄的指令複製到 action 選項。
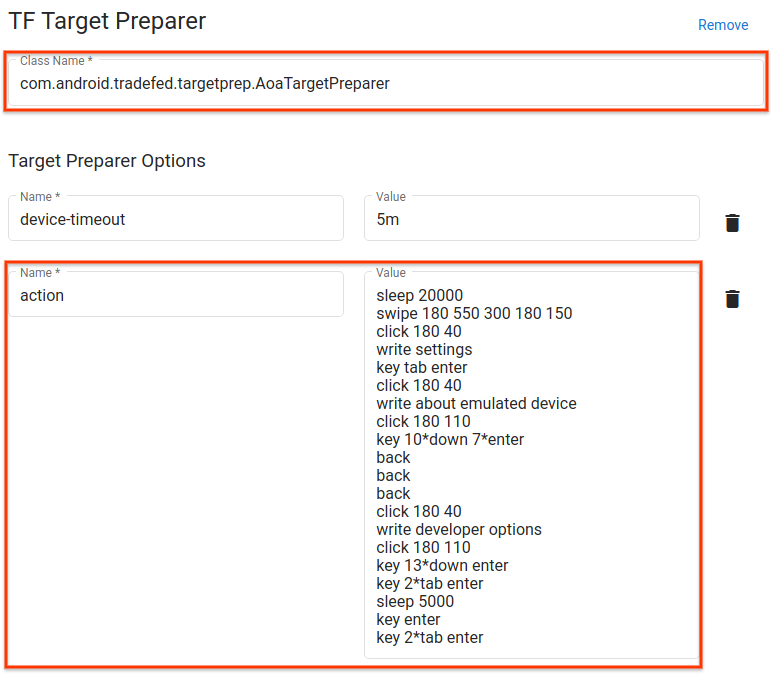
圖 3. 在 Android 10 GSI 上啟用 USB 偵錯功能的 AOA 裝置動作。
使用 AOA 裝置動作
排定測試執行時間時,請新增 AOA 裝置動作,並直接放在裝置閃爍動作之後。
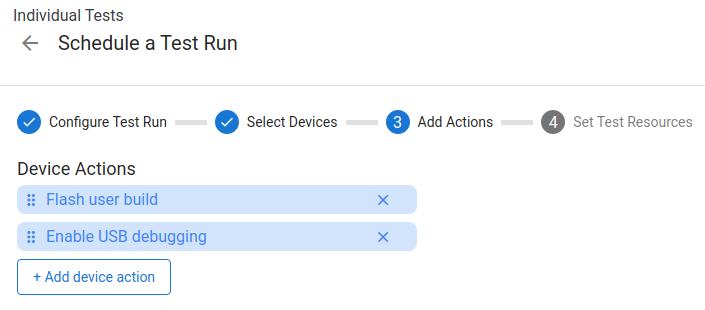
圖 4. 排定執行時間,刷入使用者版本並重新啟用 USB 偵錯。
這個頁面中的內容和程式碼範例均受《內容授權》中的授權所規範。Java 與 OpenJDK 是 Oracle 和/或其關係企業的商標或註冊商標。
上次更新時間:2026-06-18 (世界標準時間)。
[[["容易理解","easyToUnderstand","thumb-up"],["確實解決了我的問題","solvedMyProblem","thumb-up"],["其他","otherUp","thumb-up"]],[["缺少我需要的資訊","missingTheInformationINeed","thumb-down"],["過於複雜/步驟過多","tooComplicatedTooManySteps","thumb-down"],["過時","outOfDate","thumb-down"],["翻譯問題","translationIssue","thumb-down"],["示例/程式碼問題","samplesCodeIssue","thumb-down"],["其他","otherDown","thumb-down"]],["上次更新時間:2026-06-18 (世界標準時間)。"],[],[]]
